Food Finding: A Garlic Mustard Spring Omelet


An Earth Day Omelet

 Sure, garlic mustard is an invasive weed, but it is also a nutritious and delicious early green that you can find almost anywhere that you can find grass and other “weeds” growing, and it’s FREE!  Our early March “heat streak” in Wisconsin has given many of us locavores unrealistic hopes about taking early adventures to the garden and leaving the freezer behind. With nothing of substance to pick yet, going to get eggs from the chicken coop, garlic mustard from the yard, and herbs from the garden this morning were quite the exciting ventures to pay tribute to Mother Earth on Earth Day.

Spring chives

If you haven’t foraged for garlic mustard before, you should know that it is packed with Vitamins A, C, E and some of the B vitamins, potassium, calcium, magnesium, copper, iron and magnese.   If you’re up for picking it, you’re in luck because it’s everywhere (hence, many considering it an invasive, annoying weed). It has a light garlicky taste and can be eaten raw in an early spring salad or cooked in such wonderfulness as soup, stir-fries, or omelets. 

Here’s what it looks like:

One of the garlic mustard patches

 I’ve heard of many foragers stopping alongside the road to cut a basketful or hiking through forest grounds to look for some.  We’re “lucky” enough to have it growing in our own backyard. For all of our local friends, let us know if you want any — we have quite the abundance and are happy to share.

Berry Blast: Aronia, Honeyberry, Hardy Kiwi, and Elderberry Plantings

Aronia flowers today

Our bees will soon arrive and will they have plenty to pollinate!  An early spring jump-started our annual trip to Jung’s Garden Center, and we had pre-ordered 10 aronia plants from Bellbrook Berry Farm in Brooklyn, Wisconsin, so the yard is buzzing with young fruit plants (pun intended).

To start with, we planted one more rhubarb plant. We’ve planted one every summer minus one since we’ve resided here, so we’re up to four. We find new and exciting recipes for rhubarb every year and never feel we have the adequate amount come springtime, so who knows, maybe we’ll end up with a real rhubarb patch in a few years.

Rhubarb, from youngest to oldest

We also added one hardy kiwi plant. One of ours seemed a little weak after snow and cold this winter, so we’ll either end up with three like we intended, or get the gift of a fourth. These guys will soon be trellised up poles that lead to a bat house. More to come on that soon.

Our youngest kiwi plant

Sporadically, we bought four elderberry canes. We couldn’t help ourselves. On the way to Jung’s, I found this recipe, and with spring fever overwhelming both of us, elderberry canes sounded like something we absolutely had to have. Granted, this recipe is written for the elder tree berries, but we figure both should work just fine.

Elderberry canes

Honeyberry plants also caught our eye, so yes, we planted two of those as well. Honeyberry plants can tolerate extremely cold temperatures, and their flavor is often compared to blueberries, which we cannot successfully grow due to our soil. Plus, they are blue, and blue fruits are known super fruits.

Honeyberry plants, wrapped up due to some neighboring feral cats who like to dig these up
8 of the 10 plants

Finally, the aronia….planting aronia was a mission this year. Weekly, we find ourselves ordering fresh juice smoothies with added aronia from the co-op. No one really sells the fruit anywhere other than if you’re ordering food to-go. Aronia has caught a lot of buzz lately as a super-fruit because it contains more antioxidants than other super fruits such as blueberries. Plus, aronia grows easily in a variety of conditions ~ from sandy to clay, from cold to warm. Each bush is said to produce between 20 to 30 pounds of fruit annually. And a bonus, the plants are beautiful. In the spring, they flourish with white flowers, and in the fall, they wear a dark crimson. We purchased two-year-old plants, so we’ll be picking fruit this fall!

With all of our super fruits, it is just a matter of time before we become super humans, right?

Spring Onions

It is only March 13th….but we hit the 70s today, and spring fever runs high. We decided to plant100+  Alisa Craig onions for scallions and take our chances. If temperatures dip, we’re ready to cover the bed. And we proactively put up some hardwire clothe to keep the resident songbirds and chickens away from our first garden bed of the season.

Alisa Craig onions taste a bit sweet, so we’re envisioning raw scallions, straight from the garden, dunked in little bowls of salt water. Such a great spring snack.

Wish us luck. This early garden wants to thrive.


Spicy Garbanzo Beans

March and the start of April are challenging eating months. The stockpile of root veggies grows smaller, and at this point, more rutabaga, turnips, or cabbage aren’t as appealing as they were even a few weeks ago. The pantry of canned foods gets emptier and emptier…and all of my favorite snacks were eaten first, so what remains is certainly not as exciting. Same goes for the freezer.

So, I was in for a wonderful surprise on Friday night when Andy brought home a recipe for Roasted Garbanzo Beans. We had them, roasted with chili powder, as a snack, and today, we made a large second batch with curry to take with us for lunches this week.

Crunchy. Salty. Healthy. Vegan. Addicting.  And only four ingredients:

  • garbanzo beans (dry)
  • olive oil
  • spice
  • salt

To make them, I suggest preparing them from dry beans, but you could also go the canned route.

If you go with my suggestion, start by soaking 6 cups of beans overnight in a bowl of water. The water should be a couple of inches above the beans.

The next day, drain the water. Then, add new water, a bit of salt, and boil for 45 minutes or until tender. Now the beans are ready to roast!

Drain the beans. Transfer to a bowl and toss with quarter cup of olive oil and spice of your desire (possibly chili or curry!?), plus salt.

Spread onto a baking sheet. Roast at 350 for 45 minutes to an hour, depending on how crunchy you’d like them.

Before Roasting

After roasting

  Be warned: seriously addicting!!! 

February Photo Challenge at the Homestead: Week One

To beat the winter blues, we are participating in the February Instagram Photo-a-Day Challenge. Though we have no iPhone to take the phancy phone photos, we’re photo-taking anyway! Some of the upcoming pictures, like telephone or heart, will be challenging to tackle with the Backyard Market theme in mind. Here’s the schedule:

February 1: your view today

Rocky and I, eye-to-eye, happy for the sunny day.

February 2: words

Kids should have access to healthy, hormone-free milk at home AND at school!

February 3: hands

Chicken hands?

 February 4: a stranger

Bananas don’t make their appearance at our place often, but when there are no local fruits growing, we’ll occasionally buy a bunch of Fair Trade, organic bananas. Yum!

February 5: 10 AM

10 AM and picking Brussel sprouts in Wisco in February. Wow!

February 6: dinner

Said bananas made a surprise appearance for dinner on Monday night.

February 7: Button

Gardening, writing, and caring for animals is my bliss. What’s yours?

  Have a blissfully wonderful week!


I’m addicted to yogurt.

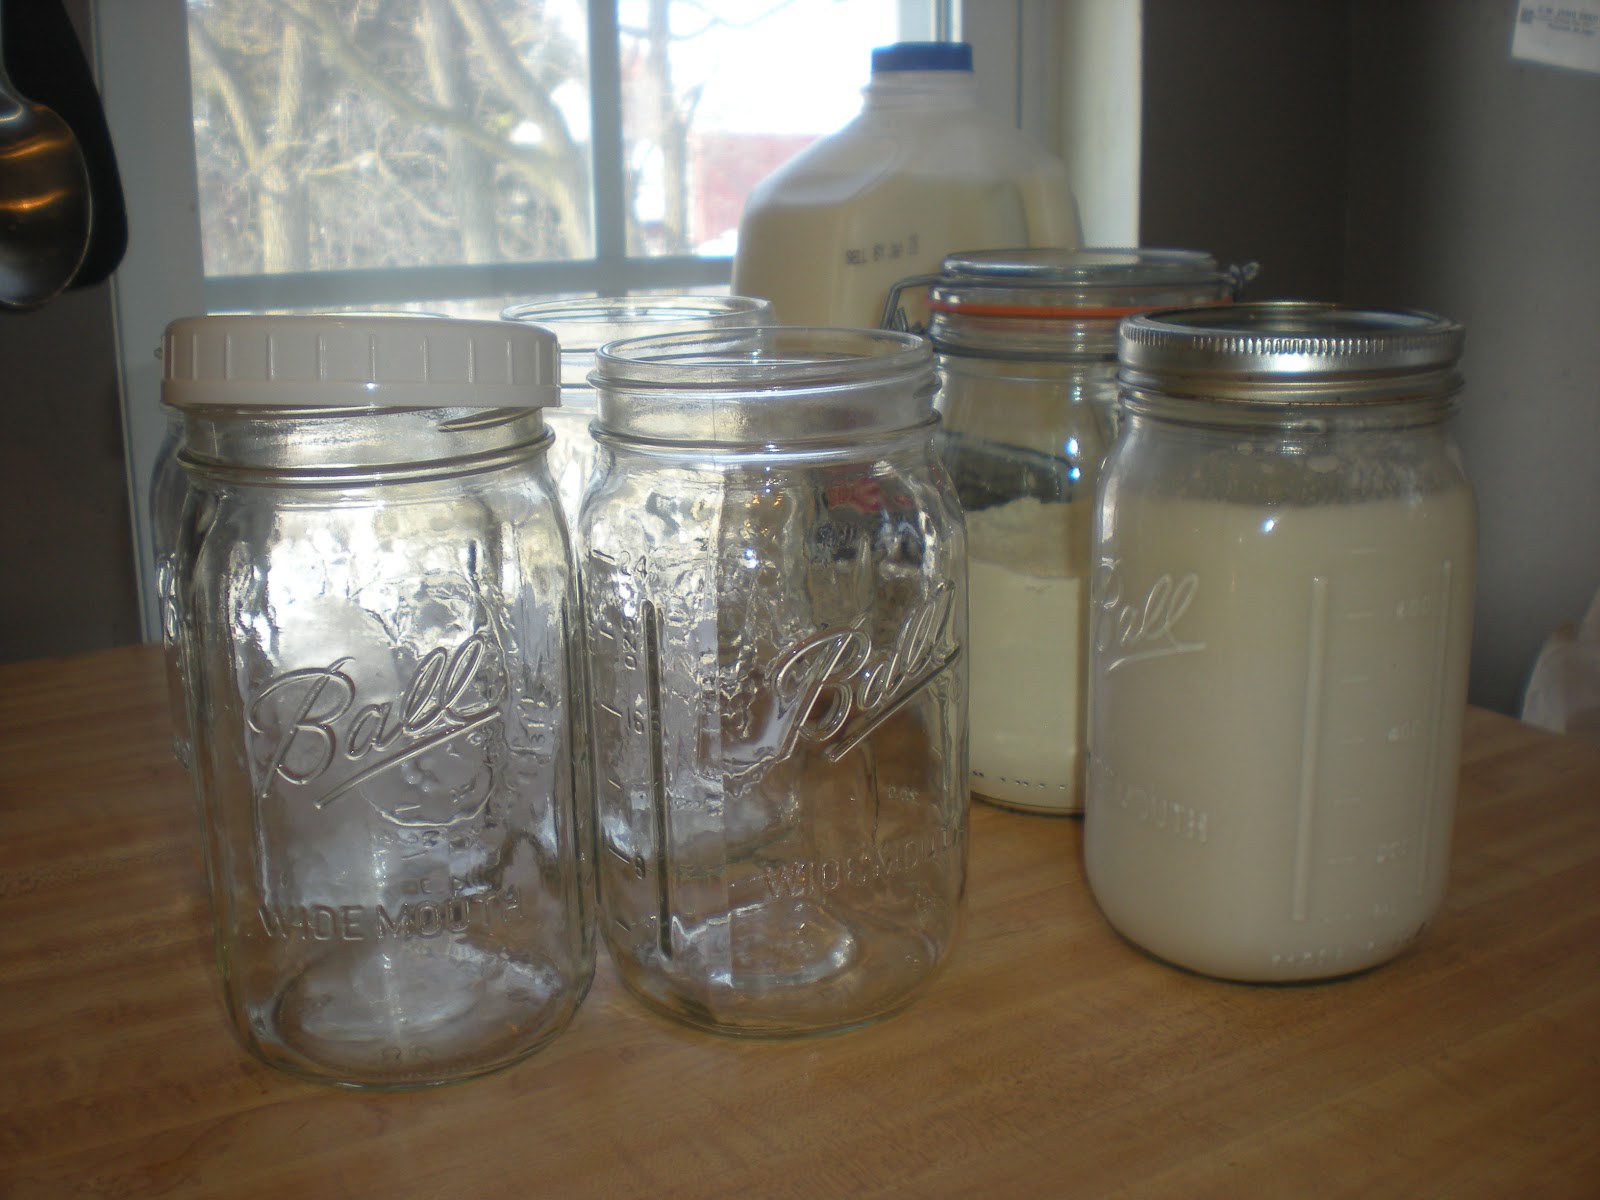
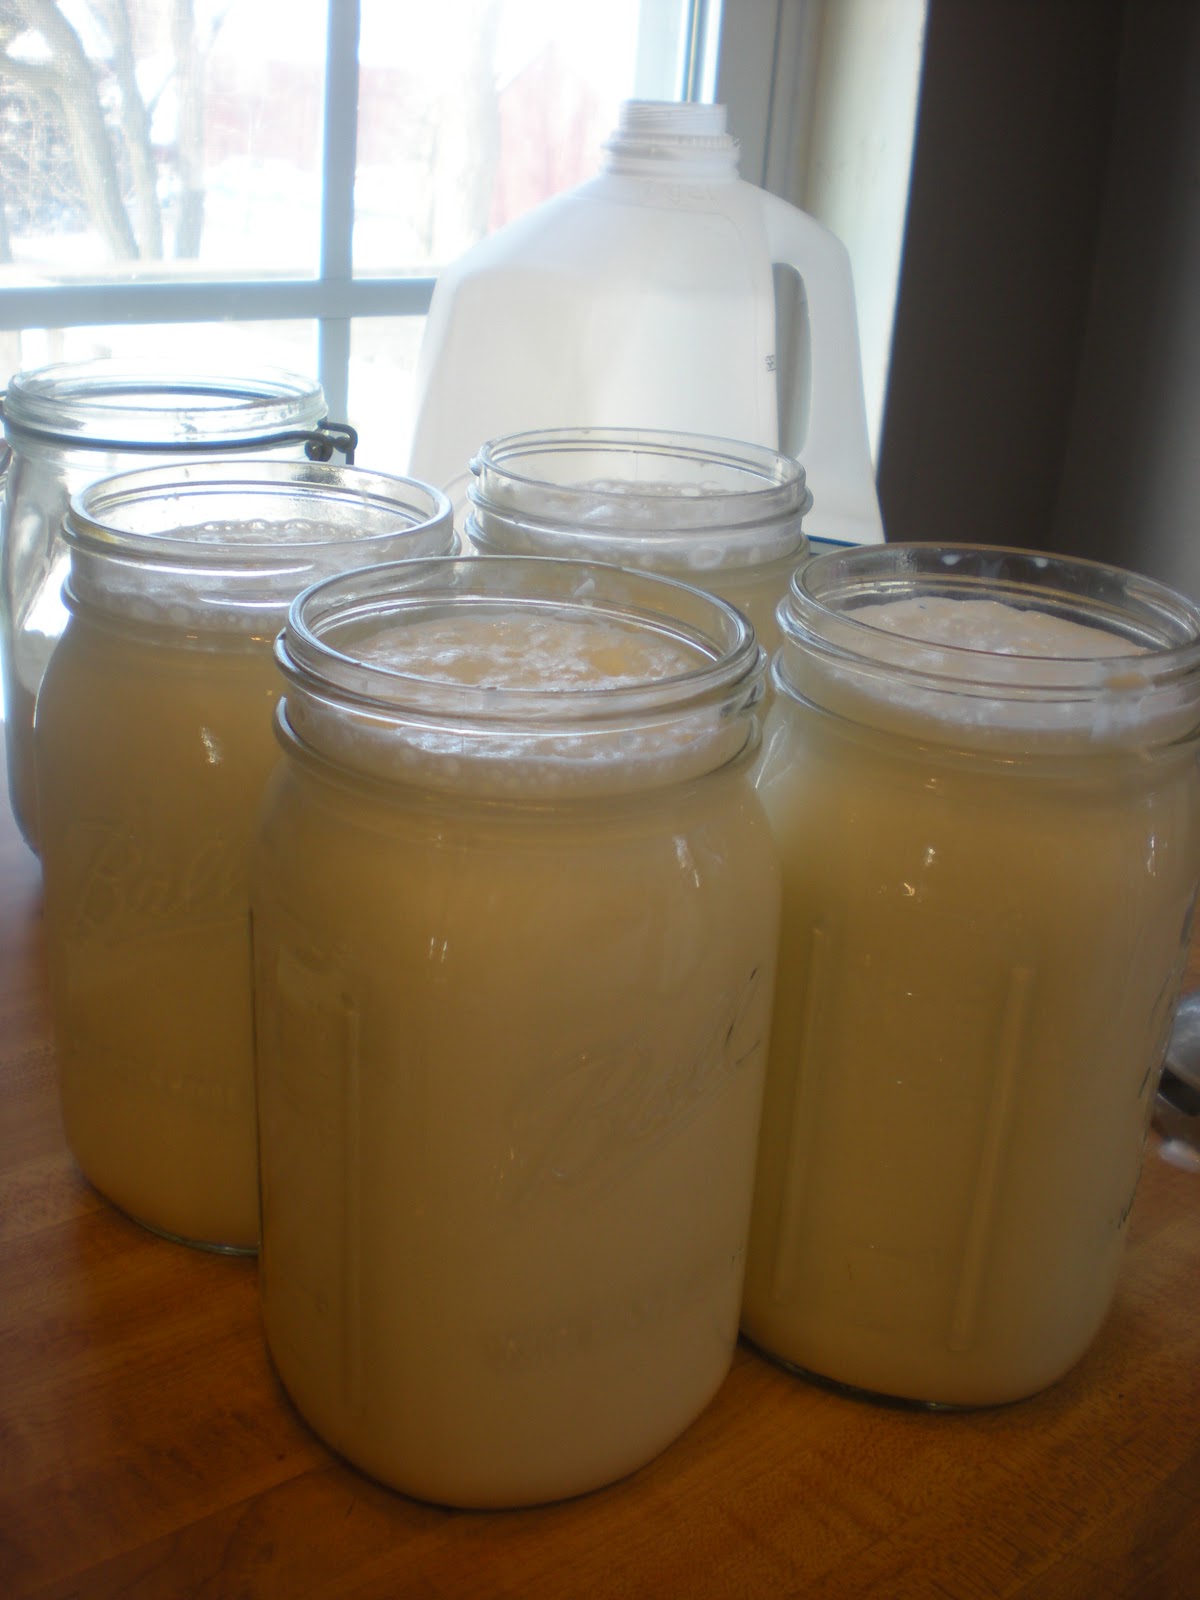
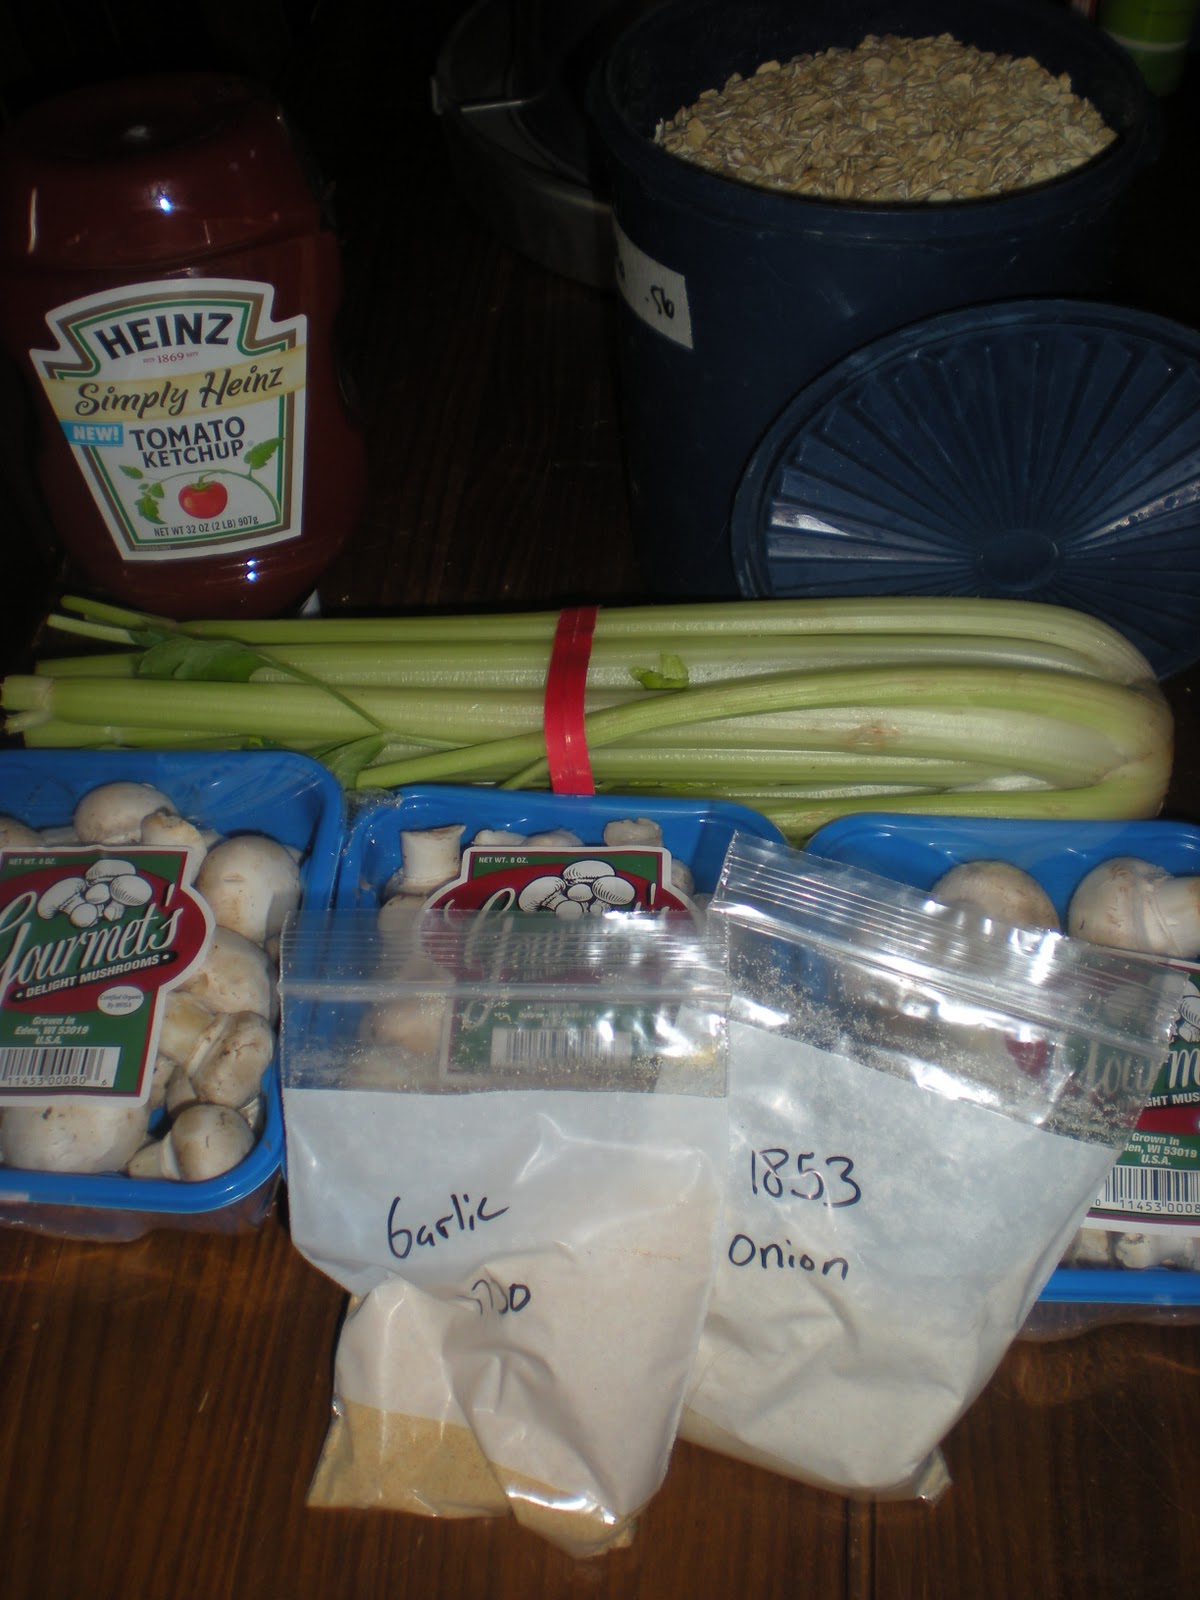
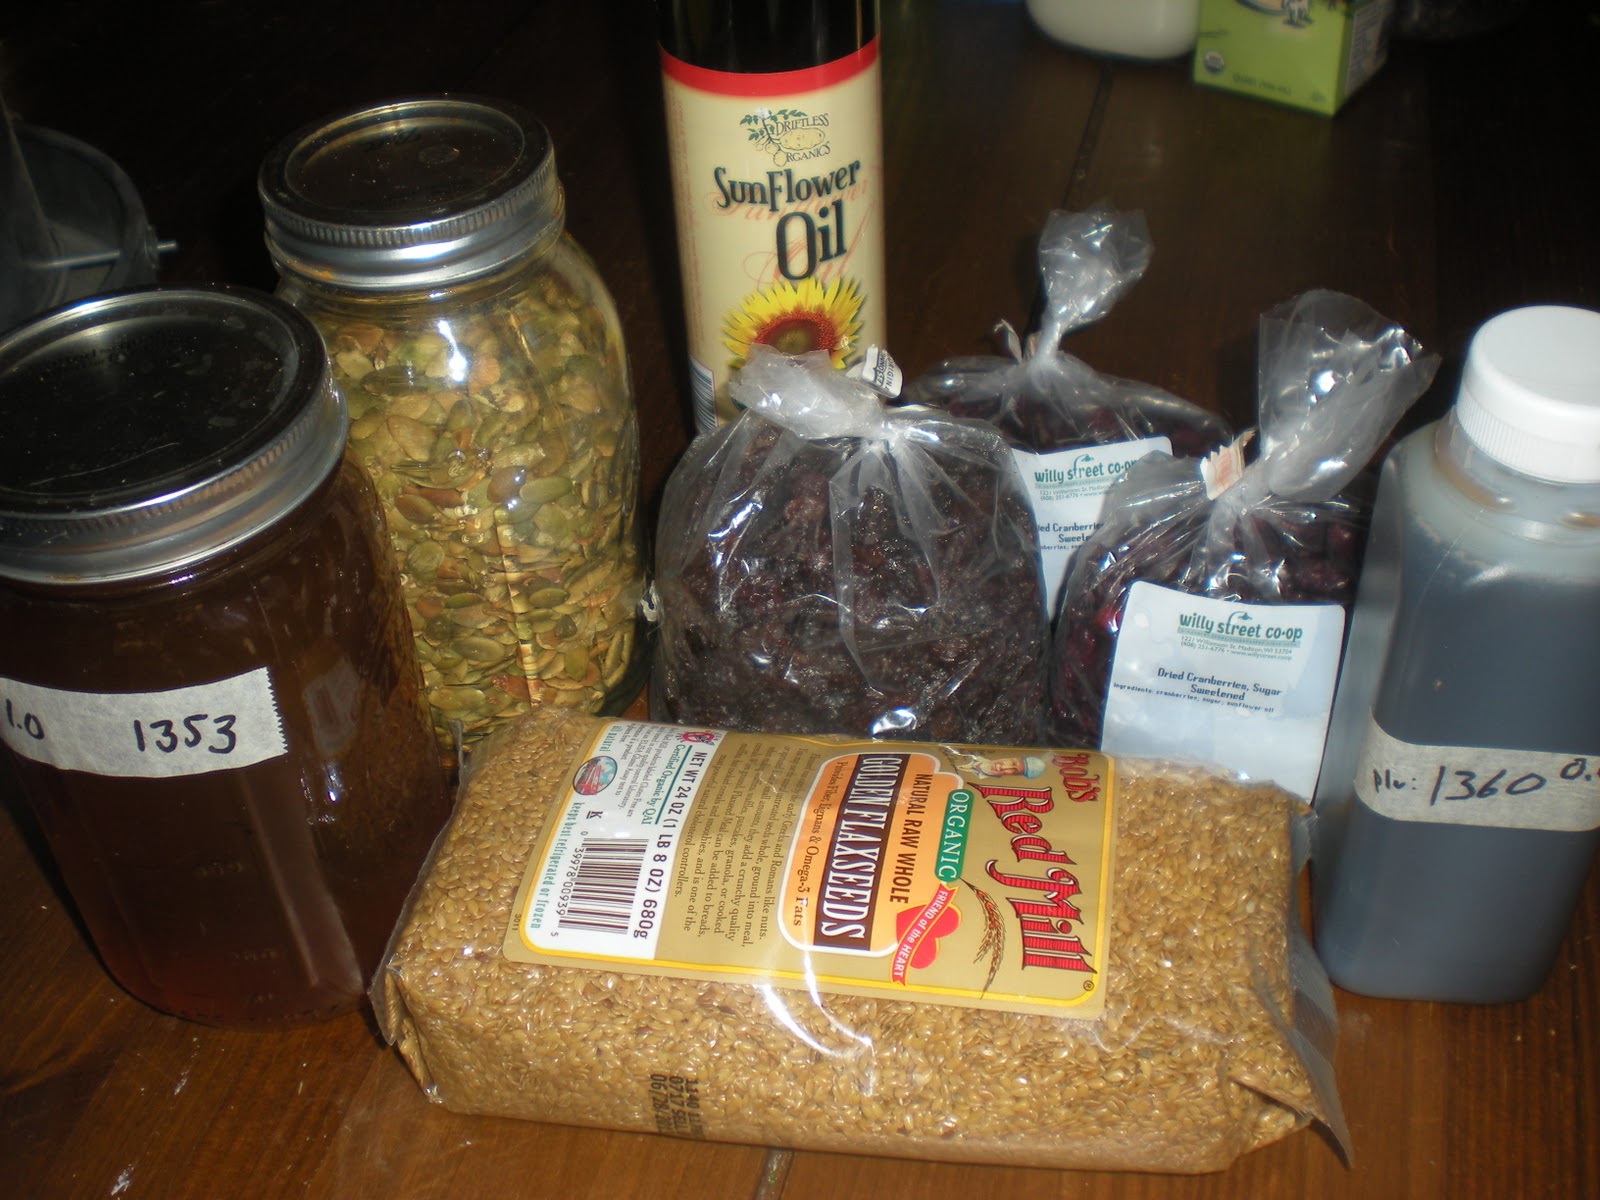
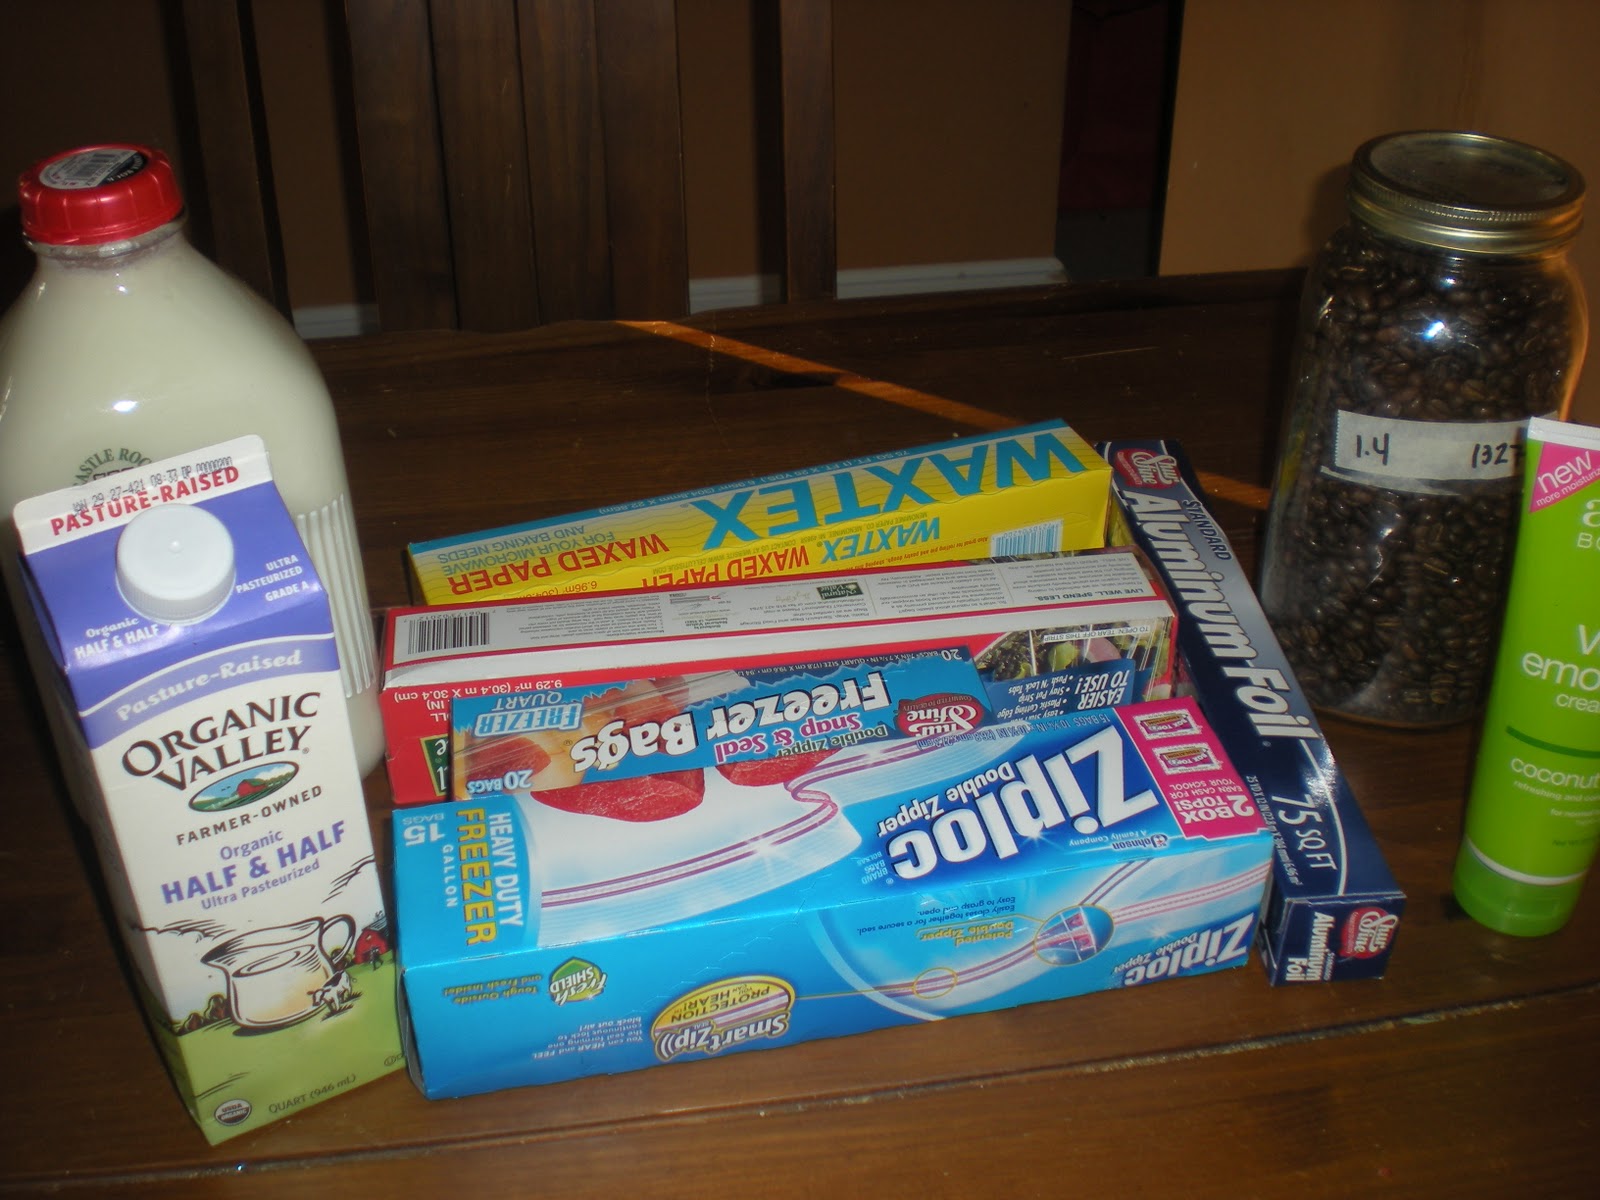
All you need to make your own yogurt.

 Last week, I ate nearly a quart of yogurt per day. Not just any yogurt. Fresh, creamy, tart, homemade plain yogurt. We had read that adding milk powder to our already  yummy culture would make it thicker. We decided to purchase some in bulk to try it. Milk powder apparently really does make all of the difference.

We have been making yogurt at our house for several years. Our process has certainly evolved. Today, we use a dehydrator to finish it off, but we started with a fish aquarium, boiling water, and newspaper taped to the outside walls of the aquarium’s glass for insulation. Today, we use milk powder. Up until a few weeks ago, we had never tried that. So, while, I feel we’ve perfected and modified this process over time to our liking, you don’t need fancy dehydrators or milk powder in bulk to make this super, probiotic food. The only real essentials include: milk, yogurt starter (in other words, yogurt), a constant temperature, and time.

That said, this is how we now make my method of getting lots of Vitamin D in Wisconsin winter’s cold, long days.

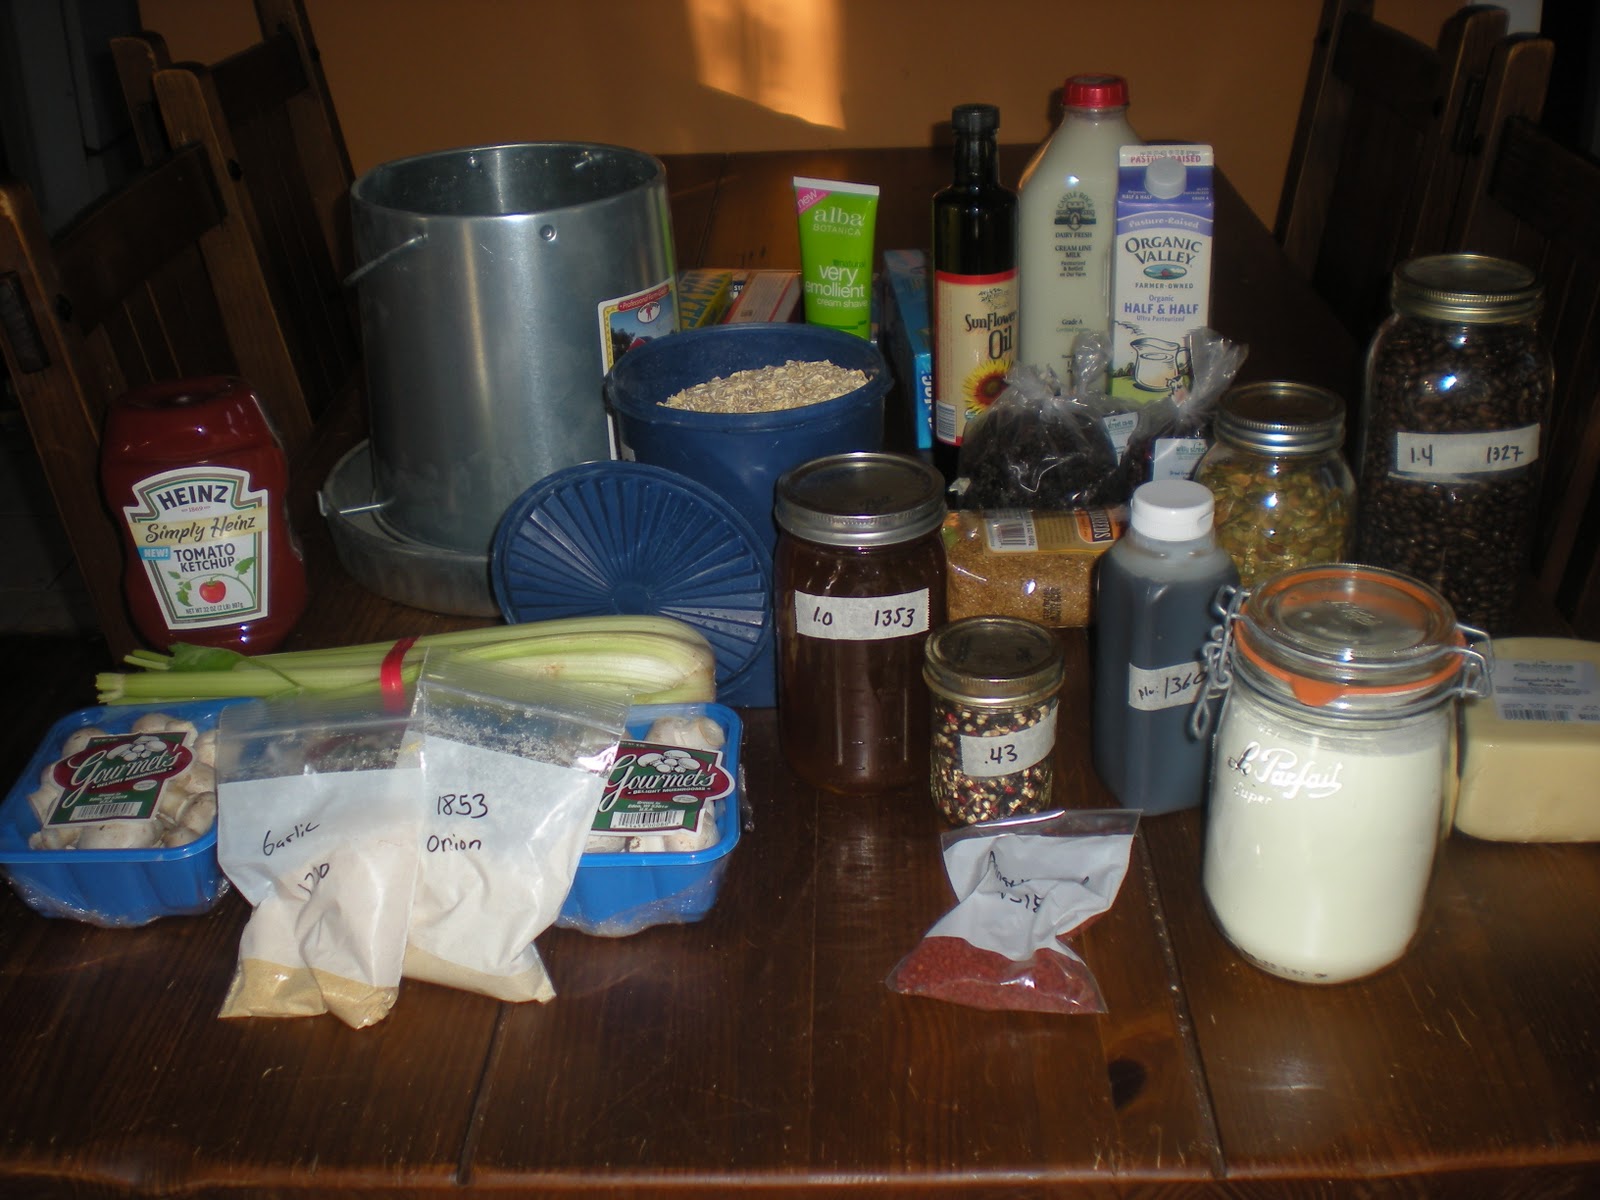
Here’s what we use  to make 4 quarts of yogurt:
4 Tbs. plain yogurt that you love
1 gallon of 2% milk
8 Tbs. milk powder
4 quart jars with lids
dehydrator
hand blender

To make it Backyard Market style, do the following:

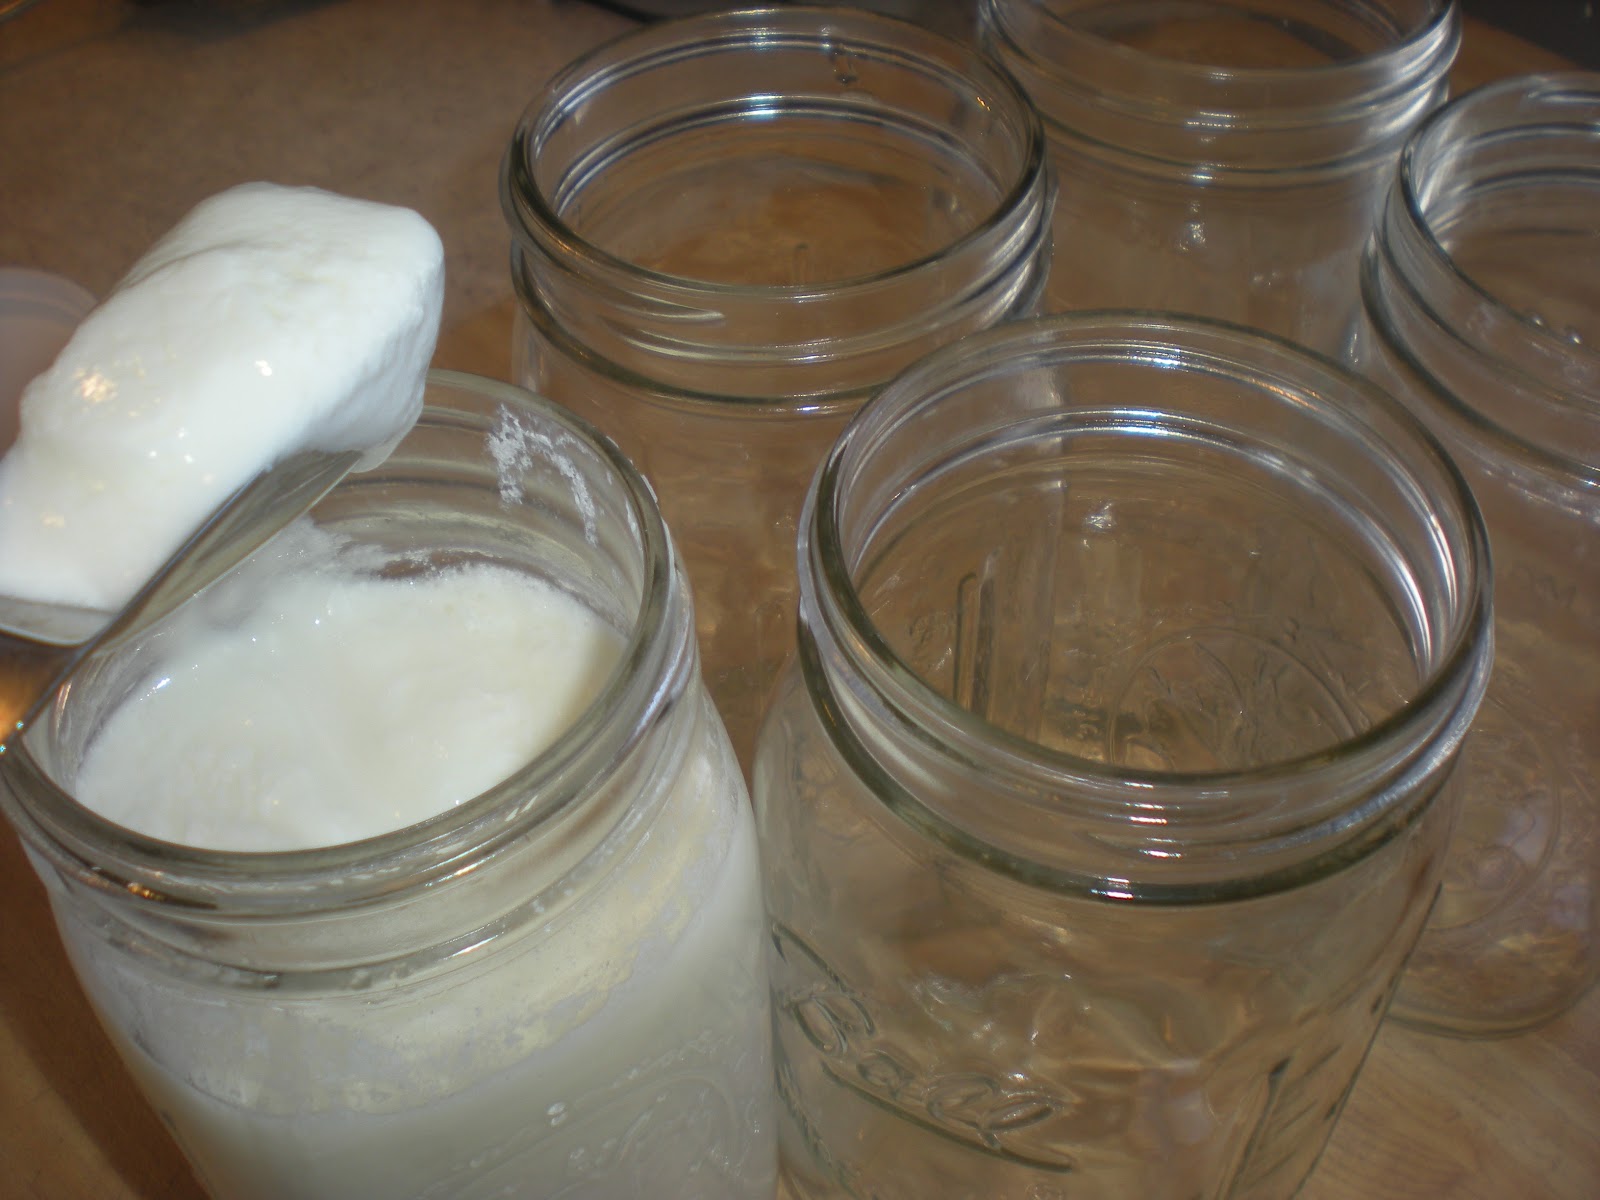
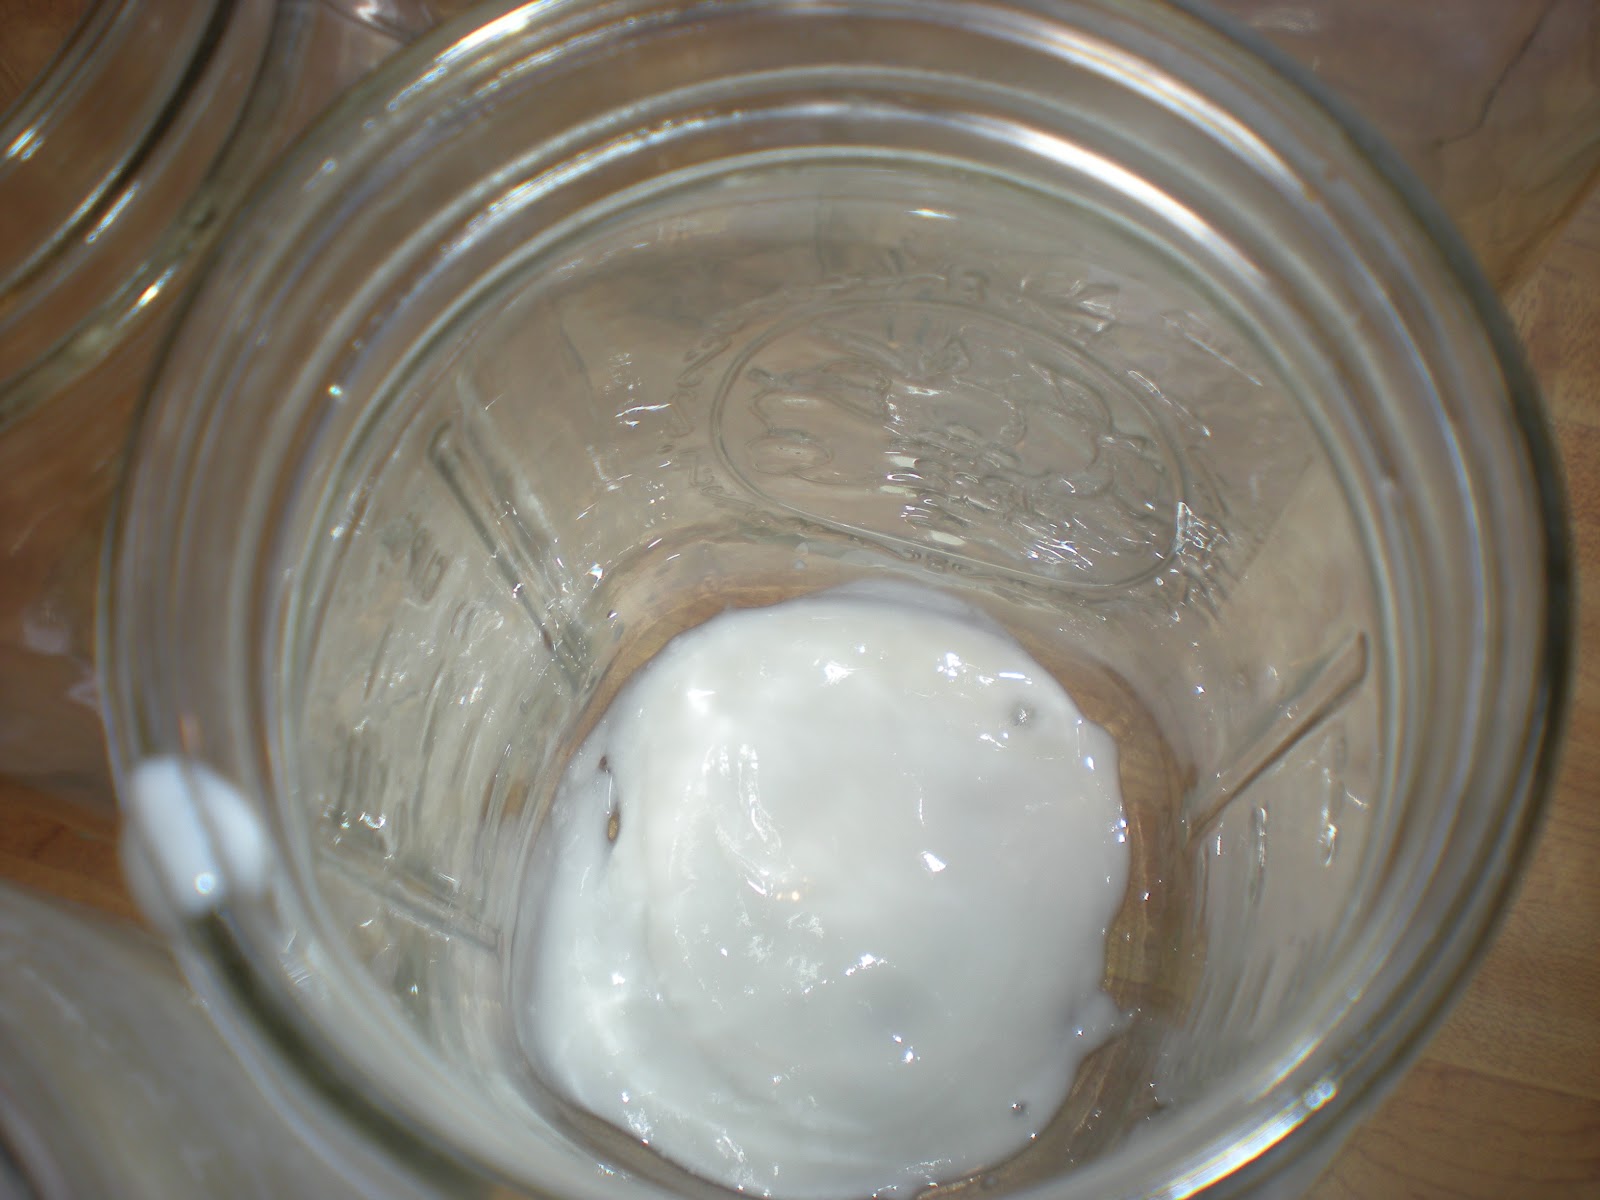
1. Put 1 Tbs. of plain yogurt in each quart jar. Be sure this is a yogurt that you love. All yogurts have different cultures, different textures, different flavors, and different bacteria. Picking a yogurt you enjoy will ensure that you like your homemade yogurt.

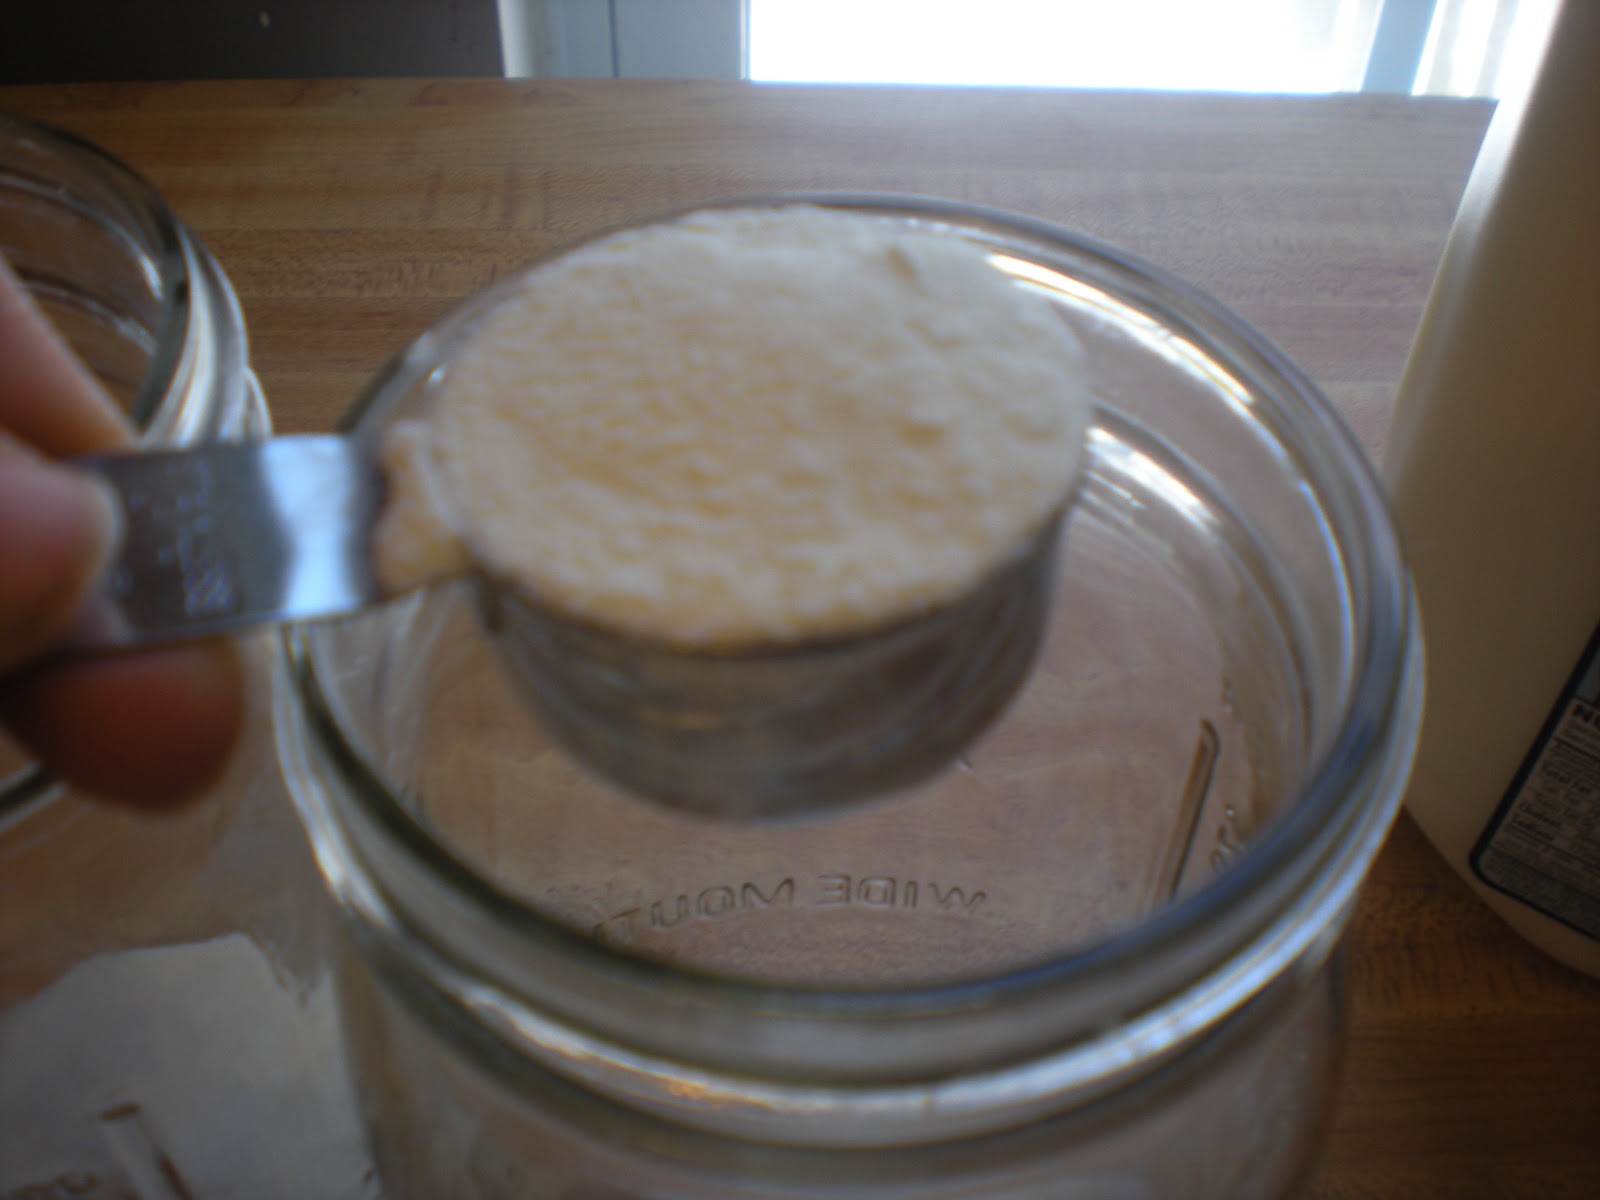
2. Add 2 Tbs. of milk powder in each jar. If you’d like your yogurt thicker, add more. If you’d like it thinner, add less.

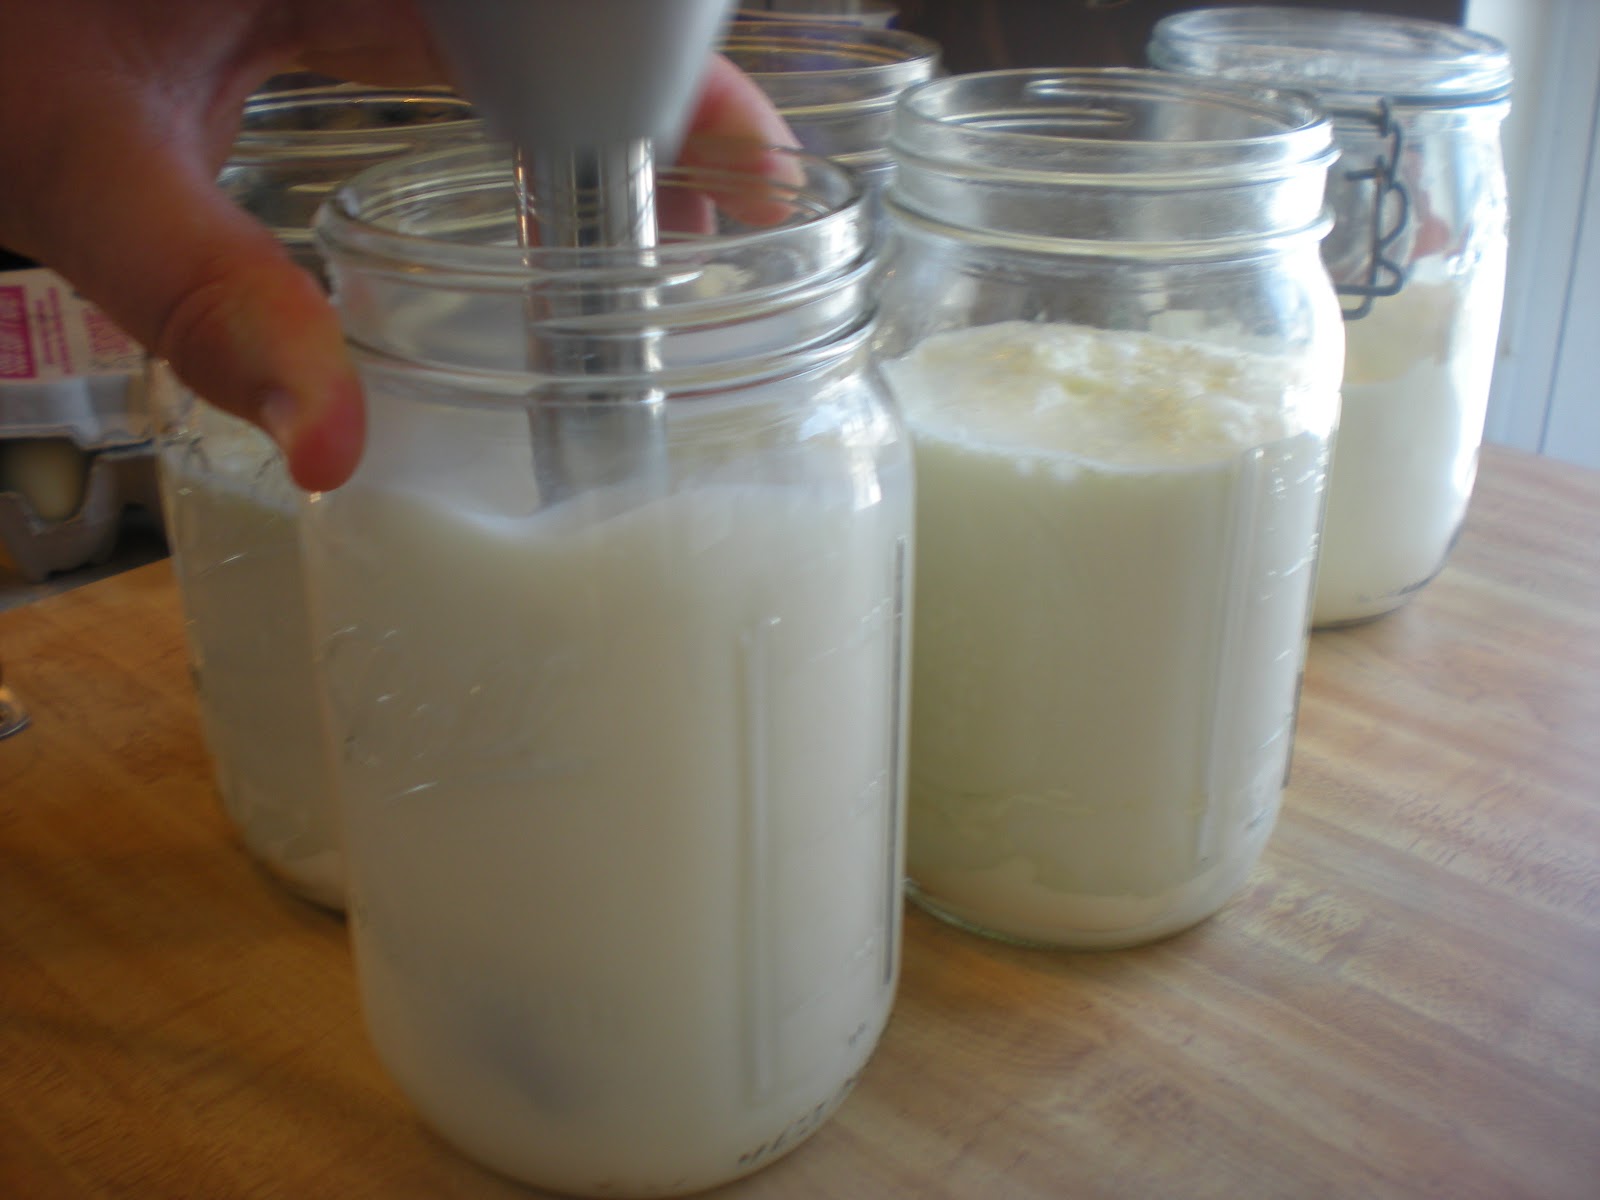
3. If using a hand blender, fill jars about halfway to avoid spillage.Mix until there are no clumps of milk powder and to distribute yogurt starter evenly. Fill jars with milk and screw on lids. If not using a hand blender, fill the entire way and mix to combine ingredients. Screw on lids.

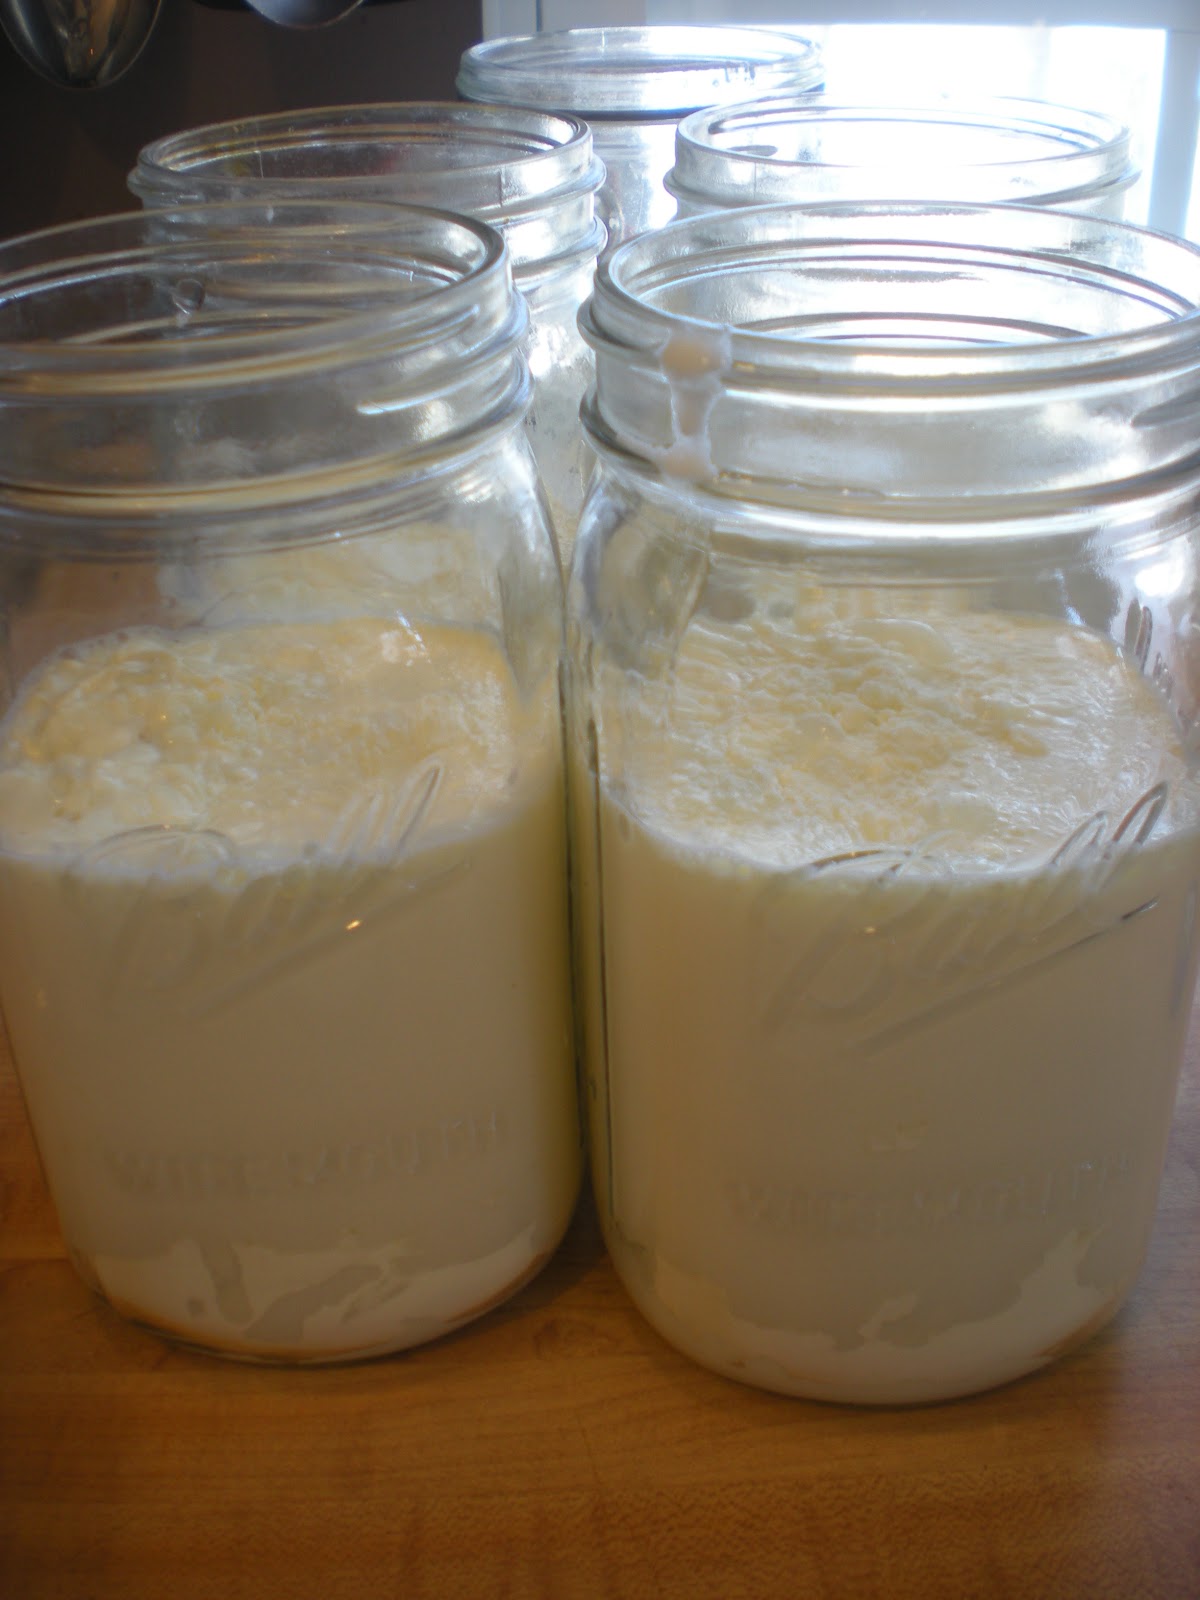
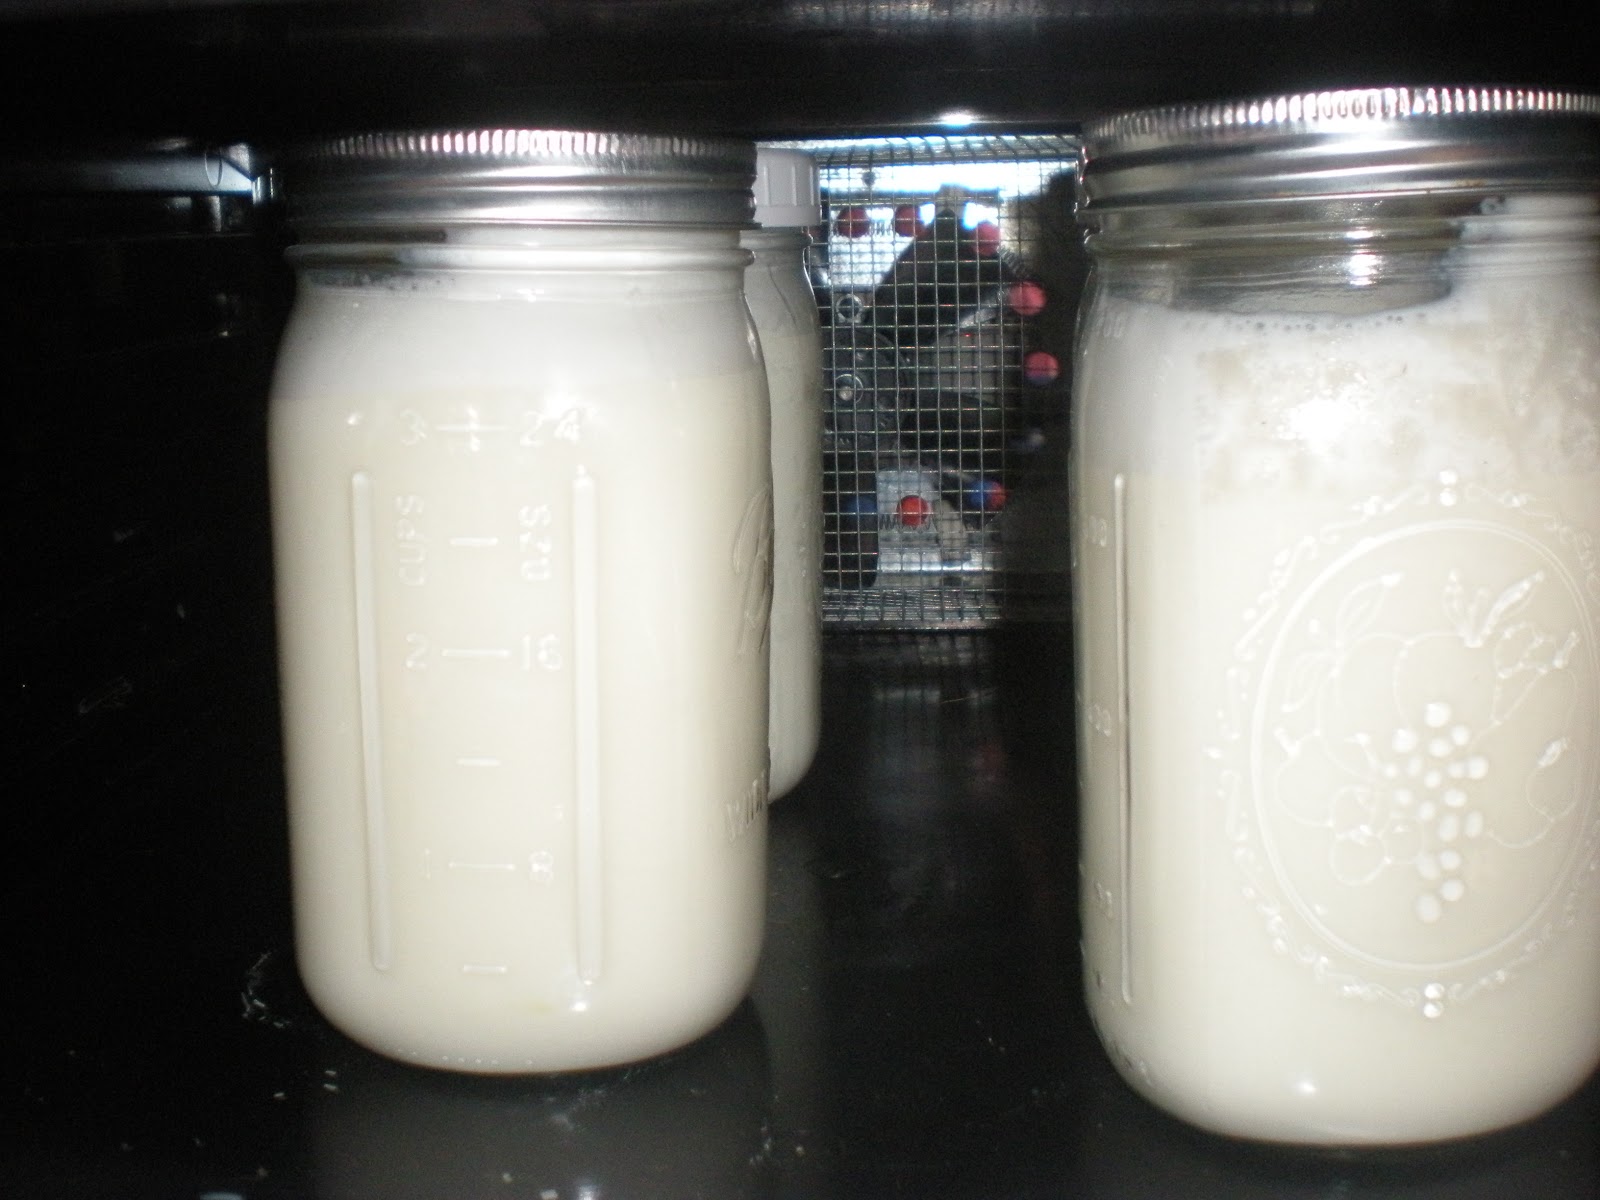
4. Put quart jars in the dehydrator. Set to 100-115 degrees. Let the process work for 8-12 hours. Be sure not to agitate the dehydrator as yogurt does not like to be disturbed as it is forming.

5. Refrigerate! Be sure to save some to start next week’s yogurt batch!

A side note: some recipes call for scalding the milk before processing the yogurt. We do not do this as it kills some of the good bacteria, and we are confident that our milk is safe. As always, we purchase it locally- sourced and from a farm we trust.

You might be wondering: Why not just go to the store and buy yogurt? Well, that’s a thoughtful question.
#1: Making it using the method above ensures a whole bunch of fabulous bacteria that are oh-so-good for your body. Minimal processing = a happy body.
#2: Financial sustainability: Let’s break it down…For a local, organic yogurt, we pay around 4.00 per container (which is about 3 cups). We make 4 quarts (16 cups) each time we make yogurt, so if we paid the 4.00 per 3 cups, we would need to hand out 21.00 per week. For four quarts of homemade yogurt, we pay $3.50 for a gallon of milk, around 1.00 for the milk powder, and we use our own yogurt starter at this point, so our four quarts of yogurt now cost us $4.50. Compare that to the $21.00 we’d pay if we bought 4 quarts at the store!
#3: Vegetarians benefit from yogurt as it contains the hard-for-us-to-get Vitamin B2. When you have 4 quarts of deliciousness per week sitting in your fridge, you are bound to get enough.
#4: Any form of self-sustainability creates an invaluable skill set.
#5: If you’re concerned about the old BM, yogurt keeps you regular. 

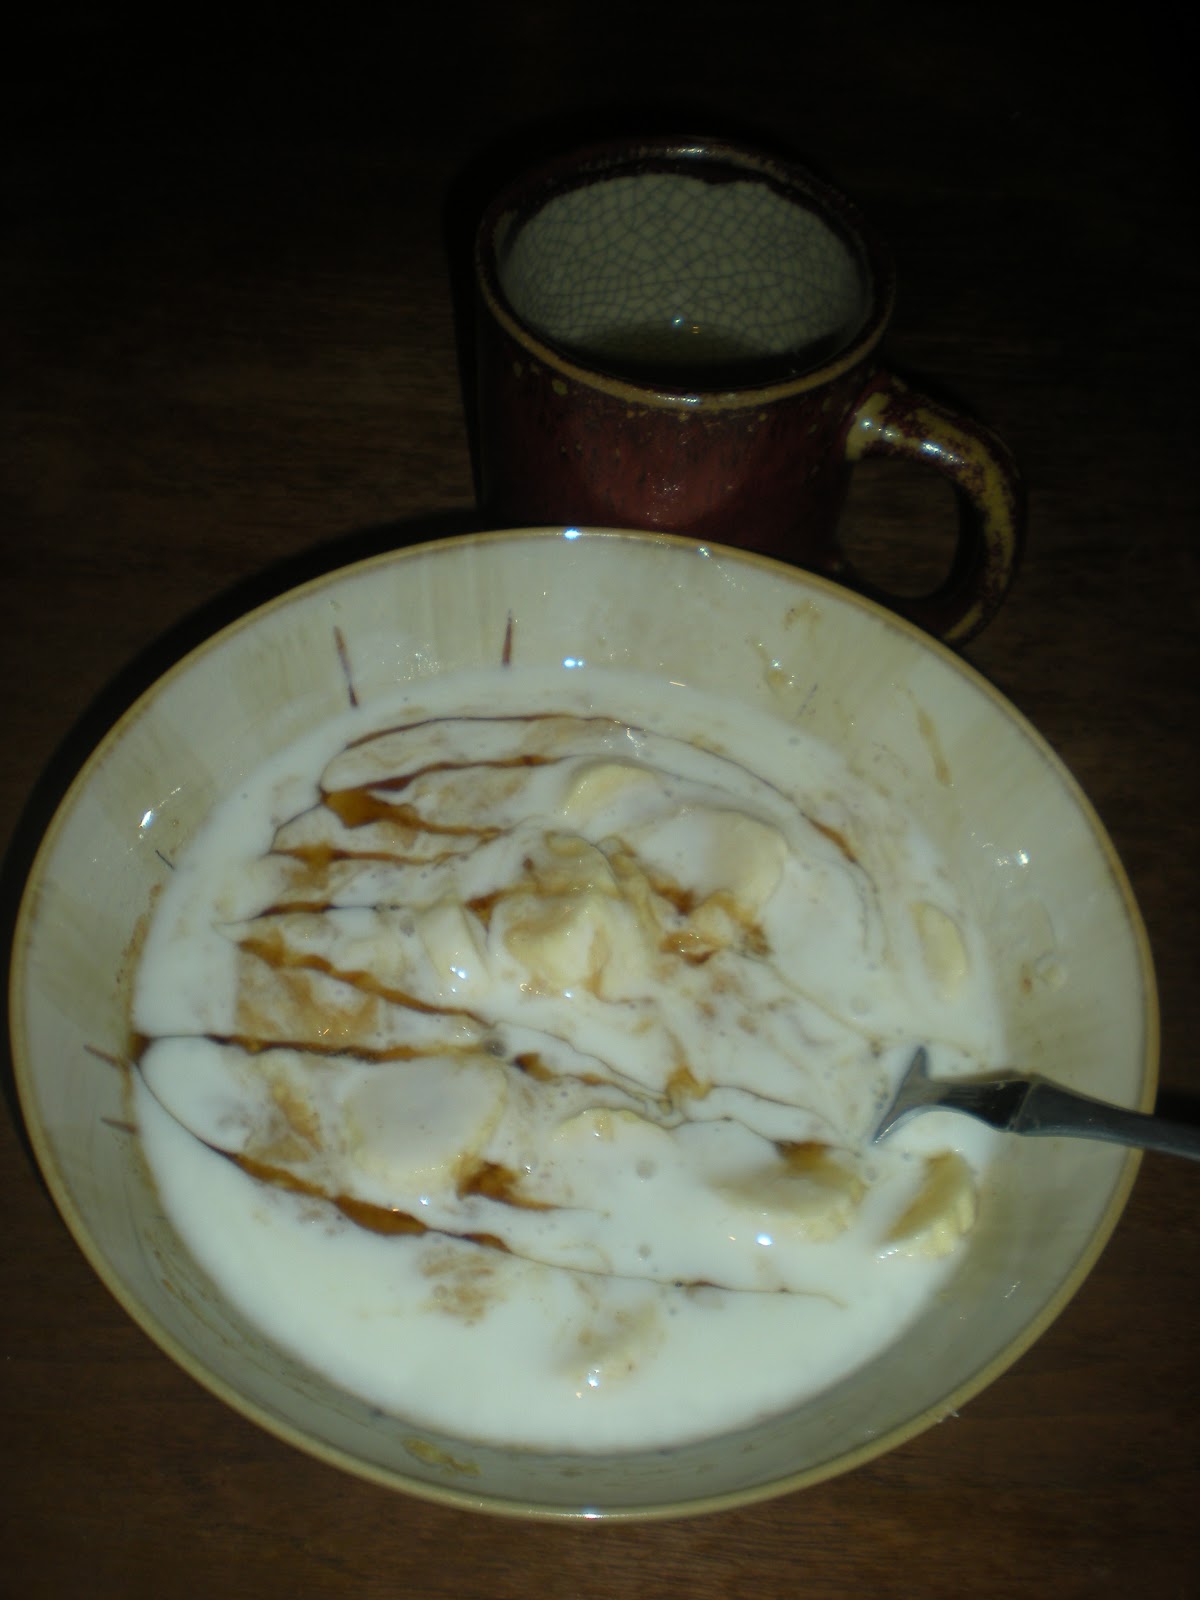
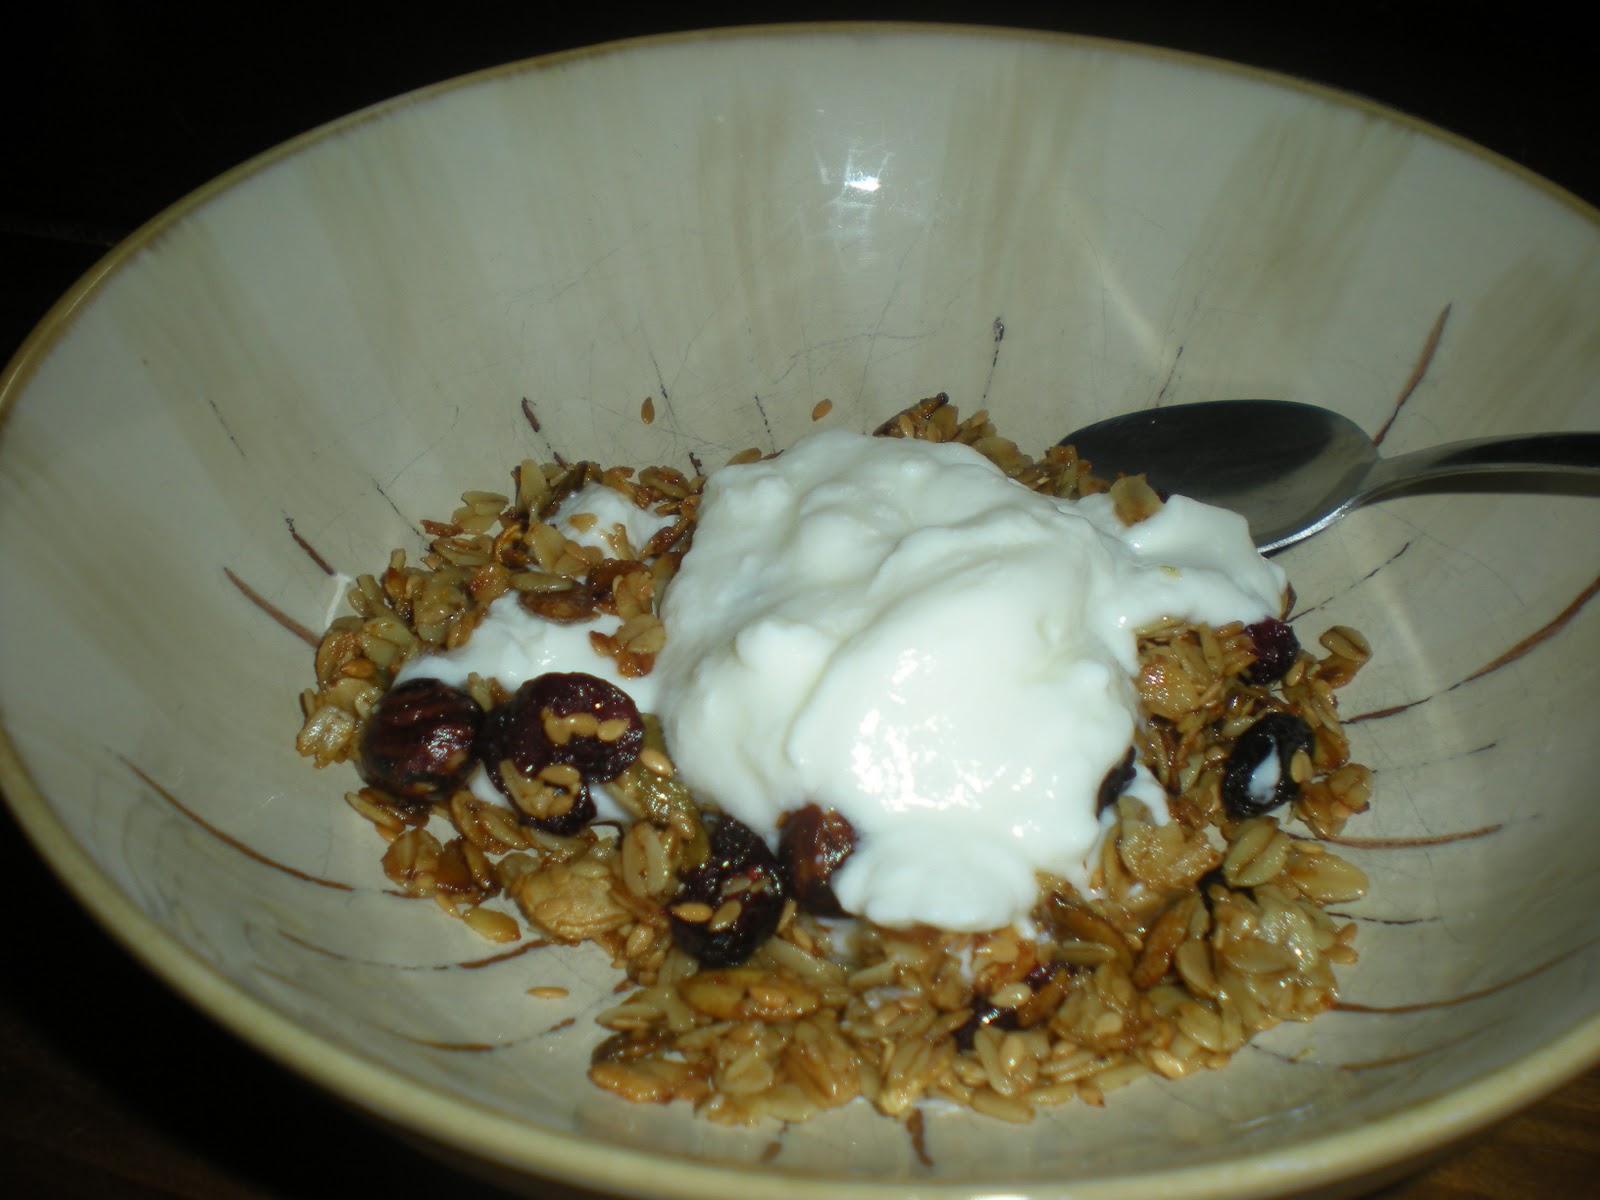
Enjoy the creaminess! Until next time…I’ll  have my spoon in the yogurt jar.

10 New Year’s Resolutions

Someone once sent us a cartoon eluding to a gardener’s dreams being bigger…way bigger…than what reality will be. It’s impossible to argue with that! Right around the start of the new year, our minds shift from the holidays to visions of plentiful fruit trees, bumper tomato crops, and perfect transitions from spring crops to fall ones. The magnificent garden dreams that plod through our heads might be unrealistic at times, but they keep us fresh.

With that said, we are trying to create realistic, doable resolutions for homesteading in 2012. They include:
1. Keeping up on daily gardening chores: more consistent weeding and watering and more timely replanting (if applicable).
2. Eating and preserving all of the greens we grow and get in our CSA box, including items such as carrot tops.
3. Constructing 4-5 new garden beds to replace our original garden in time for spring planting.
4. Planting strawberries, honeyberries, blueberries, and blackberries (finances pending).
5. Keeping up with fruit tree chores on a daily basis: spraying (organically, of course) when needed and watering.
6. Constructing a trellis for the kiwi berries. The trellis will also serve as the post for a bat house.
7. Getting bees.
8. Planting 3x more dry beans (get a minimum of 9 quarts at harvest time) and 2x more cabbage.
9. Figuring out what keeps eating the corn!
…and, of course…
10. Growing the biggest bumper crop of tomatoes known to man.

I think we can do it. What are your homesteading resolutions for 2012?

Homemade Granola

 We finally made a batch of homemade granola. We’ve talked about wanting to do this for years, but haven’t had all of the ingredients at once until our annual co-op shopping trip occurred last week. Now, we have 21 cups of granola to last us for breakfast for the month.

The process was so simple. The possibilities of what to use to make granola are abundant. We chose to make it quite basic this time, adding in random bags of leftover holiday nuts and seeds.

This batch’s ingredients:
8 cups of oats
2 cups of flaxseed meal
1/2 cup of hazelnuts
2 cups of pumpkin seeds
2 cups of honey
1.5 cups of sunflower oil
2 cups of dried cranberries
2 cup of raisins

Instructions:
1. Preheat the oven to 350.
2. Mix oats, flaxseed meal, nuts, and seeds together.
3. Mix the honey and oil.
4. Pour the honey-oil mixture over the dried ingredients.
5. Spread mixture out on baking sheets. Bake until golden brown, about 45 minutes, stirring occasionally.
6. Remove the granola. Allow to cool, stirring occasionally. Stir in the dried fruit.  Store in an airtight container.

Here is the nutrition information for 1/3 cup servings:
Calories, 180; Fat, 9.5; Sat. Fat 1; Trans Fat, 0; Cholesterol, 0; Sodium, 2; Carbs, 21; Fiber, 3; Sugars 10.8; Protein, 3.7; Vitamin A, 13; Vitamin C, .2; Calcium, 14; Iron, 1.3

According to my diet tracker, the amount of fat, sat. fat, protein, and sodium are great for this serving size.

Co-op Gift Card: Year Three

The whole spread (minus the chicken feed)

If you’ve been following our blog for a while, you might remember that one of our most anticipated and useful Christmas presents is a gift card to our absolute favorite place to shop: the Willy Street Co-op. Mr. and Mrs. Claus have bestowed upon us this wonderful gift three times, and each time, I believe Andy and I have gotten better at figuring out how to get the most bang for our buck.

Veggie Burger Ingredients

Before heading to the co-op, we sit down to brainstorm a few meals to make in bulk and freeze – we try to coincide those with our financial and dietary pitfalls. Anyone who knows Andy knows he has a slight addiction to pizza. So,this year, we canned extra pizza sauce, and with our gift card, we bought enough mozzarella cheese to make me reconsider our need to own our very own cow!  Another way that we fail to live sustainably, both in terms of ethical food production and our personal finances is going out to eat during the work week. Usually this is because we don’t have the time or the energy to use the ingredients residing in our fridge and cupboard. So, we bought all of the ingredients to quadruple our recipe for veggie burgers. This way, hopefully, when one of suggests going to Chipotle, the other can counter-argue that by pointing out we have veggie burgers in the freezer and potatoes in the cupboard.

Oftentimes, an argument against shopping for whole, organic, local foods is that it is too expensive. This is where being shopper savvy comes in handy. The back of our Subaru is loaded with canvas totes, Ball jars, canisters, and reused glass bottles because we buy nearly everything that we can’t get from our CSA or garden in bulk. Local and/or organic bulk foods are surprisingly reasonable. Yesterday, we stocked up on maple syrup, honey, oats, peppercorns, coffee beans, milk powder, a few spices, and chicken feed.

Ingredients for granola
Milk powder for yogurt

A few other necessities…

Our personal New Year’s Resolutions involve financial, dietary, and sustainability goals. This co-op trip and the cooking resulting afterward were a perfectly wonderful way to work towards those….for FREE! Thanks to Mr. and Mrs. Clause for once again helping us reach our goals.

What to do with all of those holiday leftovers?

This Christmas, like all others, we ended the evening too full to even consider dessert. Thankfully, we had stuffed ourselves with Christmas cookies all day long anyway, so we had our go at the sweet stuff.

The Poquette-Lapp Christmas dinner is what many would consider the traditional Thanksgiving dinner. Our menu hasn’t changed much from last year, but we did have a few highlights.

We began the day with  Irish Cream (of course) and cheese, crackers, and trail mix. That evening, our menu was as follows:

The brussel sprouts were a new addition. At the last second, we Wisconsinites went out to our brownish-green yard, found our way to our still half-living garden, and picked a fresh stalk of Brussel Sprouts. It’s worth noting because this may never happen on Christmas Day in Wisconsin to us again. We actually still have two more stalks to pick — it’s looking good that we may get fresh Brussel Sprouts again on New Year’s.

Another reason to mention the Brussel Sprouts is that they ended up being the main attraction at dinner. To make them, you need:

  • one stalk of Brussel Sprouts
  • 1/2 lb. of bacon, diced
  • seasoning (salt, pepper, etc.)
  • a tiny drizzle of olive oil

Instructions:

  1. Toss diced bacon, halved Brussel sprouts, and seasoning together. If the bacon isn’t giving off enough fat, a drizzle of olive oil may be necessary.
  2. Dump onto baking sheet. Put in the oven at 425 until done.

The pets thoroughly enjoyed Christmas also, as you can see in the pictures below.
Franklin enjoying his first turkey dinner.

Benson –after a little too much to drink 🙂

 Yesterday, we used the leftover cranberry relish as a topper to a wedge of brie and toasted baguettes as an appetizer. Yum! For the main course last evening, we made a half-vegetarian, half-turkey casserole using the leftover turkey and stuffing. Both the appetizer and the casserole were divine, and our fridge is much more manageable today without all of the leftovers occupying every shelf.

Here’s our rough recipe for Fetttuccine Turkey Casserole

3 cloves of garlic, minced
2 Tbs. butter
1-2 Tbs. flour
4 cups of 2% or whole milk
4-6 oz. cream cheese
1/2 c. shredded Romano cheese
1/2 c. shredded Parmesan cheese
leftover turkey
leftover stuffing
fettuccine noodles

1.To make the alfredo sauce,

  • Melt butter in saute pan. Add garlic, and saute for about one minute. Add flour. Cook until golden. This is called a roux.
  • Slowly mix in the milk. Heat on medium-high heat until milk begins to boil. Reduce heat. Add cream cheese in cubes. Continue stirring until cream cheese is combined thoroughly. Gradually reduce the heat as you add in the Parmesan and Romano cheese.

2.  Boil noodles. Drain. Put them in a baking dish, mix in the turkey chunks, and pour sauce over the mixture. Top with stuffing, and grate fresh Parmesan over the top.

3. Bake at 350 until the sauce is bubbly, 20-25 minutes.