Gardening Updates

Last week was an exciting week as our first blueberries and our first tomatoes were ready to be picked. We also found a mystery melon plant in the midst of our beets!

  • In the spring of 2008, we transplanted two blueberry bushes. At the time, they looked like sticks with roots. We were hesitant to plant more than two because we had heard that blueberries are difficult to take care of due to the soil pH of 4.5 needed. They are also fussy in that they need lots of water, yet a very well-drained soil. Blueberries take two years to produce fruit, so ours should be in full-producing mode (if everything goes well) by next summer. However, we were surprised to find a couple last week. Six blueberries in all this year!
  • The tomatoes are decorating the garden with splashes of orange and red now. Check out the photo from our first “harvest” of the season.

  • Our mystery melon plant remains…well, a mystery! We’re not growing any melons of this sort, so the only conclusion that we can make about how it got there is that last fall, before purchasing our compost bin, we threw food scraps into the spent parts of the garden. Maybe there was a melon seed in our scraps? We did get a lot of melon from our CSA last year . . .

Anyone have any idea what type of melon this is?

Chorizo, Potatoes, Tomatoes, Avocados…Oh My!

Well, it is officially tomato and new potato season! Every day, we’re bringing a bag, half-full with tomatoes and new potatoes up from The Backyard Market to our kitchen to be used for immediate eating. Soon, both will be overwhelming and we’ll be living in the kitchen, canning and drying. Can’t wait!

Two evenings ago, we had a lovely evening of Chardonnay, grilled potatoes for me and grilled potatoes with chorizo sausage for Andy, and an avocado-tomato salad! Delicious! Enjoy our recipes!

Chorizo Sausage and Potato Grilled Salad
5 medium new potatoes (approx.)
1/2 lb. of local chorizo sausage
3 large cloves of garlic, chopped coarsely
1 medium onion, chopped
1 fresh jalapeno or similar pepper, if in season
1 Tbs. of spice blend, containing ground cumin, chili powder, salt, and pepper
1 Tbs. of olive oil or more to taste

Prepare grill to medium to medium-high heat.
Cube potatoes, making sure they are large enough that they will not fall through the holes of a grill pan. Put into the grill pan. Chop garlic, jalapeno, and onion; layer on top of the potatoes. Cut chorizo into 1-inch segments and layer on top of garlic and pepper. Once grill is ready, put on grill. Let heat for three to five minutes. Slowly drizzle olive oil and shake grill pan over fire to distribute oil. Periodically, shake the grill pan, adding spice and/or oil to desired taste. Continue process until potatoes are tender.

A real treat to the chorizo dinner is a splash of Mexican crema and/or a sprinkling of queso fresco on top! Scrumptious!

Avocado and Tomato Salad
We discovered this simple yet elegant salad while studying in the Dominican Republic. The plate comes layered with raw avocados, tomatoes, and onions. Customers add vinegar, oil, salt, and pepper. We loved the simplicity of the salad and how crisp and fresh it tasted. Since we’ve been home, we’ve encountered several versions of the salad, but this easy, fresh version remains our favorite.

2 ripe avocados
3 medium tomatoes (We used fresh Nyagous tomatoes from our garden!)
1 small onion
olive oil to taste
cider vinegar to taste
salt and pepper to taste

Pit avocados and slice them into 1/4-inch strips. Slice tomatoes similar to avocados. Extra-thinly slice the onion. Layer the three on a plate. Drizzle olive oil and cider vinegar to taste. (Careful: Too much cider vinegar can overpower the dish. Be sure to taste test before serving!) Add salt and pepper to taste! Goes really well with Chardonnay!

Art in the Form of Food!


Six years ago, we signed up for a vegetable Community Supported Agriculture (CSA) share with Harmony Valley Farm in Viroqua, WI. We get a box of fresh, in-season, local produce each week, May through February. Veteran CSA-ers often say it takes about three years to really get into the rhythm of the vegetable box. Through experience, we tend to agree. Our first year was a bit of a blissful struggle ~ we often would rack up a big grocery bill buying the extra ingredients for a recipe calling for bits and pieces of our CSA box ~ like 1/4 cup of asparagus or 1 beet or 1 cup spinach! Years two and three, we began to see that substituting one vegetable for another was beneficial and necessary. By year four, we were completely in the groove — improvising, creating, and really just throwing veggies together to see how they worked with one another. Art in the form of food! Trial and error has been 100% helpful. Now, after six years, we feel confident that we utilize the box well, but we still continue to improve with each passing year.

One of our favorite ways to utilize a lot of veggies is by making pizza! Pizza is tasty at any time of the year, and any veggie pairs well with cheese, crust, and tomato or pesto sauce! Here are three we’ve made over the last few months.

Homemade Crust (adapted from Bob’s Red Mill)
1 Tbs. Active Dry Yeast
3/4 c. warm water (105-115 degrees)
1/4 c. warm milk
2.5 c. flour
2 Tbs. olive oil
1 tsp. sugar
1 tsp. salt

Combine flour, salt, and sugar in a small bowl. In a separate bowl, dissolve yeast in water and milk. Add oil and dry ingredients. Stir until dough becomes tough, then knead on lightly-floured board until smooth and elastic. Form dough into a ball and place in a greased bowl. Cover bowl and let dough rise until doubled. Divide dough in half and form two 12 inch circles, using fingers or a rolling pin. Top with desired toppings and bake in a preheated 450 degree oven for 15-20 minutes.

We often pre-bake the crust in 450 degrees for ten minutes to make it crispier. All a matter of preference!

Pizza #1: Gold Beets and Goat Cheese

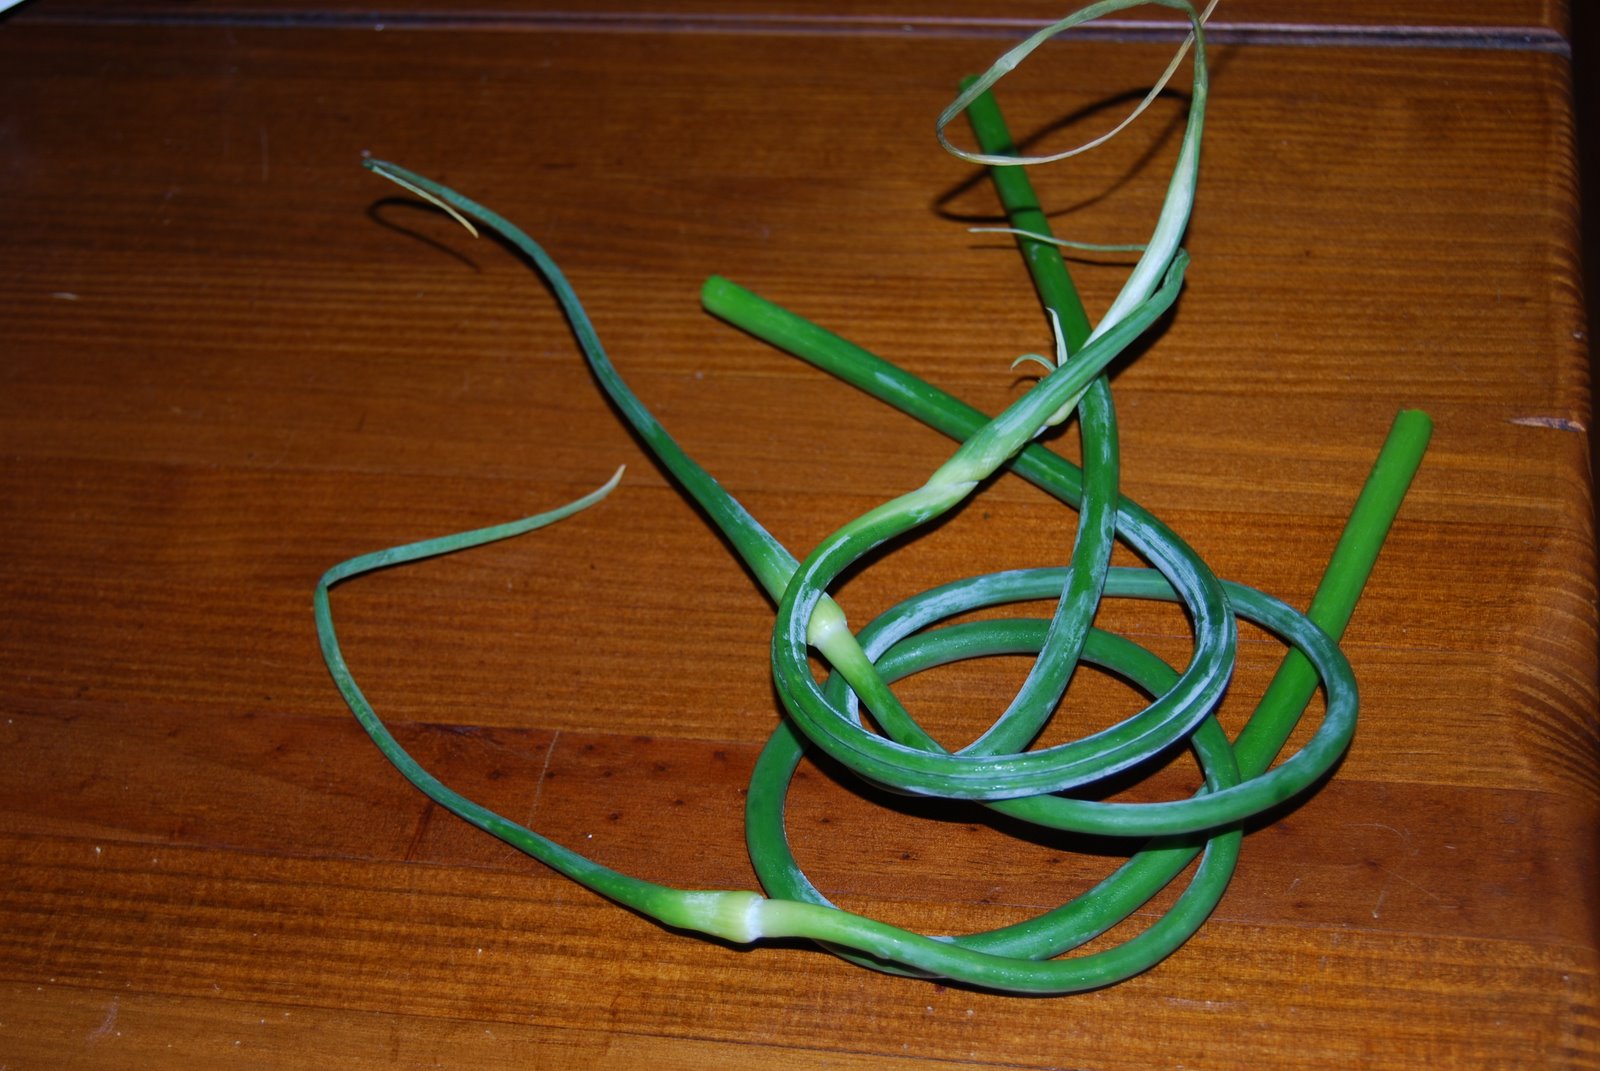
We used tomato sauce from last year’s tomato harvest for this pizza. Then, rummaging through our fridge, we found 3 gold beets, a small package of goat cheese, numerous scallions and garlic scapes, and local Parmesan cheese (via our CSA cheese share!). We roasted the gold beets in the oven, and then threw on the veggies. After dolloping the pizza with goat cheese, we dusted the whole pizza with grated Parmesan cheese. Way yummier than we expected!

Check out those delicious gold beets!

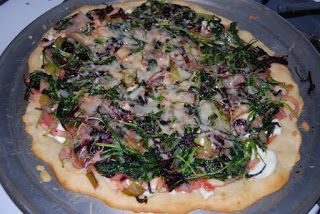
Pizza #2: Goat Cheese, Greens, and Caramelized Onions

Harmony Valley frequently provides us with recipe ideas for what’s in the box during any given week. A few weeks ago, they suggested making a pizza crust, spreading a package of goat cheese on it, and then topping it with a prepared saute mix (which is basically baby greens). We took this idea a step further by caramelizing some onions we had gotten in our box that week and adding walnuts. Delicious!


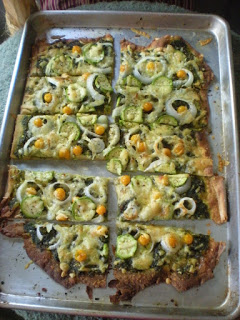
Pizza #3: Pesto and Seasonal Veggies
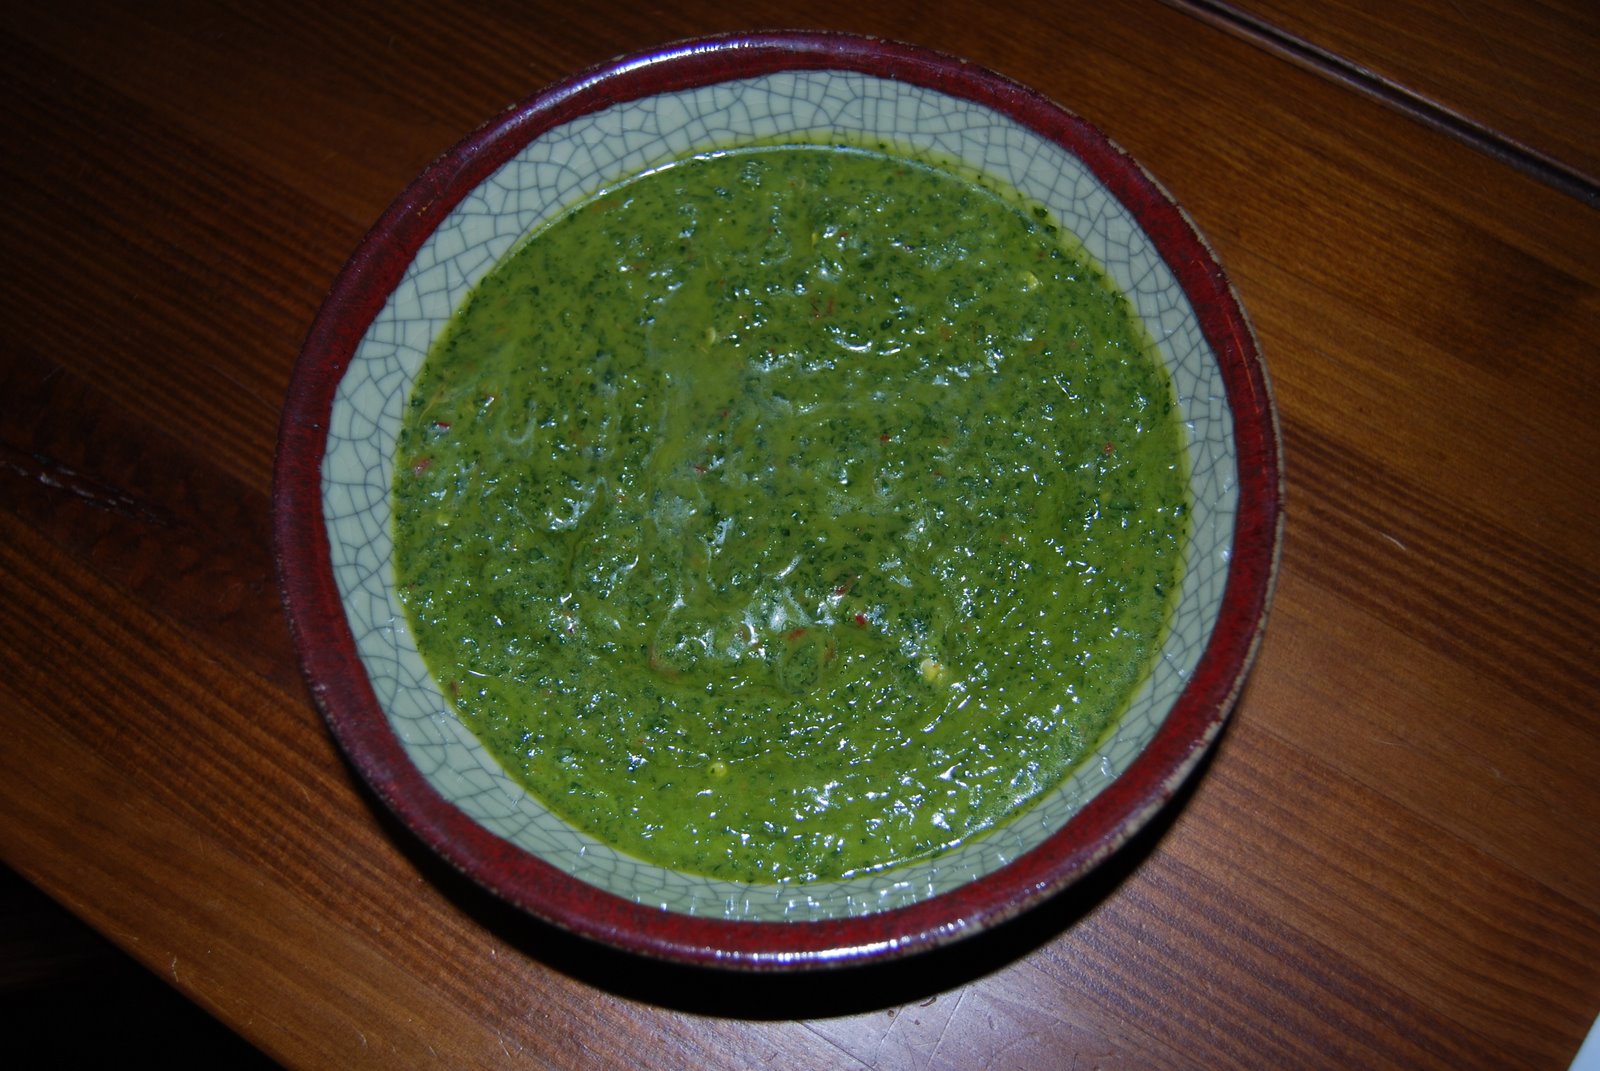
This pizza was more traditional than the other two. Our basil plants are flourishing, so pesto pizza seemed an obvious choice. Using the basil and garlic from our garden combined with the basil from our CSA box, we made five cups of pesto. We froze most, but spread a bit on a homemade pizza crust (see recipe above). On top, we put veggies that we had growing in the garden or given to us in the box: cherry tomatoes, zucchini, onions, and garlic. We topped it with summer cheddar cheese from Otter Creek Farms in Black Earth, WI.

This cheese is special in that the farm prides itself on its pastured cows. The cows, in effect, eat seasonally. Therefore, the farm offers a spring cheddar, a summer cheddar, and a fall cheddar. The farmers encourage consumers to take note of the subtle changes in flavor throughout the year as the herd’s diet changes. Even more special (in the eyes of any animal-loving vegetarian) is that the farmer himself used to be a vegetarian. This tells me that consumers can trust that the cows are treated with respect. After all, happy cows come from Wisconsin!
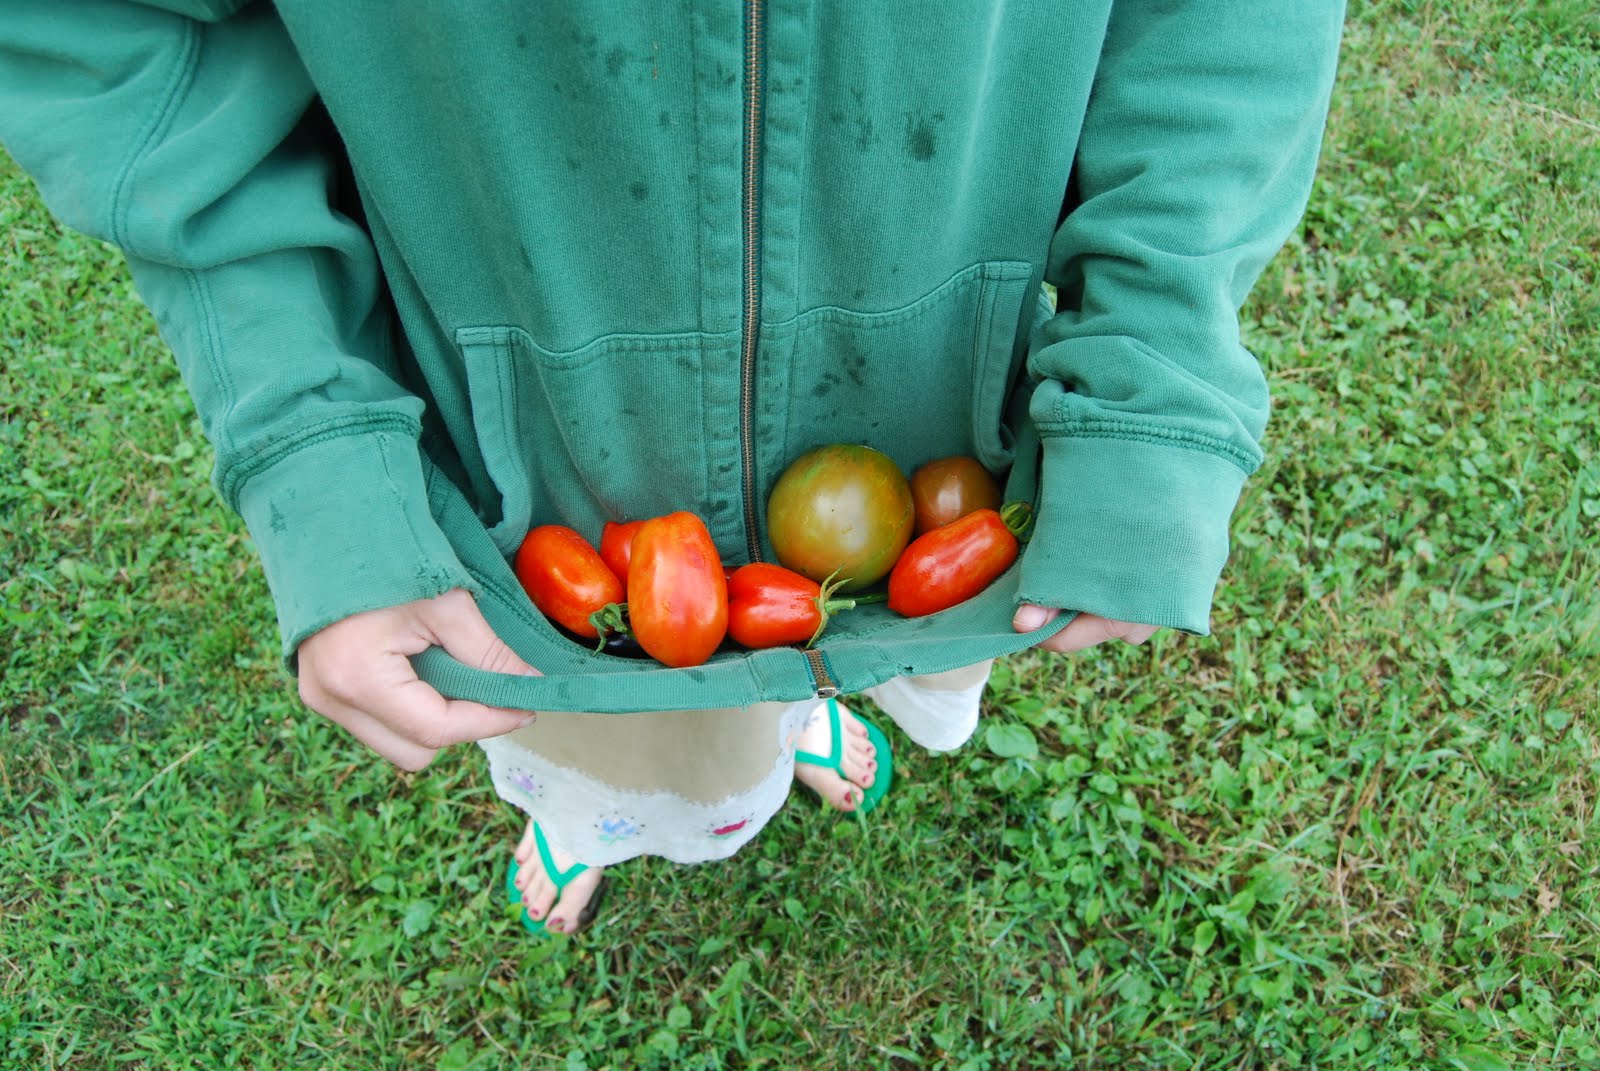
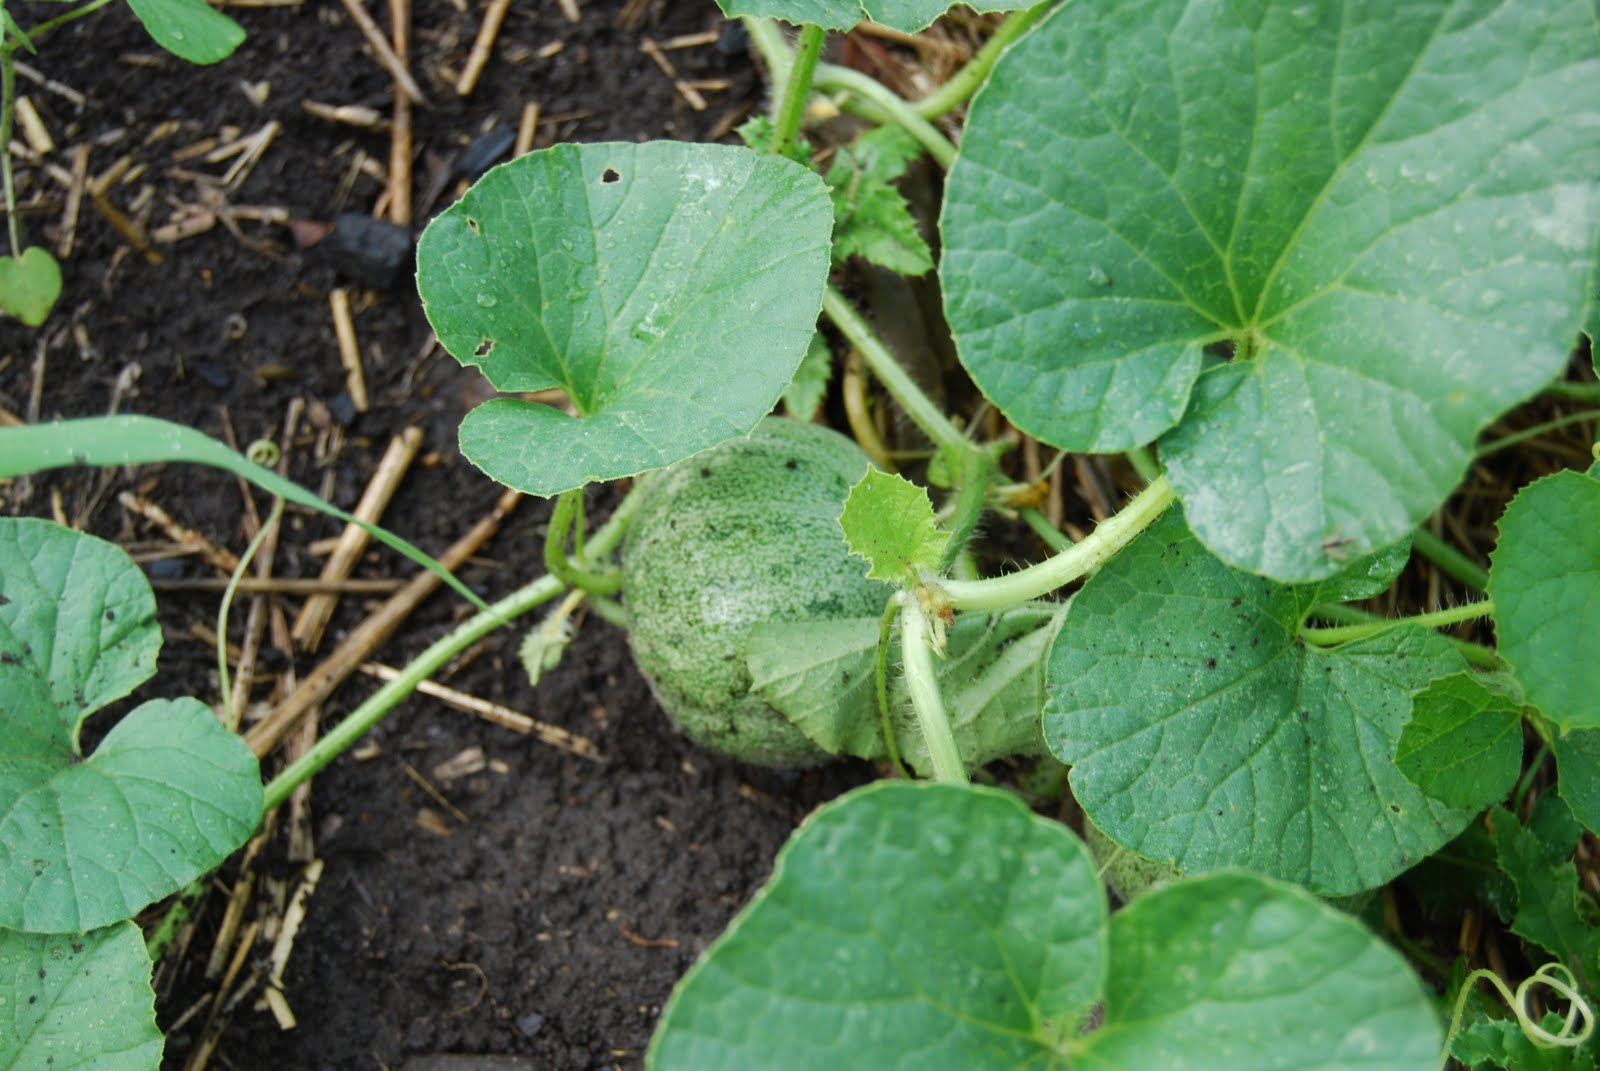
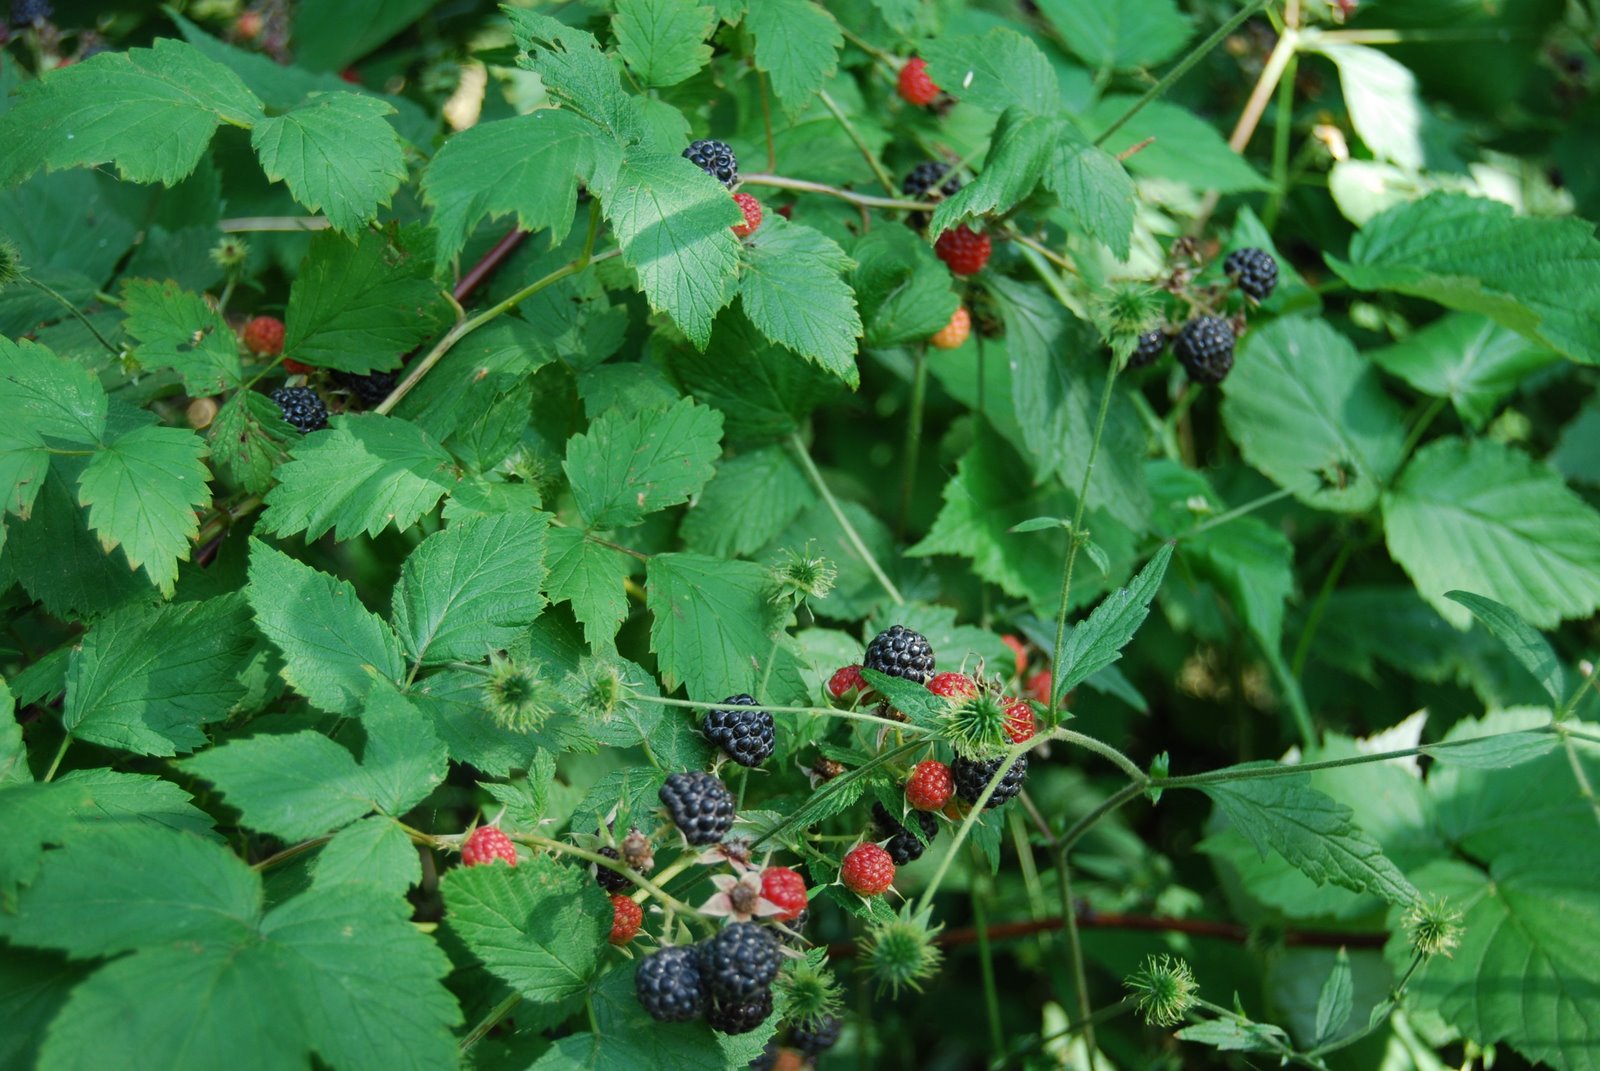
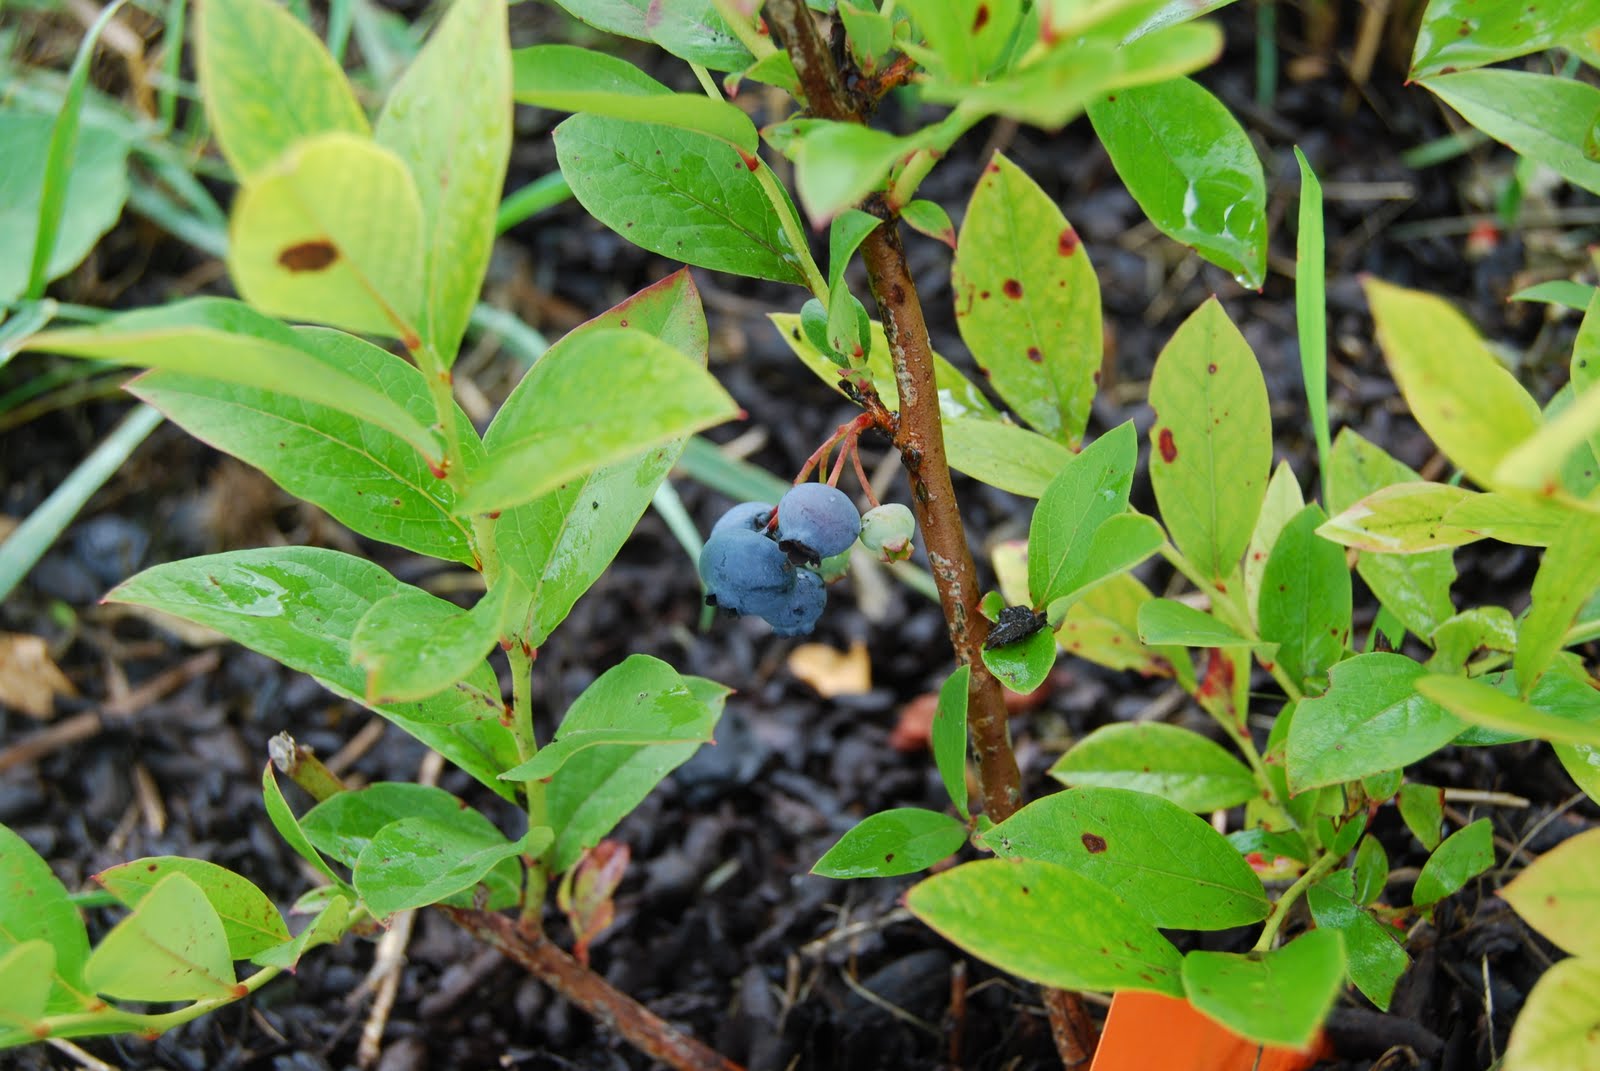
New Potatotes!


Yippee! The potato plants are browning and withering, which means they are ready to be harvested. Today, Andy shoveled up a handful of potatoes to be used within in the day as “new potatoes.” What are new potatoes you might ask? Well, new potatoes are basically fresh, out-of-the-dirt potatoes. The skins are super delicate, so much so that one must wash them by gently rubbing them with only his/her fingers under cold water. Any hard pressure will take the skin right off. New potatoes have a creamy texture and are considered a delicacy to some.

These “new potatoes” could have been put in the sun/greenhouse for a few days to harden the skins up for longer storage (thereby creating your basic grocer-type potato). Or the tops of the plants could be cut down a week or so ahead of the harvest in order to toughen the skin up a bit. We decided that the first potato harvest of the year demanded fresh use! Plus, we thought eating them immediately would be a good personal test for our first potato harvest.

Most of our potatoes are still in the ground; we plan on using them throughout the month before making one final, large harvest.

Tonight, we paired Herbed New Potatoes with local Natural Casing Wieners (for the carnivores) and Tofurky Brats (for the vegetarians). A perfect picnic pairing!

Carnivore’s Delight!
(all local ~ within 15 miles of our house)


Herbed New Potatoes
1 – 2 lbs. of new potatoes
2 Tbs. butter
a minimum of 1 clove of garlic, chopped
1/4 c. fresh parsley (mixed with other herbs if you have them ~ thyme, oregano, etc.)
2 ounces Parmesan or similar-style cheese, shredded

Using a heavy pan/pot or Dutch oven with accompanying cover(s), melt butter over low heat. Put in whole or quartered potatoes (depending on size). Dump garlic and herbs over the potatoes. Cover and cook for 25 minutes on low, shaking the pan periodically to avoid sticking. After 25 minutes, remove from heat and sprinkle shredded cheese over potatoes. Cover and let stand for five minutes. Serve hot! Makes four servings.

Nutrition Facts
herbed new potatoes
Serving Size: 1 serving
Amount Per Serving
Calories 280
Total Fat 9.8g
Saturated Fat 5.4g
Trans Fat 0g
Cholesterol 27mg
Sodium 750mg
Carbohydrate 40.8g
Dietary Fiber 3.9g
Sugars 1.7g
Protein 9.1g
Vitamin A 4% Vitamin C 44%
Calcium 1% Iron 3%


Too Much Parsley?


A few years ago, we were served a delicious and mysterious green sauce along with our bread at a local tapas restaurant. Our waiter told us that it was chimichurri, a popular Argentinian sauce which is typically used for marinating and topping meats.

We hadn’t given this yummy sauce much thought again until our most recent parsley harvest! We dried some, but wanted to also use some fresh. So, we found a recipe for chimichurri sauce.

Andy used some to top a grilled halibut steak. We also marinated zucchini, mild onions, cherry tomatoes, and peppers in the sauce. We then skewered the veggies for the grill, and later used more chimichurri as a dip/topping.

We had a lot of leftover sauce, so we mixed a few tablespoons with sour cream and yogurt to make a veggie dip! Scrumptious!

Chimichurri Sauce
1 c. parsley
1/2 c. olive oil
2 cloves of garlic (or more to taste!)
the juice of one lemon (roughly 2 Tbs.)
5 Tbs. red wine vinegar
1 tsp. red pepper flakes (or more to taste!)

Mix everything in a food processor. Process until well-combined.

Serving= 1 Tbs.

Nutrition Facts
Chimichurri
Serving Size: 1 serving
Amount Per Serving
Calories 62
Total Fat 7g
Saturated Fat 1g
Trans Fat 0g
Cholesterol 0mg
Sodium 2mg
Carbohydrate 1.4g
Dietary Fiber 0.1g
Sugars 1.1g
Protein 0.1g
Vitamin A 6% Vitamin C 9%
Calcium 1% Iron 1%

(courtesy of www.myfooddiary.com)

A Summer Berry Delight!


Our backyard is a berry haven! Black raspberries, mulberries, and red raspberries (the only berry we actually planted) are producing fruit at an astounding rate. Tonight, we were asked to bring dessert to a barbecue at Andy’s parents’ house. The berry tart found in July/August’s (2009) issue of Vegetarian Times seemed the perfect fit for the occasion! It was a big hit among all!

As seen in the magazine:

Fresh Berry Tart with Toasted Nut Crust:

CRUST:
1/4 cup each almonds, pecans, and hazelnuts
3/4 cup whole-wheat flour
1/4 cup sugar
1/4 tsp. salt
6 Tbs. chilled, unsalted butter, diced
1 large egg yolk

FILLING:
1/2 cup light sour cream
1/2 cup nonfat plain Greek yogurt
2 Tbs. light brown sugar
1 tsp. vanilla extract
1/4 tsp. grated orange zest
2 cups in-season, local berries (Vegetarian Times recommends 1 cup each blueberries and raspberries, but we just use what berries we have)
1 Tbs. orange juice

  • To make crust: preheat oven to 350 degrees F. Coat a 9-inch tart pan with cooking spray. Spread nuts on baking sheet, and toast in oven 12 to 15 minutes or until browned.
  • Pulse nuts, flour, sugar, and salt in food processor until nuts are ground to powder. Add butter, and pulse until mixture resembles coarse meal. Add egg yolk, and pulse until moist clumps form. Press dough into bottom and sides of prepared pan, about 1/4-inch thick, and pierce with fork. Freeze 30 minutes.
  • Adjust oven temperature to 400. Bake crust 12 to 14 minutes, or until golden. Cool.
  • To make filling: whisk together sour cream, yogurt, brown sugar, vanilla, and orange zest in small bowl. Toss berries with orange juice in separate bowl.
  • Spread sour cream mixture in crust with spatula. Spoon berries over top a little at a time, until sour cream mixture is evenly covered. Refrigerate 30 to 60 minutes before serving. Cut into 8 pieces to serve.

Per slice:
288 calories; 6 G protein; 19 G total fat (9 G saturated fat); 26 G carb; 58 MG cholesterol; 87 MG sodium; 4 G fiber; 13 G sugars

Herbs and Berries! Oh my!


Last week, we harvested several herbs from our herb garden, including lavender, chamomile, basil, oregano, curly parsley, and flat-leaf parsley. My mom (Darcy’s) surprised us by buying us a much-needed dehydrator, which we tried out for the first time on our herbs. Additionally, we dehydrated several cups of mulberries from our second harvest.

Before we had a dehydrator, we dried herbs by putting them in the oven or hanging them upside down in a cool, dark place. The dehydrator makes drying much more convenient, but herb drying is 100% possible without one.

For our lavender and chamomile, we followed the same process, but did much more research prior to harvesting as this was our first attempt at tea herbs. We learned that when the chamomile flowers have white petals, it is time to harvest. If the white petals begin falling off, it’s too late. To obtain them, I simply plucked the flowers off with my fingers; I found this to be the most efficient way to quickly harvest. As for the lavender, I cut the stems about three inches below the purple flowers. Both herbs were dehydrated in the dehydrator and stored in Mason Jars, which were then placed in our food pantry.

The mulberries needed to be dehydrated for much longer ~ 12 hours! What a delicious addition they will be to our bowls of cereal this winter!

A Serious Black Raspberry Patch!


We recently mowed a bit more of our weeded jungle down, only to discover a modest amount of black raspberry vines, speedily producing! As I battled mosquitoes and unruly, prickly vines, I found more and more areas covered with black raspberry vines. Spots of black and red seemed to be everywhere! Because no one had taken the time to prune these treasures, they are extremely tangled – making harvesting all of the berries challenging. Andy and I are researching and looking for suggestions as to how to get this area a bit more under control. If you have ideas or suggestions, please post them!

Despite the challenges, I picked eight cups a few days ago and eight more cups today. Getting the most out of our black raspberry patch is an unexpected, but welcomed task. Now, for what to do with them?

We made a delicious black raspberry cobbler last week. We’ve also been enjoying them fresh, on our cereal, every morning.

Tonight, we’re making Black Raspberry Ice Cream!

Ingredients:
1 pint of heavy cream
juice of one lemon
3/4 c. sugar
5 cups of black raspberries

Instructions:
Blend black raspberries, sugar, and lemon juice until well-blended. Stir in cream. Process according to ice cream maker’s instructions.


Nutritional Information is based on one cup servings.

Nutrition Facts
Black Raspberry Ice Cream
Serving Size: 1 serving
Amount Per Serving
Calories 475
Total Fat 37.3g
Saturated Fat 21.4g
Trans Fat 0g
Cholesterol 122mg
Sodium 32mg
Carbohydrate 43g
Dietary Fiber 7.6g
Sugars 34.1g
Protein 1.4g
Vitamin A 25% Vitamin C 52%
Calcium 3% Iron 5%

(courtesy of http://www.myfooddiary.com)

Garlic

Our first attempt at planting garlic was a successful one! In mid-October of 2008, we planted German Stiffneck garlic, which we obtained from our local garlic guy at the Dane County Farmer’s Market. We chose this variety for its reputation of strong flavor. Additionally, we searched for a large head of garlic because we had read that larger cloves result in larger heads. We have found this to be true.

We buried our 8 large individual cloves 1-2 inches deep and 6 inches apart. Then, we covered the garlic bed with 6-8 inches of leaf mulch.

In early spring, we pushed away some of the leaf mulch in order to give the garlic shoots room to pop through and get some sun!

Throughout June, we cut garlic scapes, which are the the flowers that shoot off the main stalk. By cutting the scape, the plant puts all of its energy into the bulb, resulting in the garlic heads having a stronger flavor. Plus, garlic scapes are great additions to spring food! We use them as we would a garlic clove.

Yesterday, we harvested the heads of garlic. Once the stalks are about 30% yellow, the plants are ready to be dug up. The garlic can be used right away, but the flavor won’t be as strong as cured garlic. To cure the garlic, leave the pulled garlic in the sun (maybe on your porch) for 3-5 days. Then it can be stored for a longer period.

We’ve decided to cure six heads and use the other one for basil pesto. Yum!

Basil Pesto (all ingredients can be modified to make your taste buds happy!)
3 cloves of garlic
3 cups of fresh basil
1/2 cup Parmesan cheese
1/3 cup pine nuts
1/2 cup olive oil
salt and pepper to taste

Put everything in a food processor except for the olive oil. Pulse until it is coarsely chopped. Simultaneously, slowly drizzle in the olive oil. The pesto is ready when it looks like a runny paste.

Can be frozen or used immediately.


Tiny Discoveries (Mulberries)

When we moved into our farmhouse, the backyard was a disaster. Most of it was overgrown. Since we’ve been occupants here, we’ve cleared a bit out each summer. Behind our garden remains a large overgrown patch. Trees grow into one another, tangled in vines. We haven’t mowed this section, mostly because of our resident woodchuck, whom we affectionately refer to as “Henry.” However, last week , as we were weeding our garden, we noticed what looked like one large blackberry tree! We looked at each other puzzled, for we had both thought blackberries grew on bushes. We searched the Internet for blackberry trees and soon realized we had several mulberry trees in our yard.

Today, we mowed a path around the trees and harvested them for the first time. My (Darcy’s) grandma passed on a tip: throw a sheet under the tree. Proceed by shaking the tree branches like crazy.

Soon it was raining mulberries. However, there were tons left on the tree, so we had to pull branches down and harvest the rest by hand.

As luck will have it, mulberries are considered a super fruit, loaded with Vitamin C, Vitamin K, Iron, Dietary Fiber, Riboflavin, Magnesium and Potassium. Yay for us!

RECIPES

We harvested 20 cups today. With them, we made a mulberry pie, rum mulberry ice cream topping, and mulberry jam.

Mulberry Pie

Crust:
2 c. flour
1/2 tsp. salt
1 tsp. sugar
3/4 c. butter, cold
5 Tbs. cold water

Filling:
5 c. mulberries
1 c. sugar
1-2 Tbs. cornstarch
4 Tbs. butter
1 Tbs. lemon juice
1/2 tsp. cinnamon

To make the pie crust, put the flour, salt, and sugar into a food processor or mix together. Chop the butter into small pieces; then add the butter slowly to the mixture. While mixing, add one tablespoon of water at a time, until the dough sticks together. Take the dough out of the processor and form a tight ball. Refrigerate for 30 minutes. Preheat the oven to 425 degrees.

Then, lightly spread flour onto a flat area. Roll half of the dough out. Put into your pie dish.

To make the filling, mix the berries with the sugar, lemon juice, and cornstarch. Chop the butter and add it to the mixture. Pour the mixture into the pie dish.

Roll out the remaining dough. Put it onto the top of the berry mixture. Crimp. Add a tablespoon or so of sugar, along with the cinnamon, to the top of the pie crust. Bake until crust is golden. Ours took about 35 minutes!

For a real treat, serve with ice cream!

Nutrition Facts
Mulberry Pie
Serving Size: 1 serving
Amount Per Serving
Calories 465
Total Fat 23.7g
Saturated Fat 11.7g
Trans Fat 0g
Cholesterol 61mg
Sodium 174mg
Carbohydrate 61.1g
Dietary Fiber 2.4g
Sugars 34.3g
Protein 4.9g
Vitamin A 15% Vitamin C 54%
Calcium 5% Iron 18%
(Courtesy of www.myfooddiary.com)

Rumberries

We’ve made flavored liquors before, so we thought we’d give this idea a try also.

Fill a one quart canning jar with mulberries (roughly four cups), leaving about an inch head space. In a separate bowl mix together one cup of rum with a half cup sugar. Mix together until sugar dissolves. Then, pour over mulberries. Store someplace dark for three or more months. Serve over ice cream or sample for after dinner treats!

Mulberry Jam

We always are a bit leery about canning without specific directions, so we went to the Internet for help with this recipe. Click on “Mulberry Jam” link above for instructions.

We opted for the no-sugar recipe. As we type this, we can hear the jars popping! We’re not sure how this will turn out in the end, but so far, everything seems to be working out just fine.


Ice bath to wash off the bugs, leaves and dirt!

Cooking up jam! Yum!


Rumberries!

Finished products from Harvest Day #1.