Handyman in the House

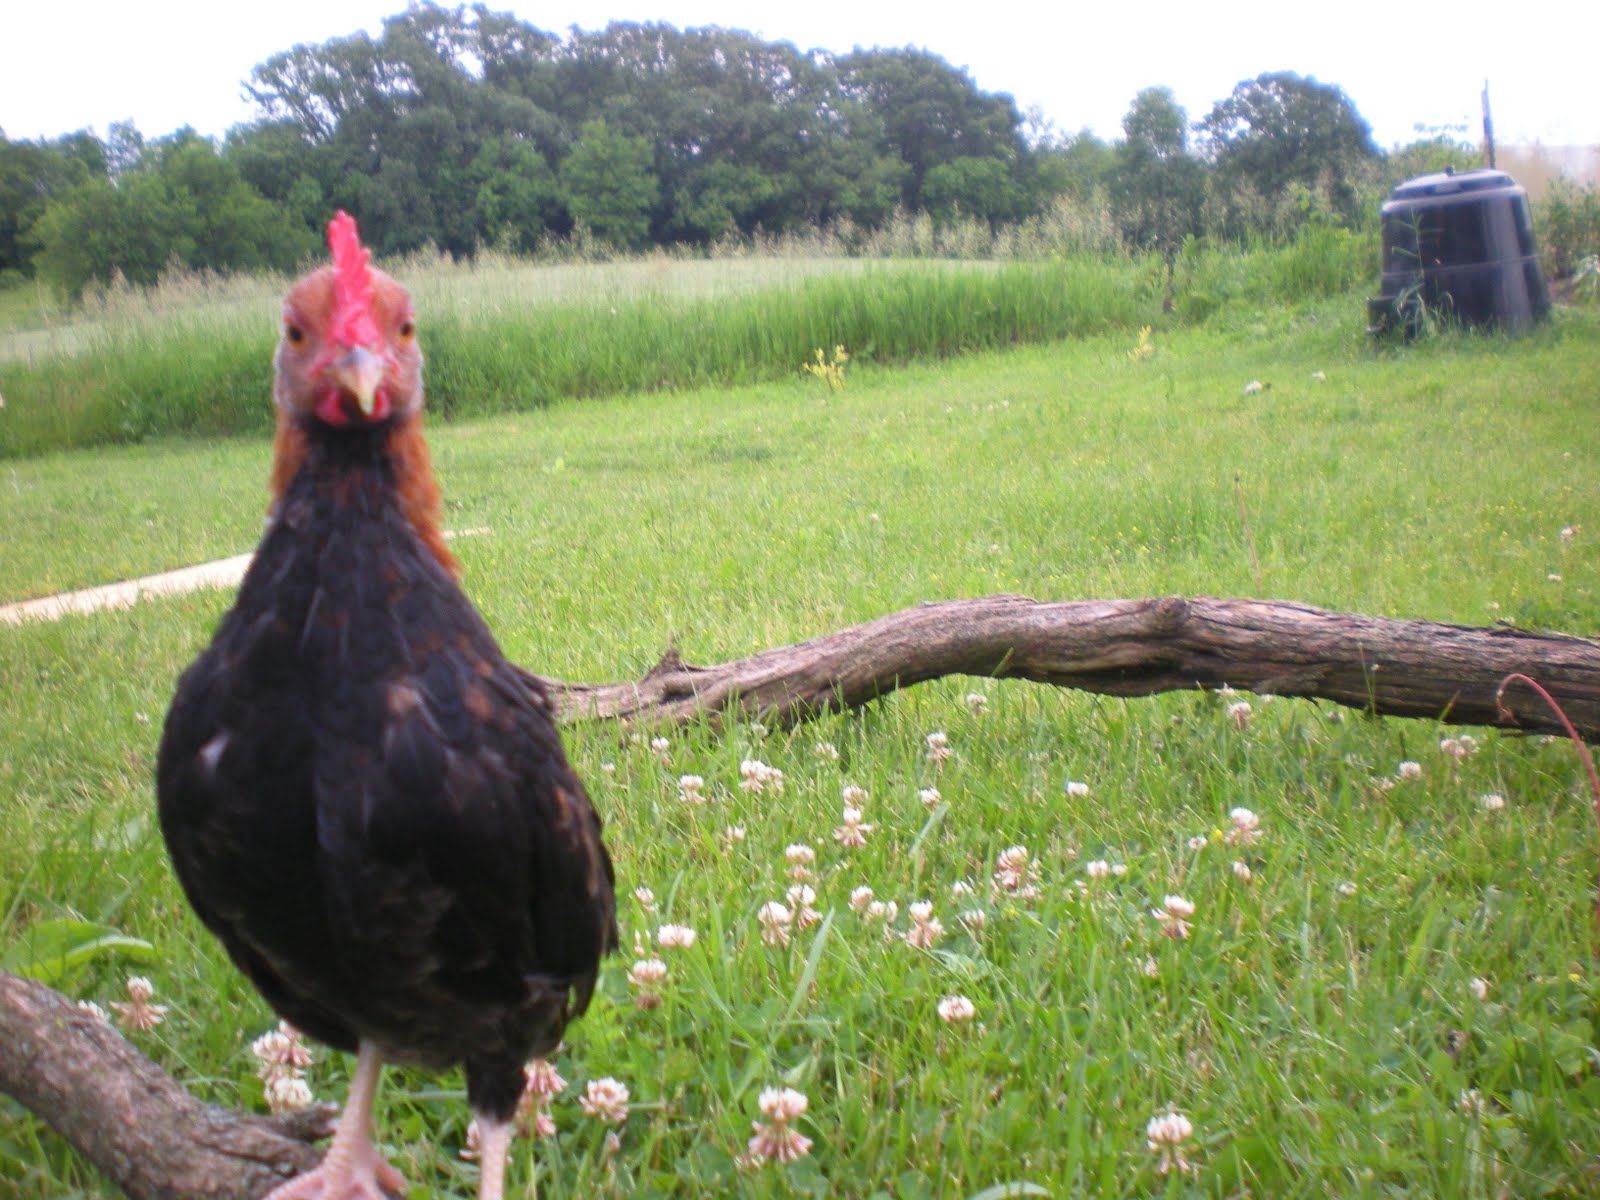
I had never thought of Andy as a handyman…and, he had never thought of himself that way either. That is, until recently. What started as a simple chicken run has turned into quite the project. Even the mail lady stopped by today to tell us how great our chicken run and coop look.

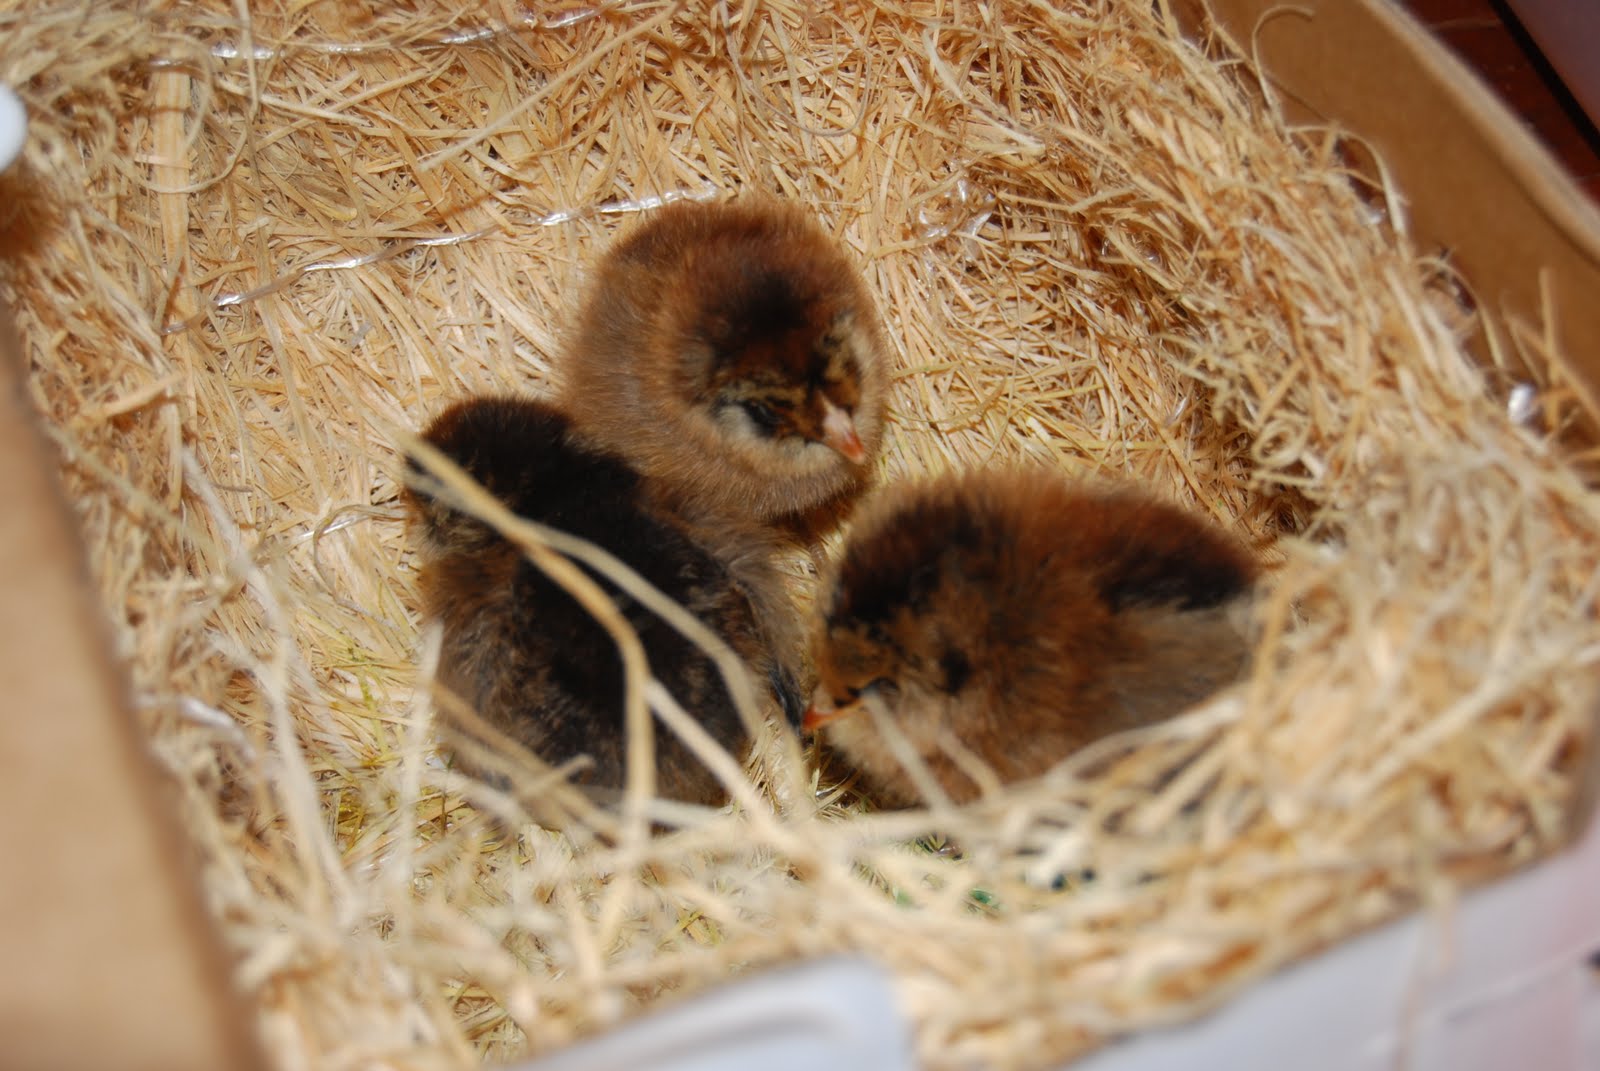
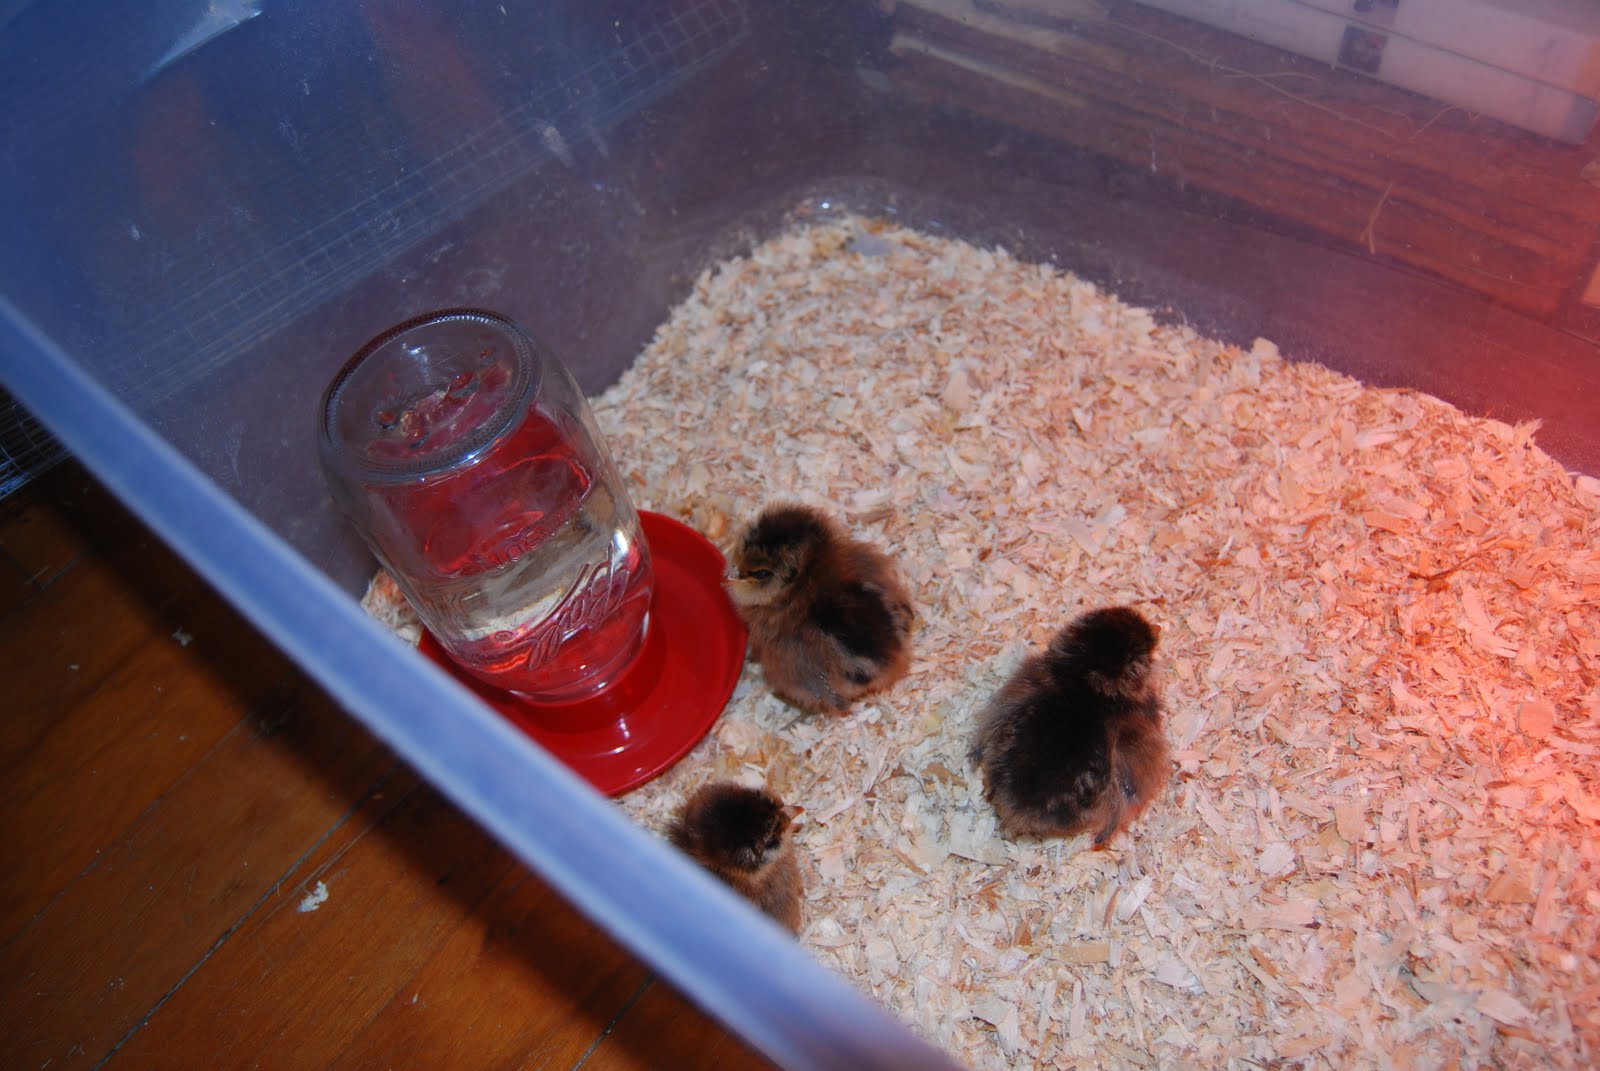
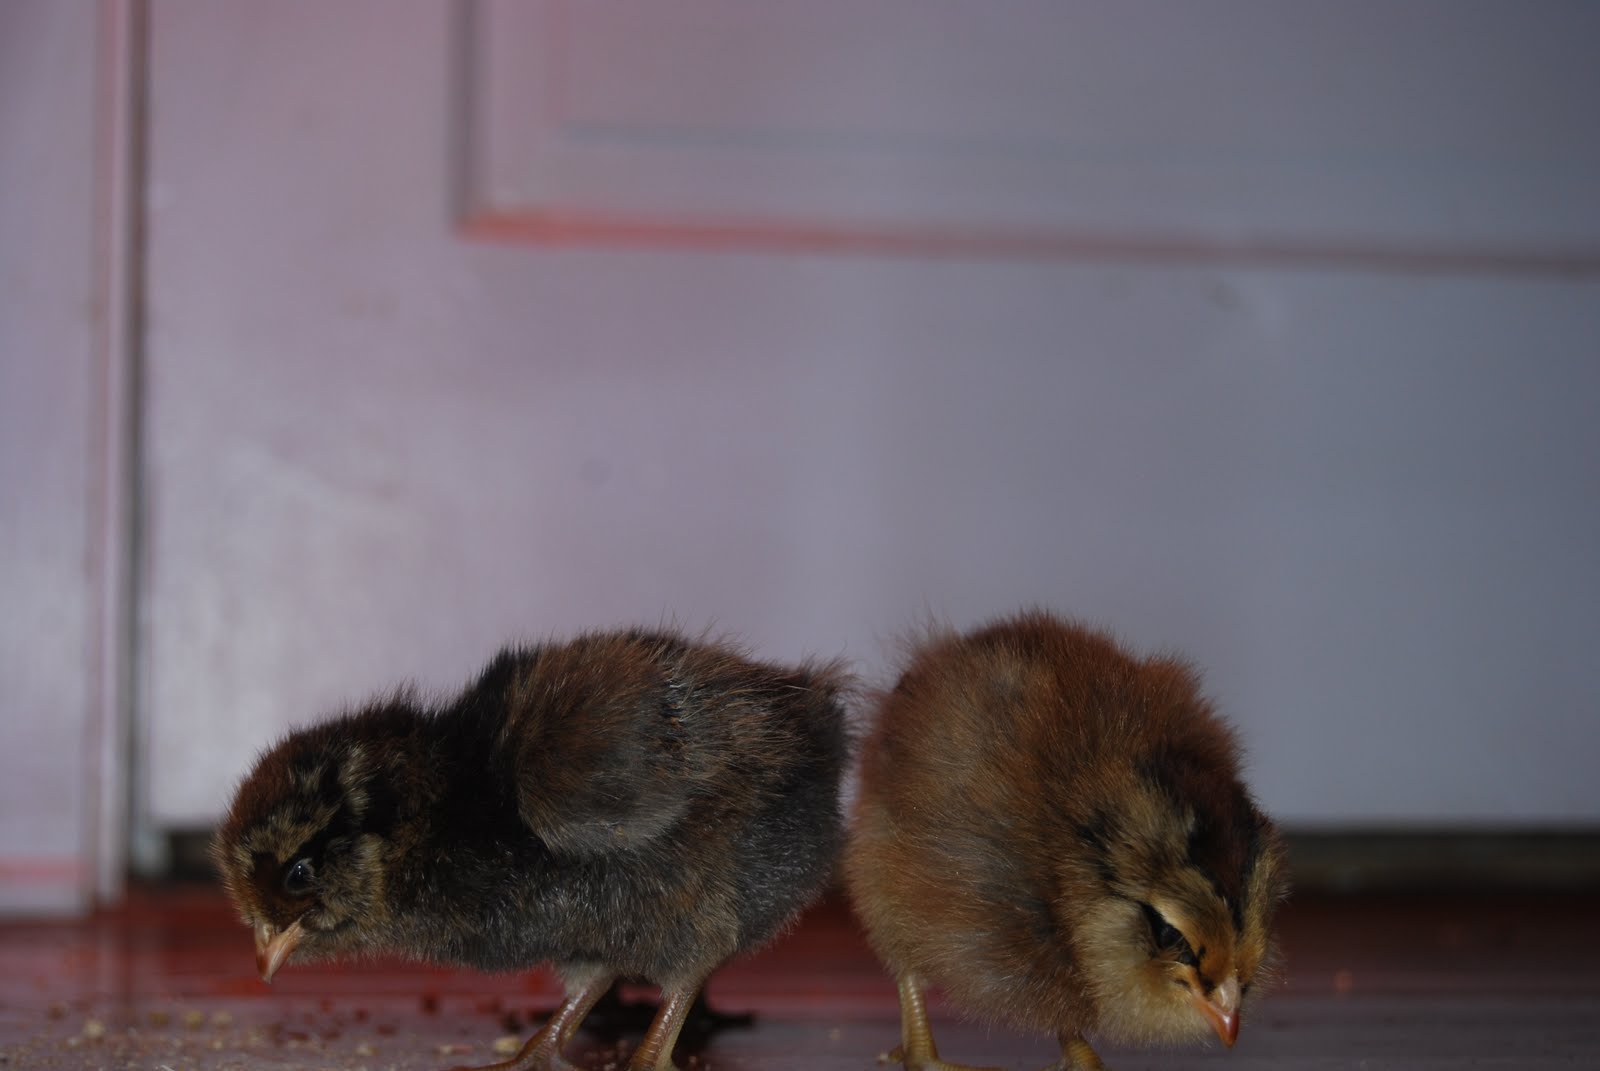
We got our first two chickens sporadically, so we were initially ill-equipped to house them. I didn’t mind the lack-of-housing situation too much. In all honesty, I was having a hard time imagining putting my new pets outside permanently. When I read about chicken diapers and indoor chicken pets, the wheels in mind began to roll. Then, my friend Gaby told me that there are many countries in the world in which chickens are free to roam in and out as they please. In fact, she told me, many homes actually contain a sort of chicken room. (I’m actually still thinking about that … we are planning to build on in a few years . . . !) 

Chicken diaper

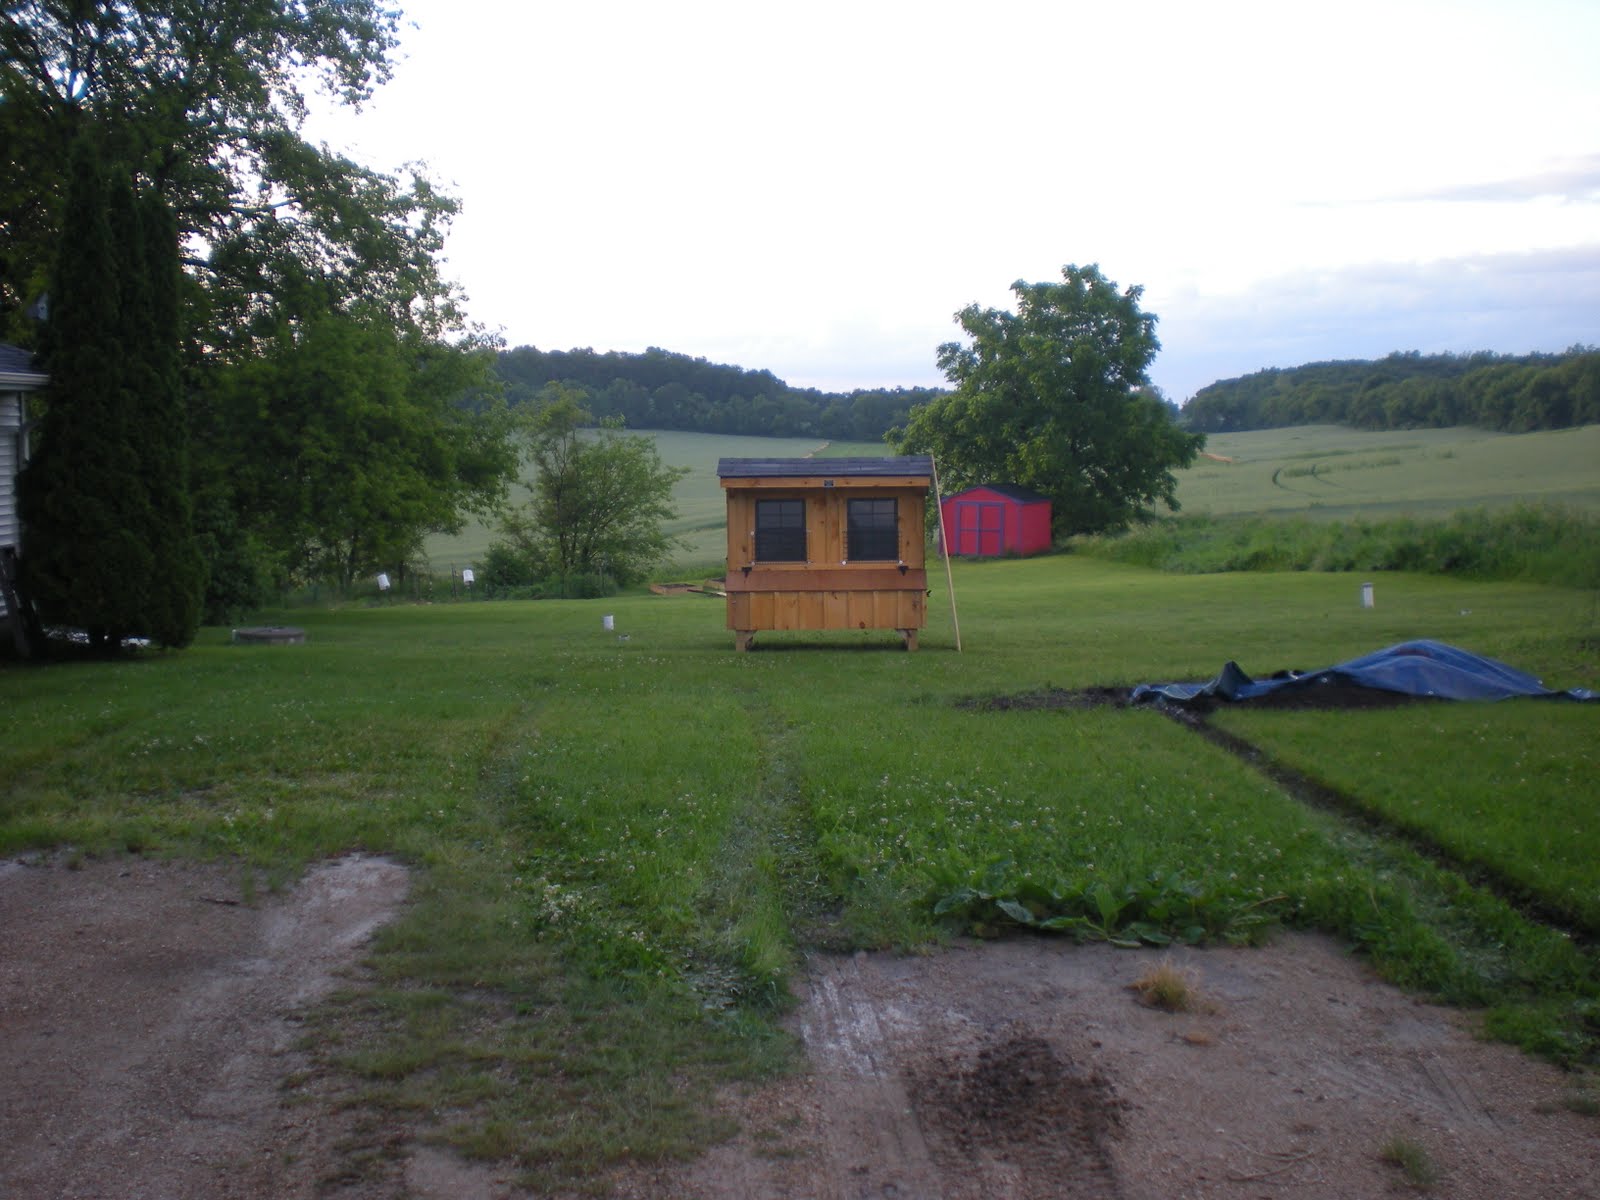
Anyway, after looking over several different coop plans, Andy and I decided to use our tax refund to simply purchase a coop from My Pet Chicken. It was more expensive than we had planned, but we wanted something secure, large, and quaint, so we made the decision that this year’s return would be used for our new pets. Also, at that time, Andy was still under the impression that he knew nothing about building anything. He thought he might be able to throw something together, but wasn’t confident it would be secure enough. 

Well, the coop came, and it was as cute as I had imagined it would be.

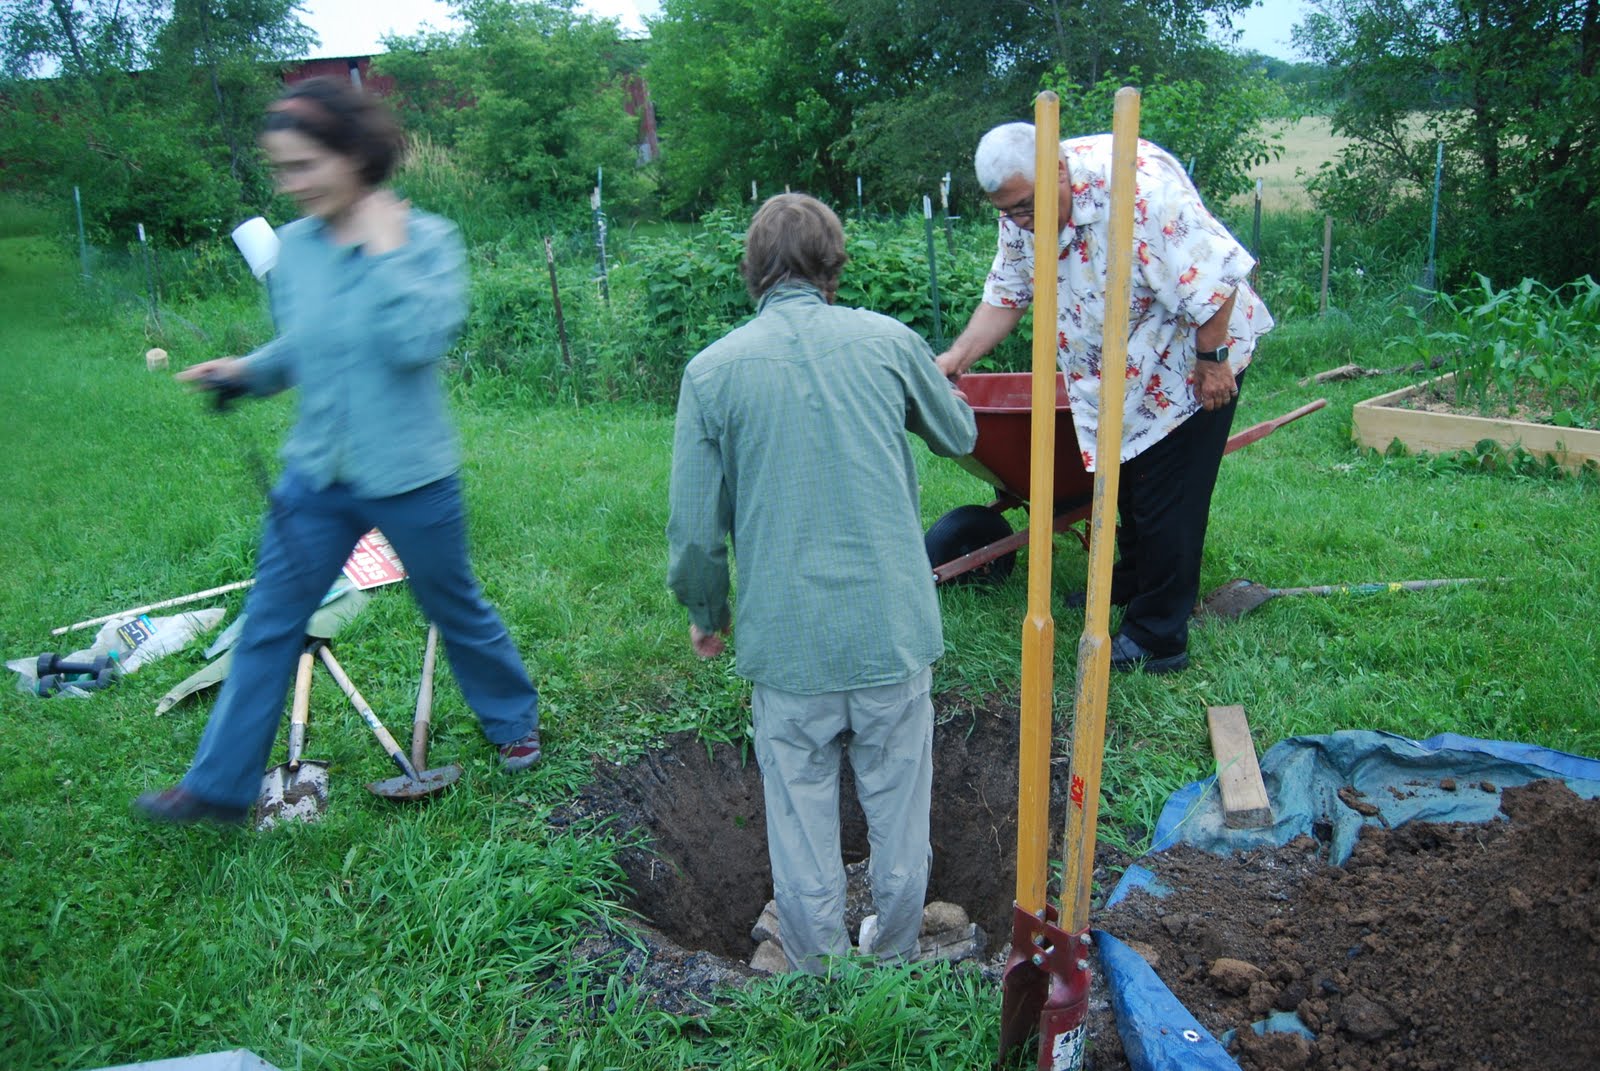
The following weekend, Andy’s dad and uncle came over to put hardware cloth around the entire perimeter of the coop.

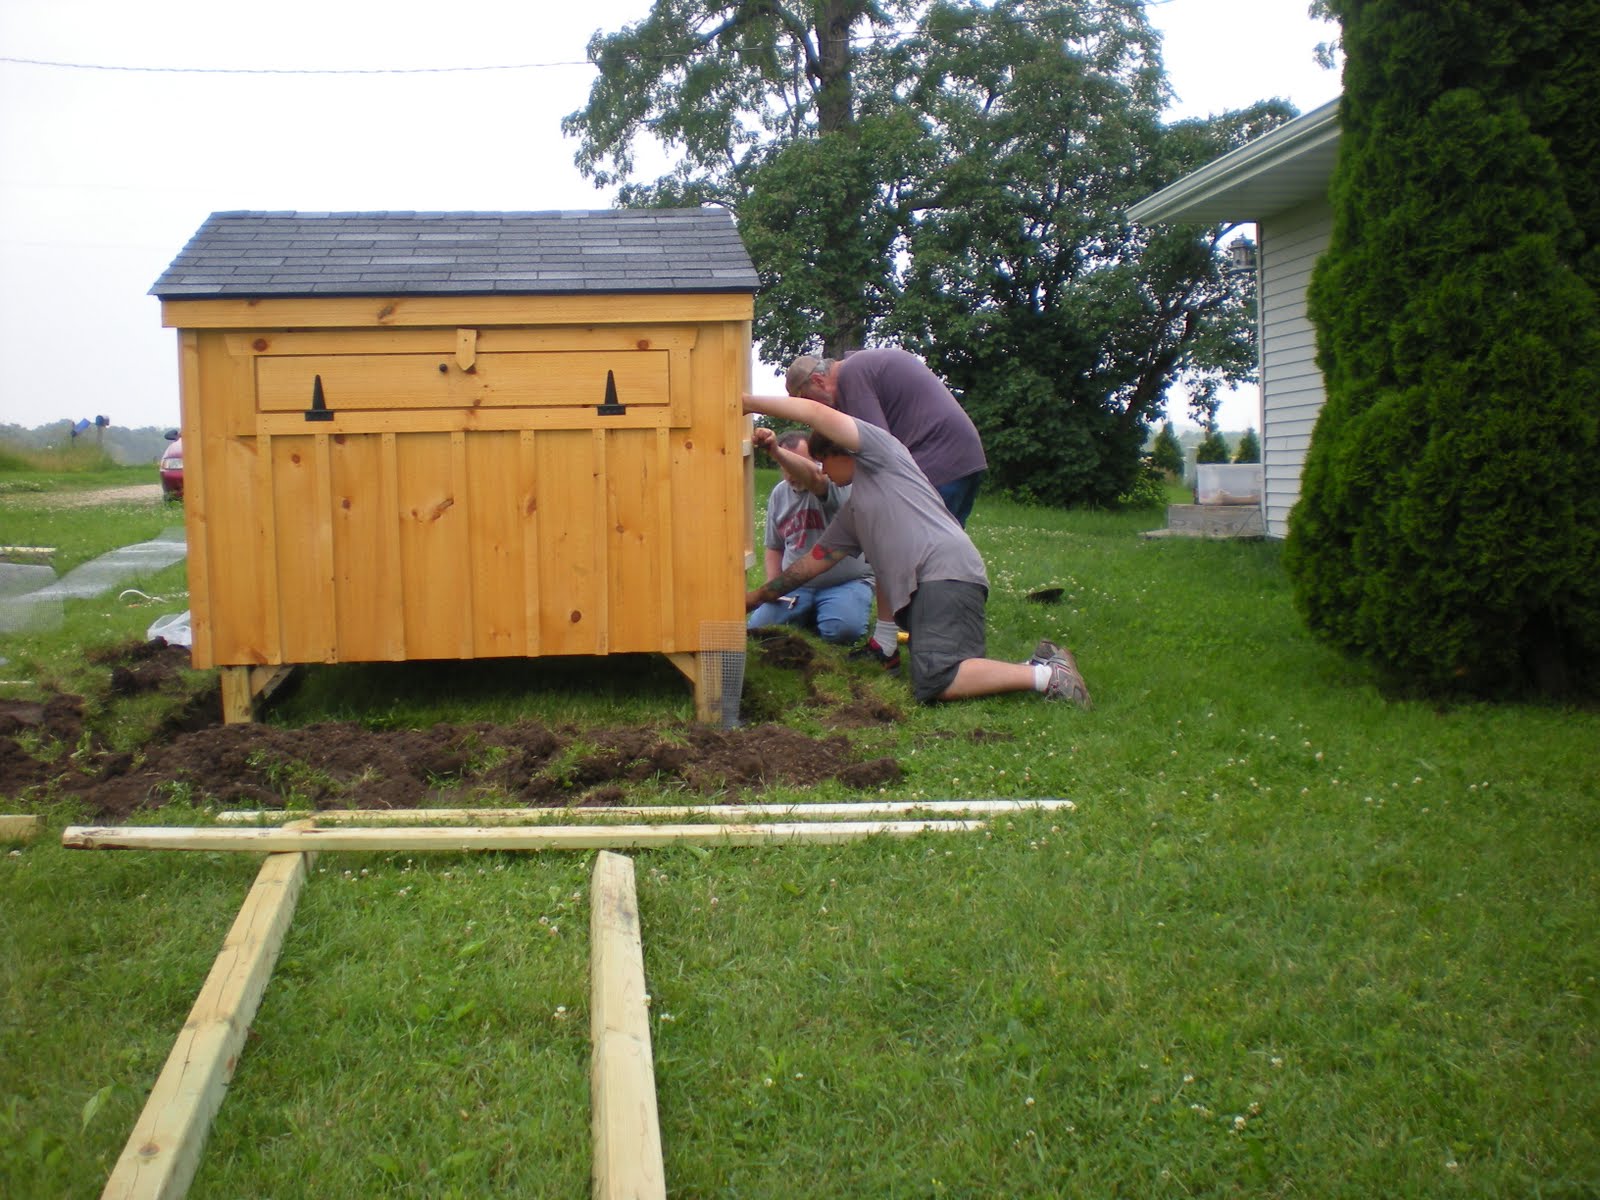
This was a super important step, as it prevents predators from crawling  underneath the coop and scratching a hole out the bottom. Word to the wise though: paint your coop FIRST. I painted after the hardware cloth was on, and I couldn’t get a good coat to cover the metaled areas.

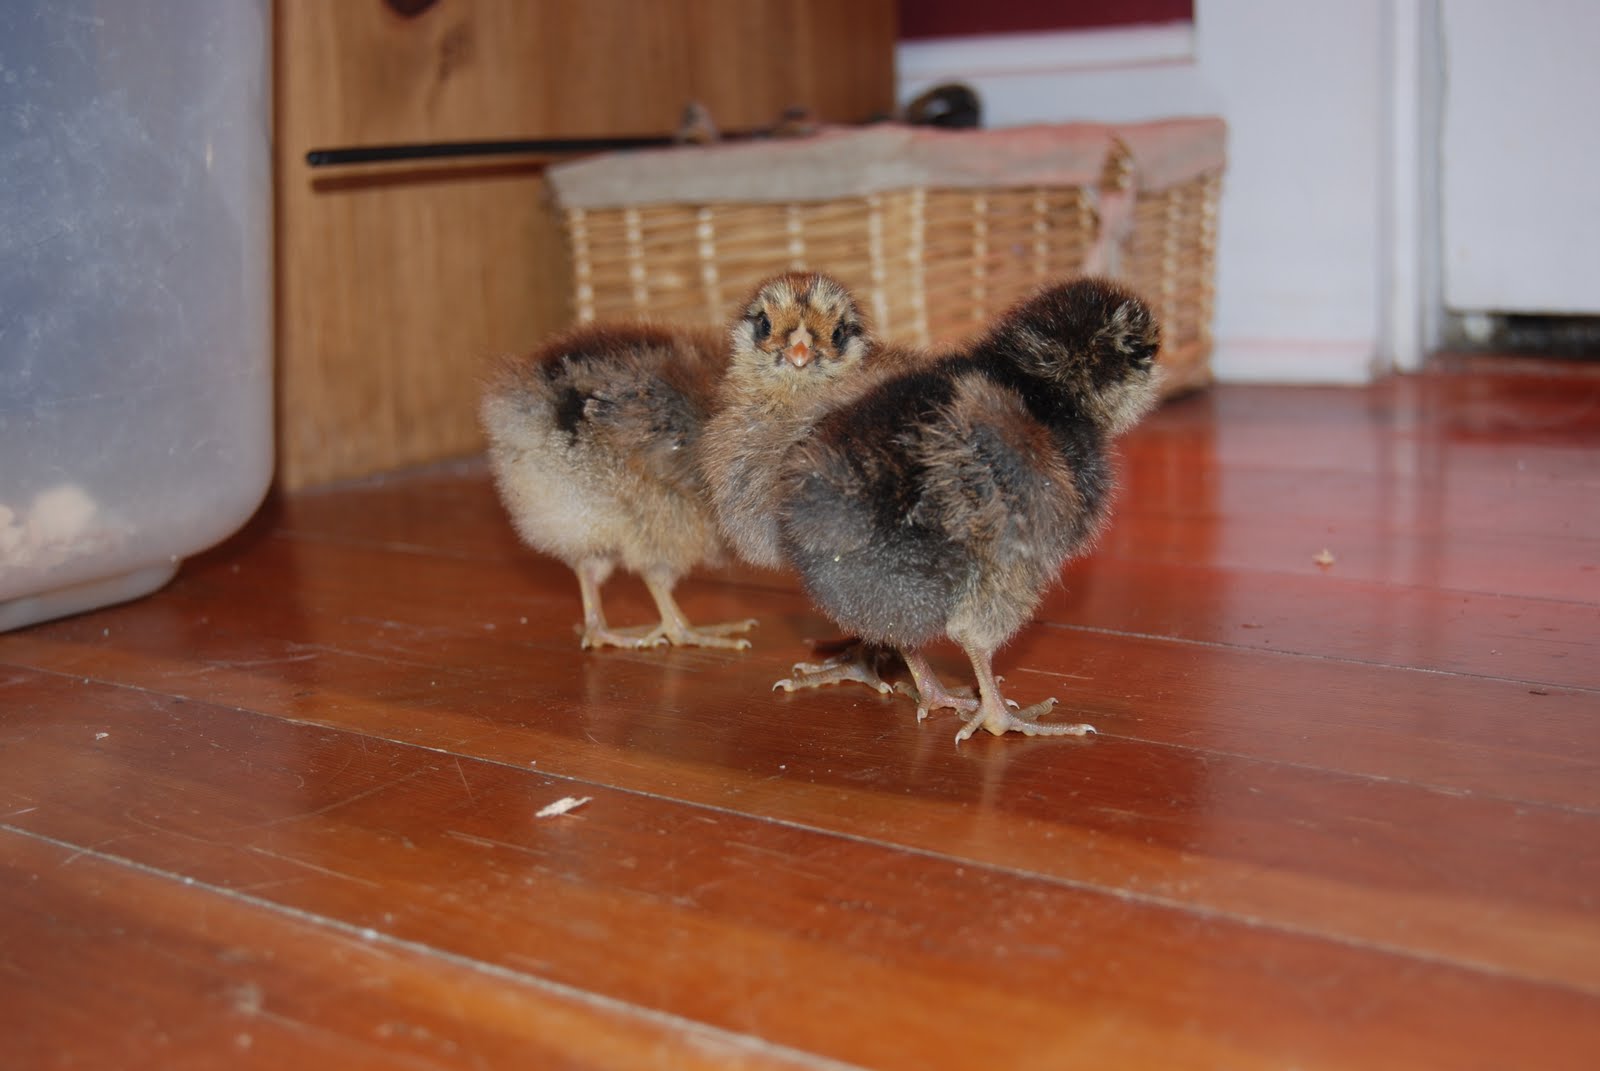
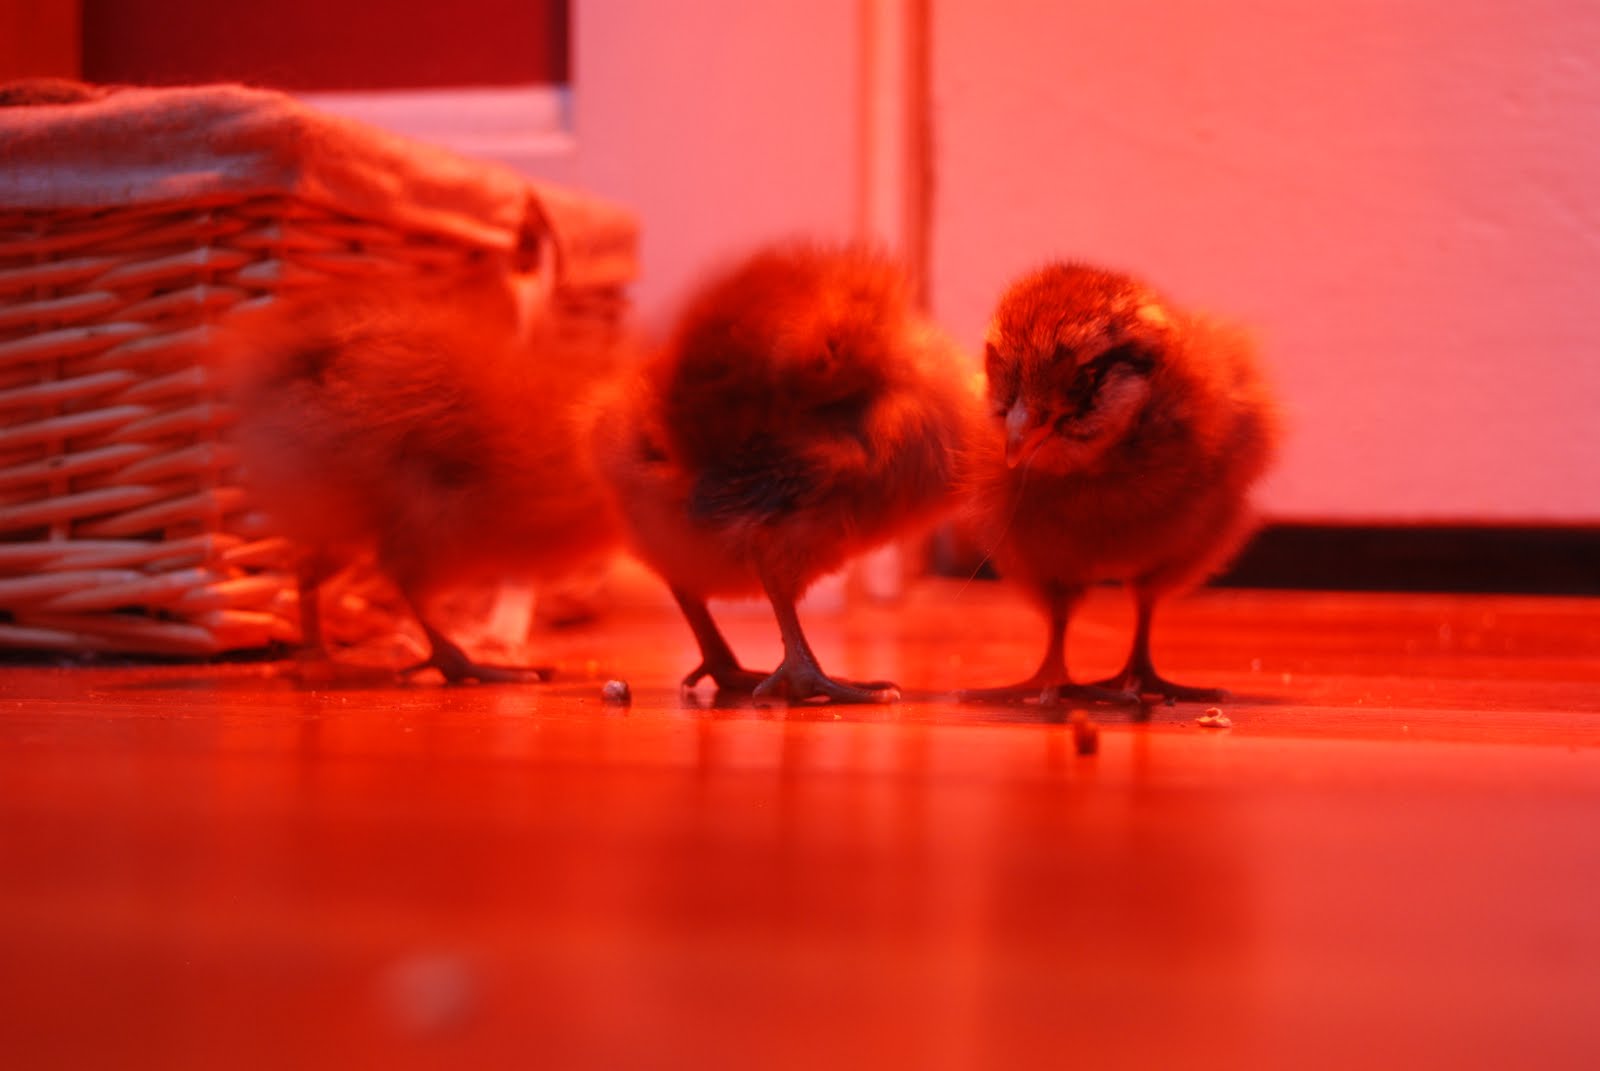
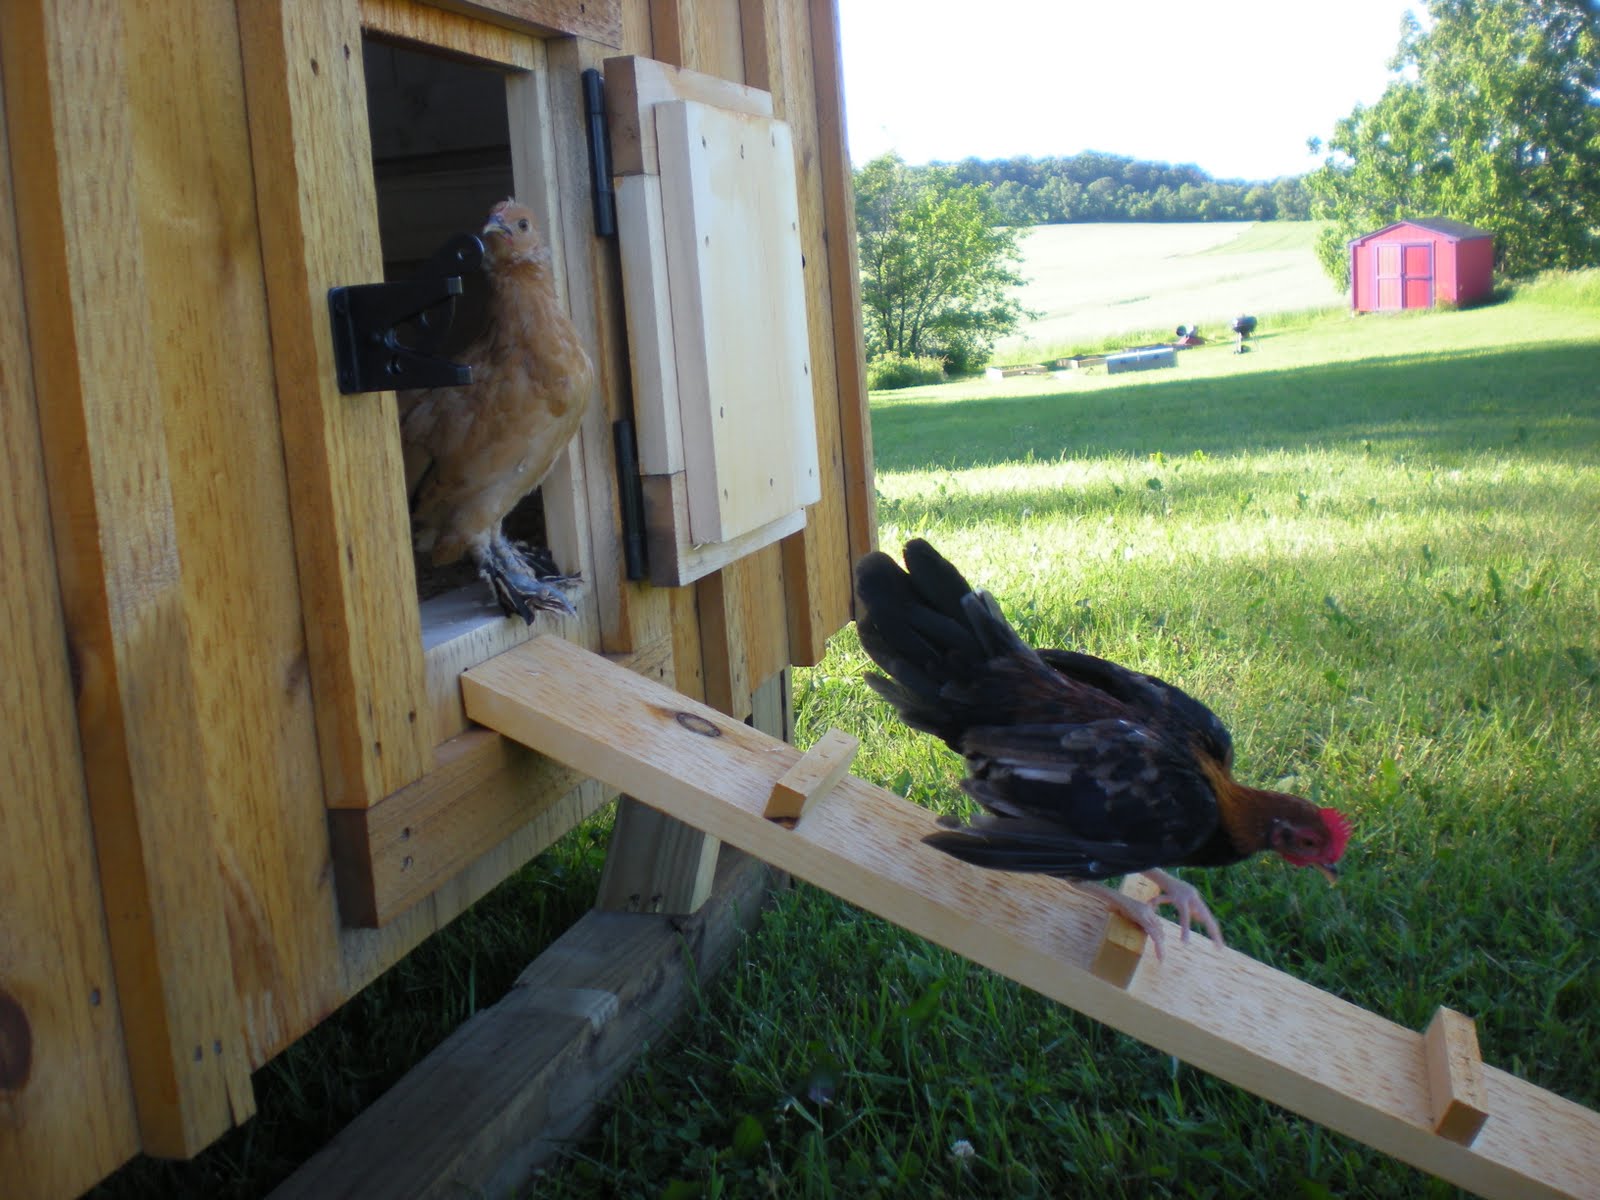
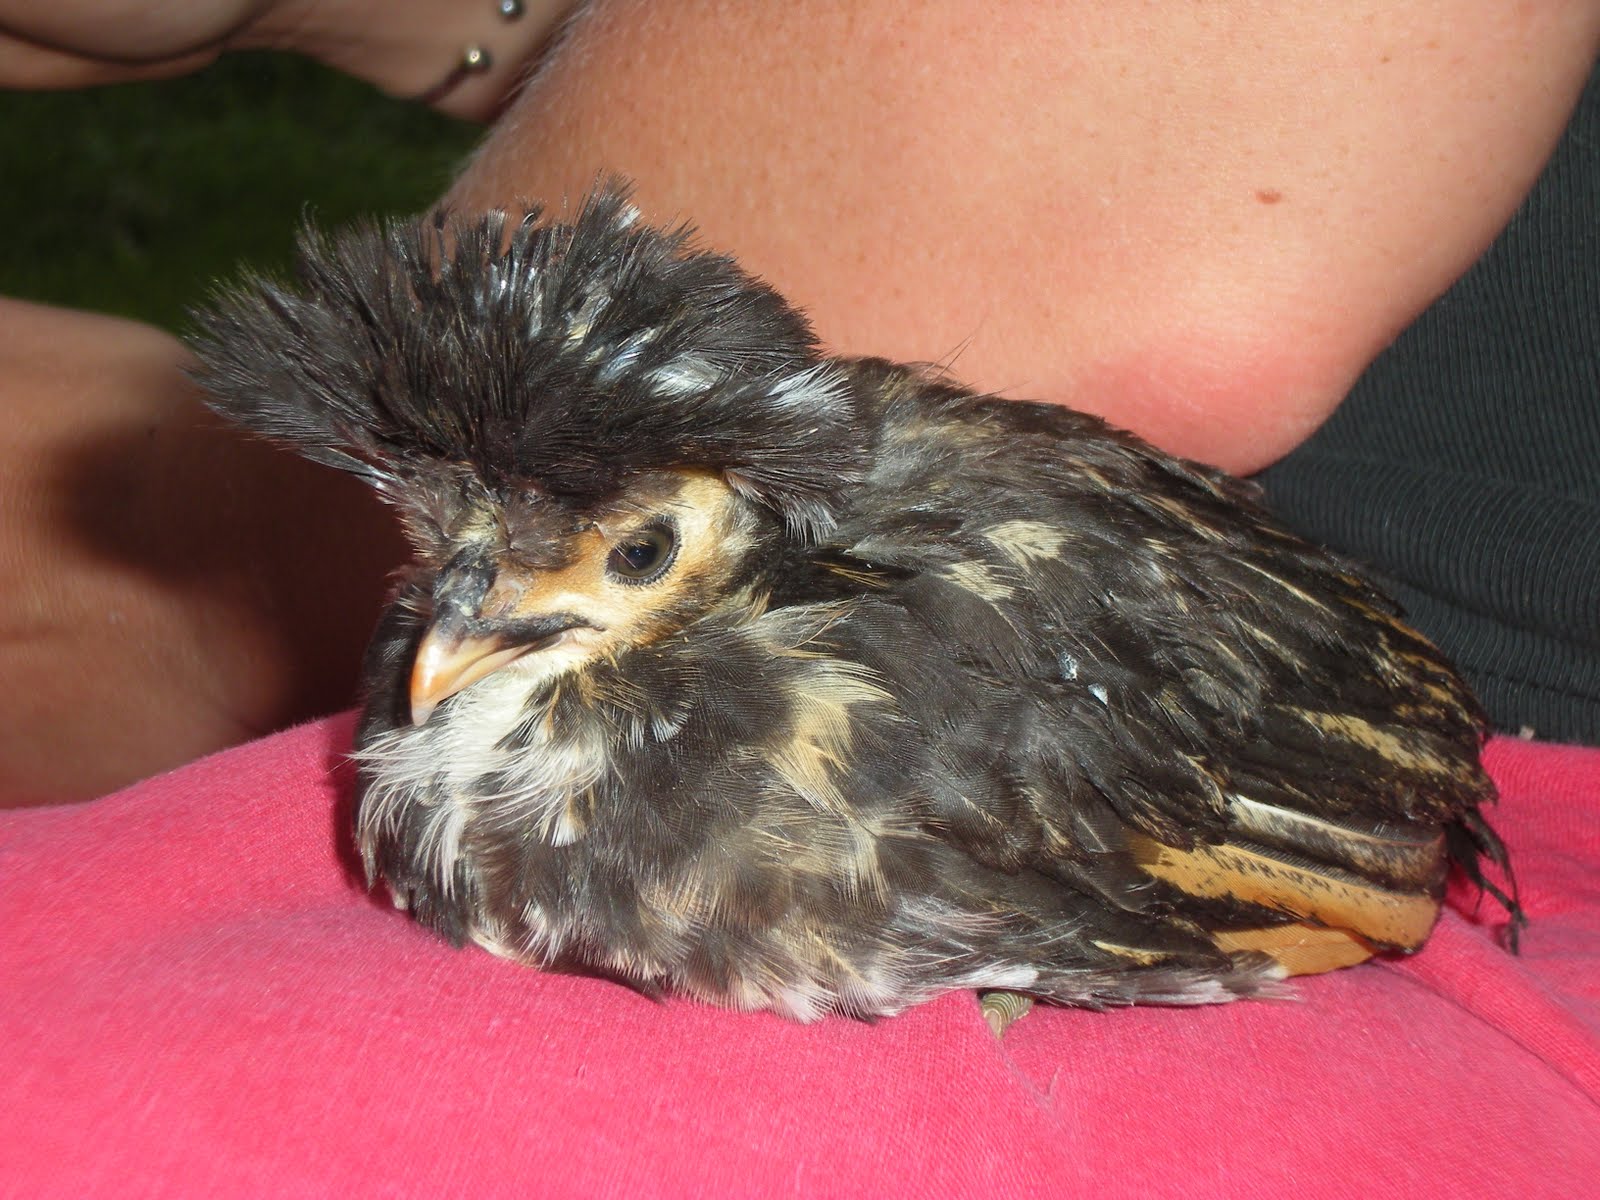
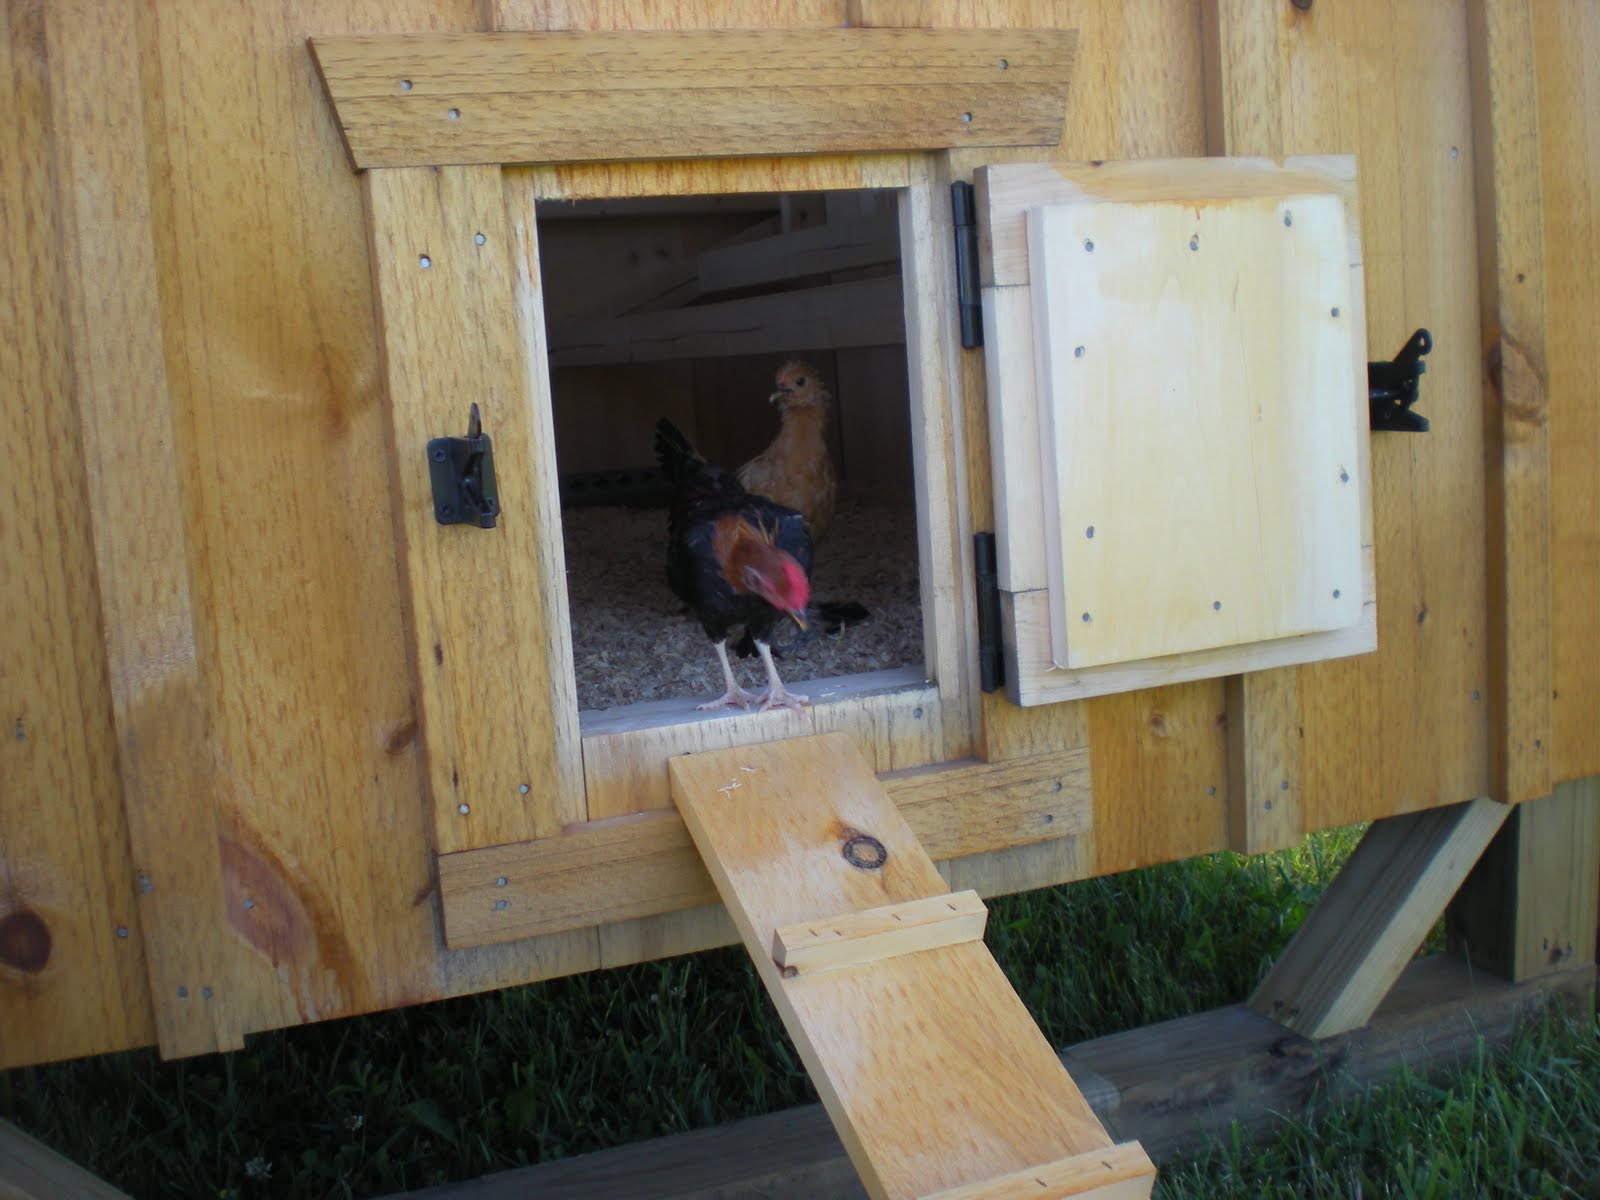
After this was finished, I actually felt pretty confident that our feathered family members would be happier in the coop than inside their cage in our house, so we moved them out.

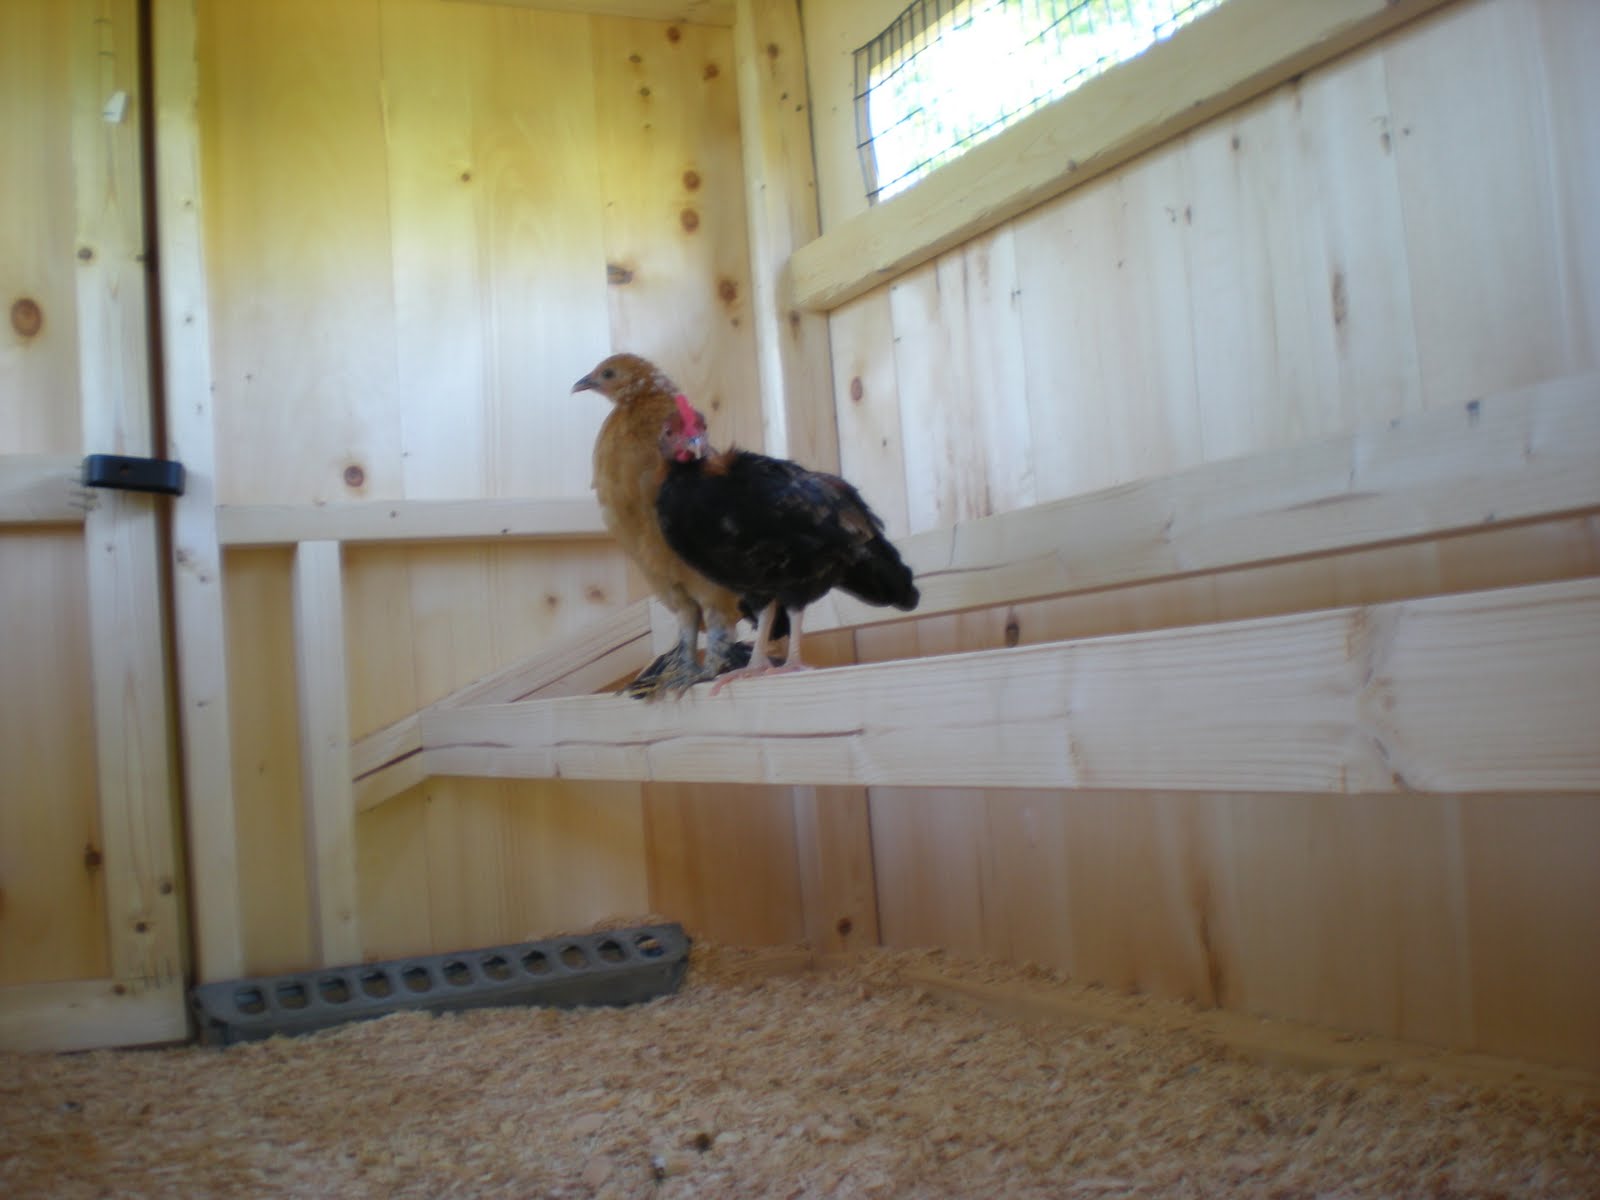
Ani and Zappa – first night out

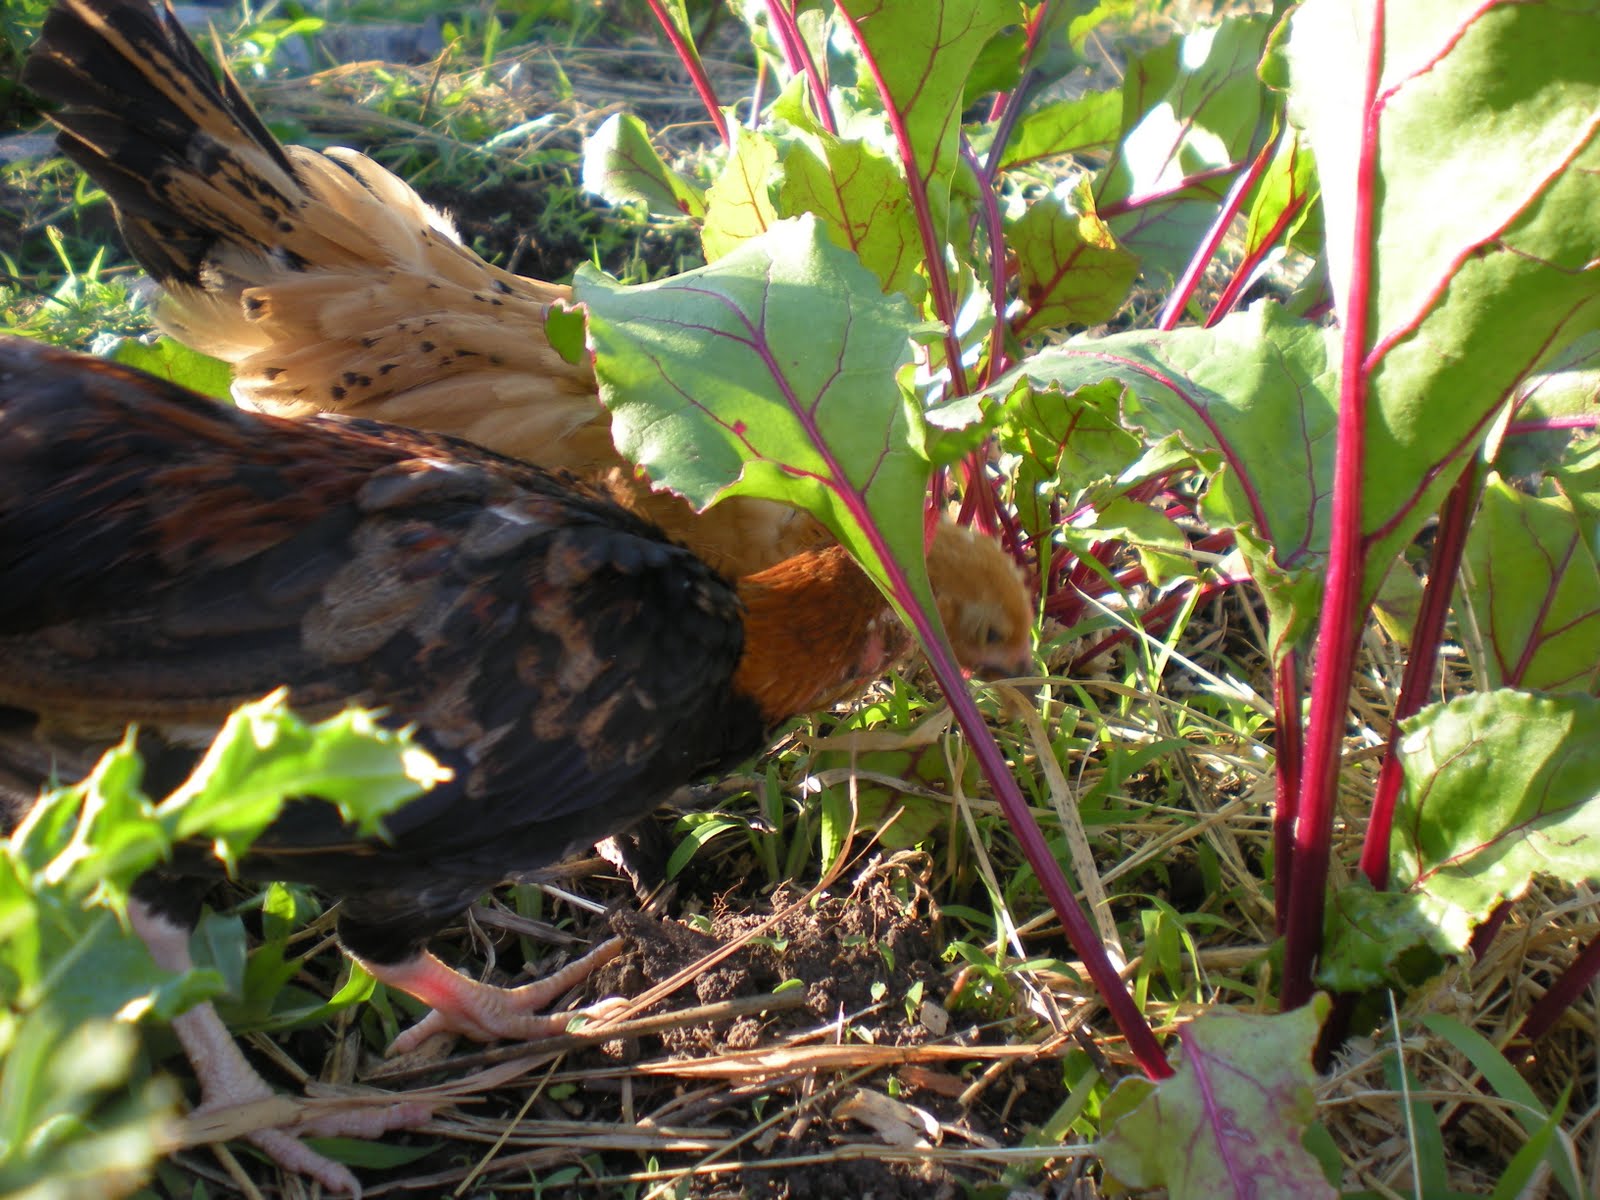
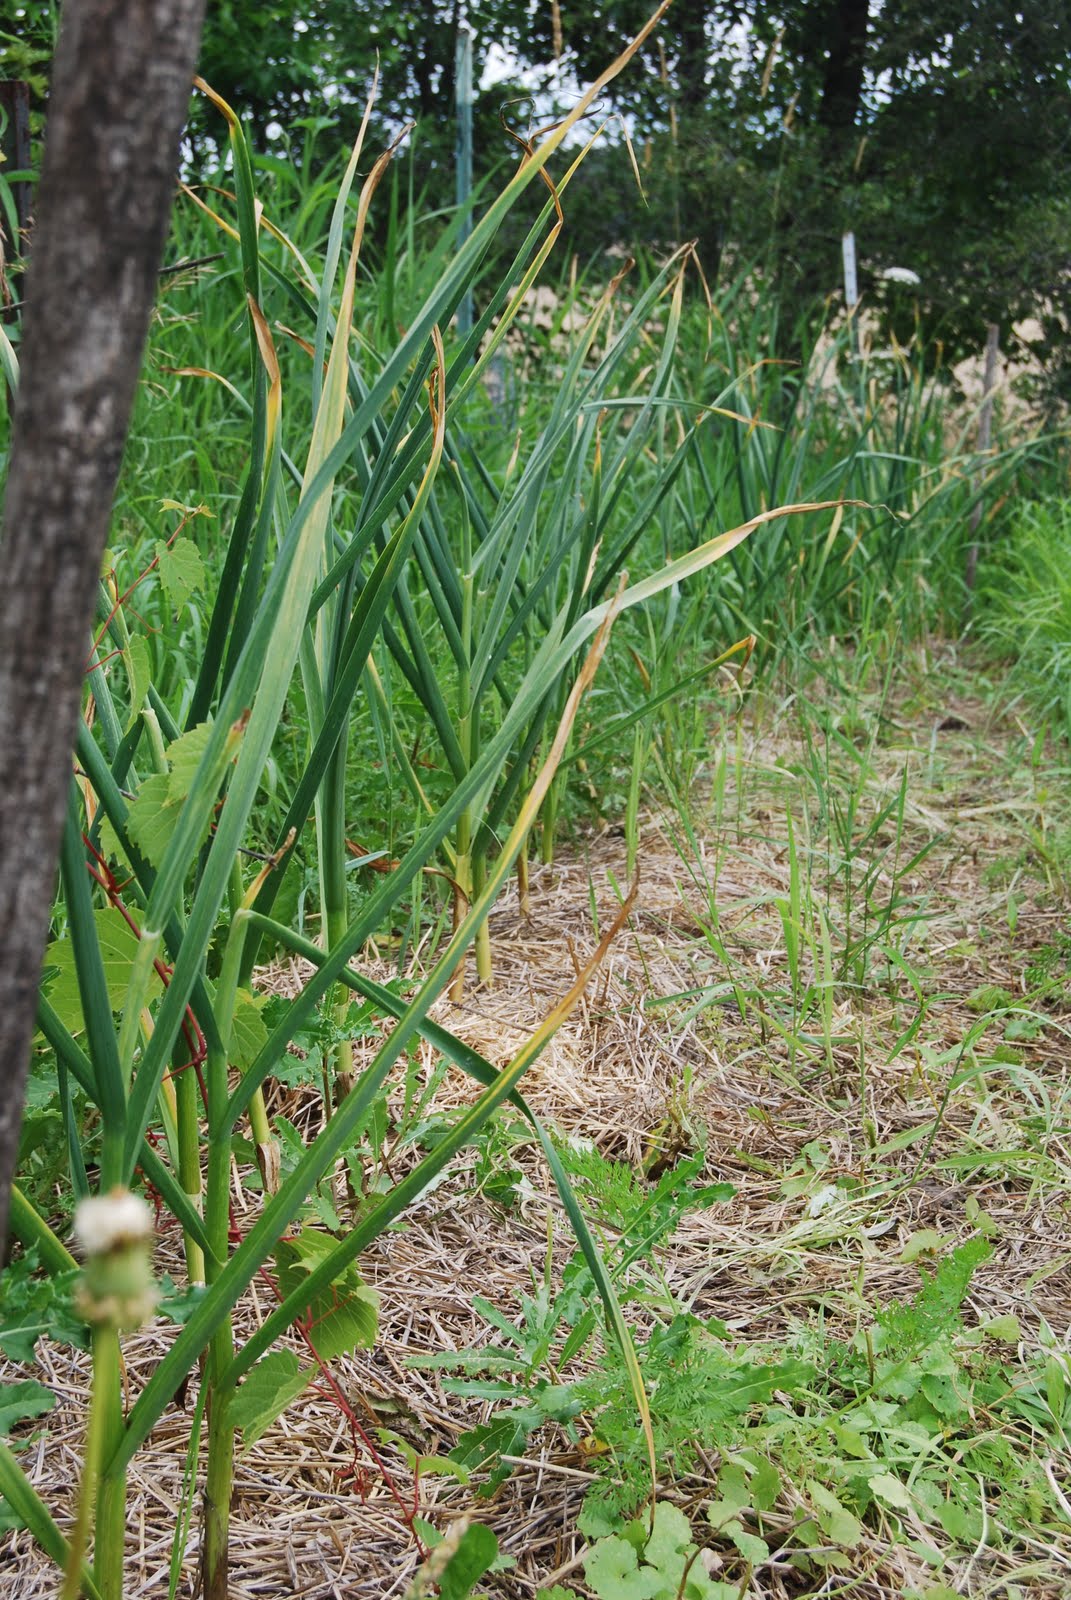
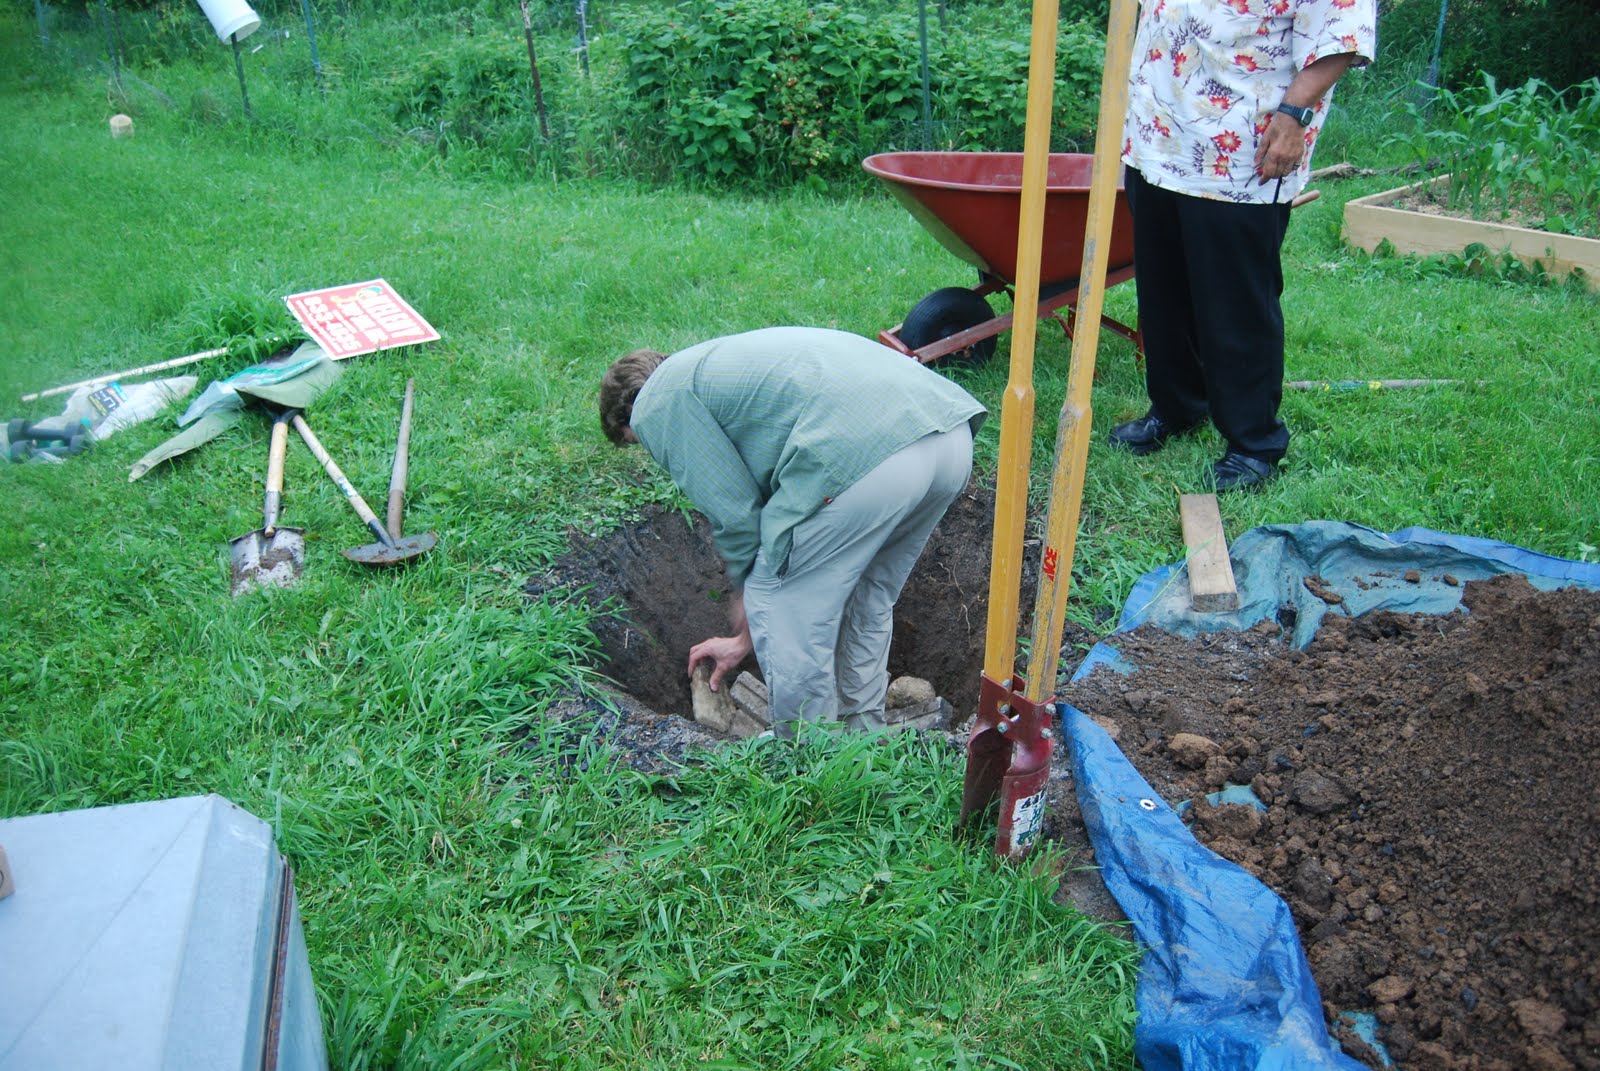
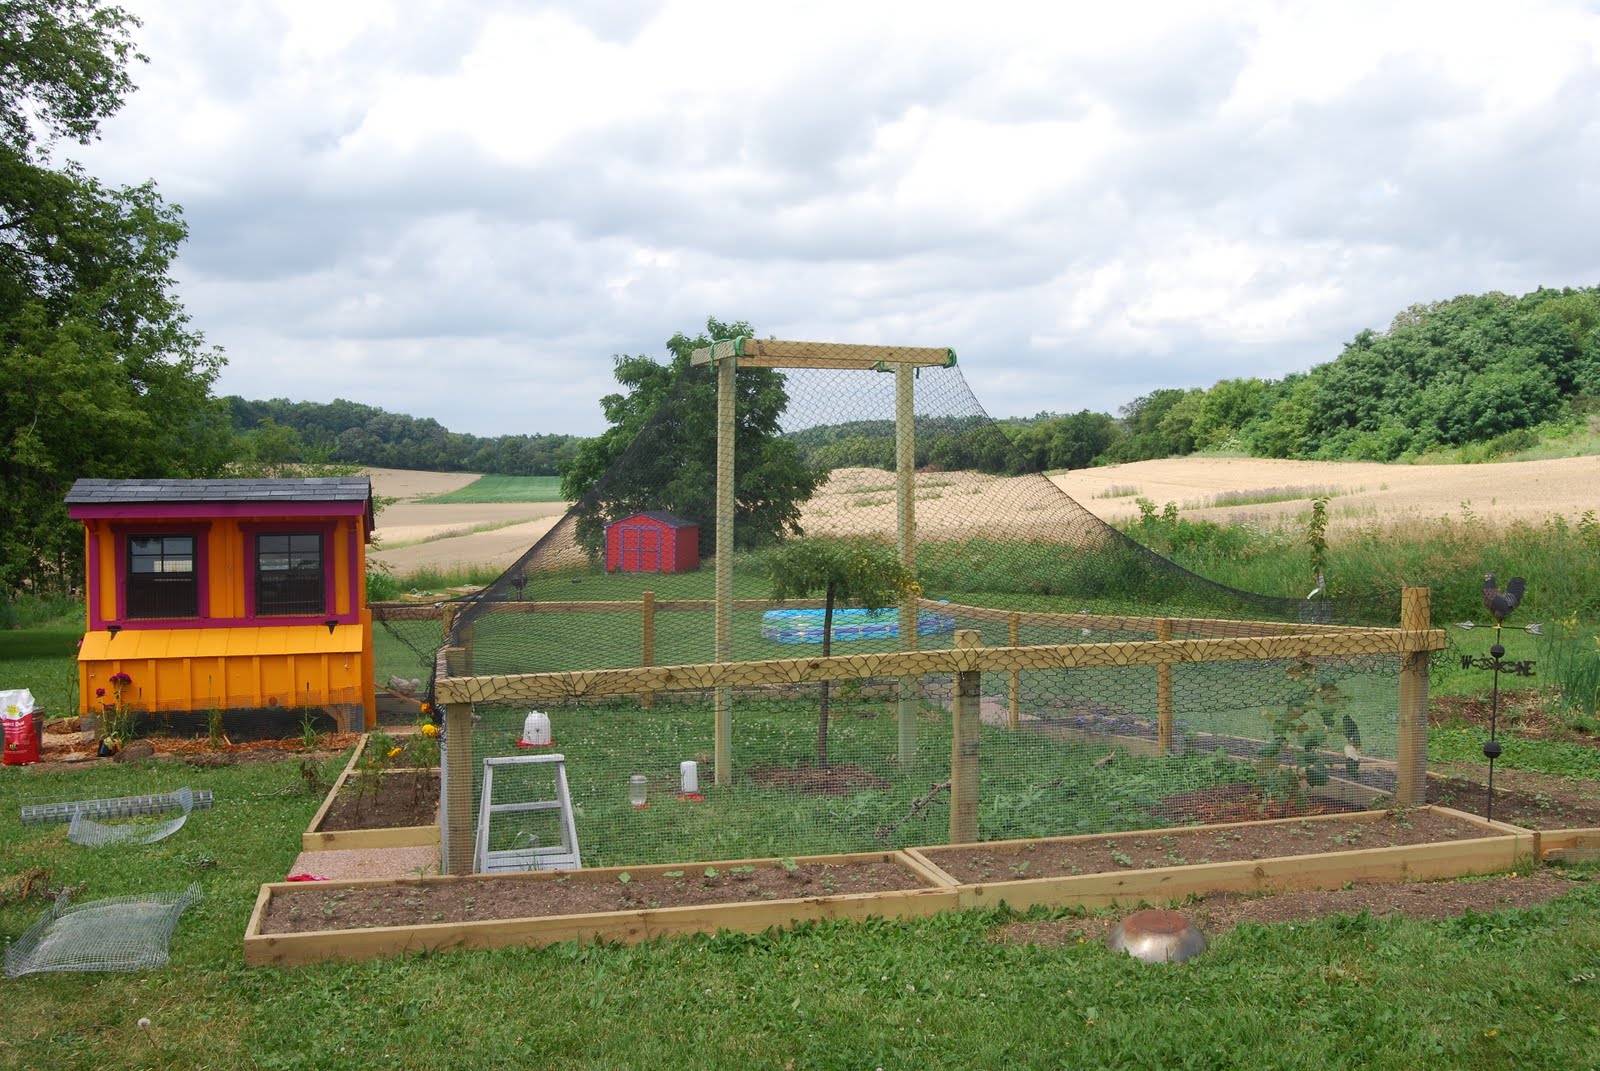
Next, the run. We found out that the fence should be buried at least one foot under the ground (as around the coop) to prevent predators from digging and getting inside. Andy and his uncle began  digging post holes for wooden fence supports. After cementing the support posts in the ground, Andy began digging a trench into which he planned to put the fence. Our land is rocky. Very rocky. So rocky that the shovel wouldn’t penetrate further than 4-6 inches deep. It took him hours to dig a trench from one post to the next.Seeing as how our chicken run measures 15×25 feet, and we had chicks waiting for their run to be finished, the task seemed daunting and impossible in Handyman Andy’s eyes.

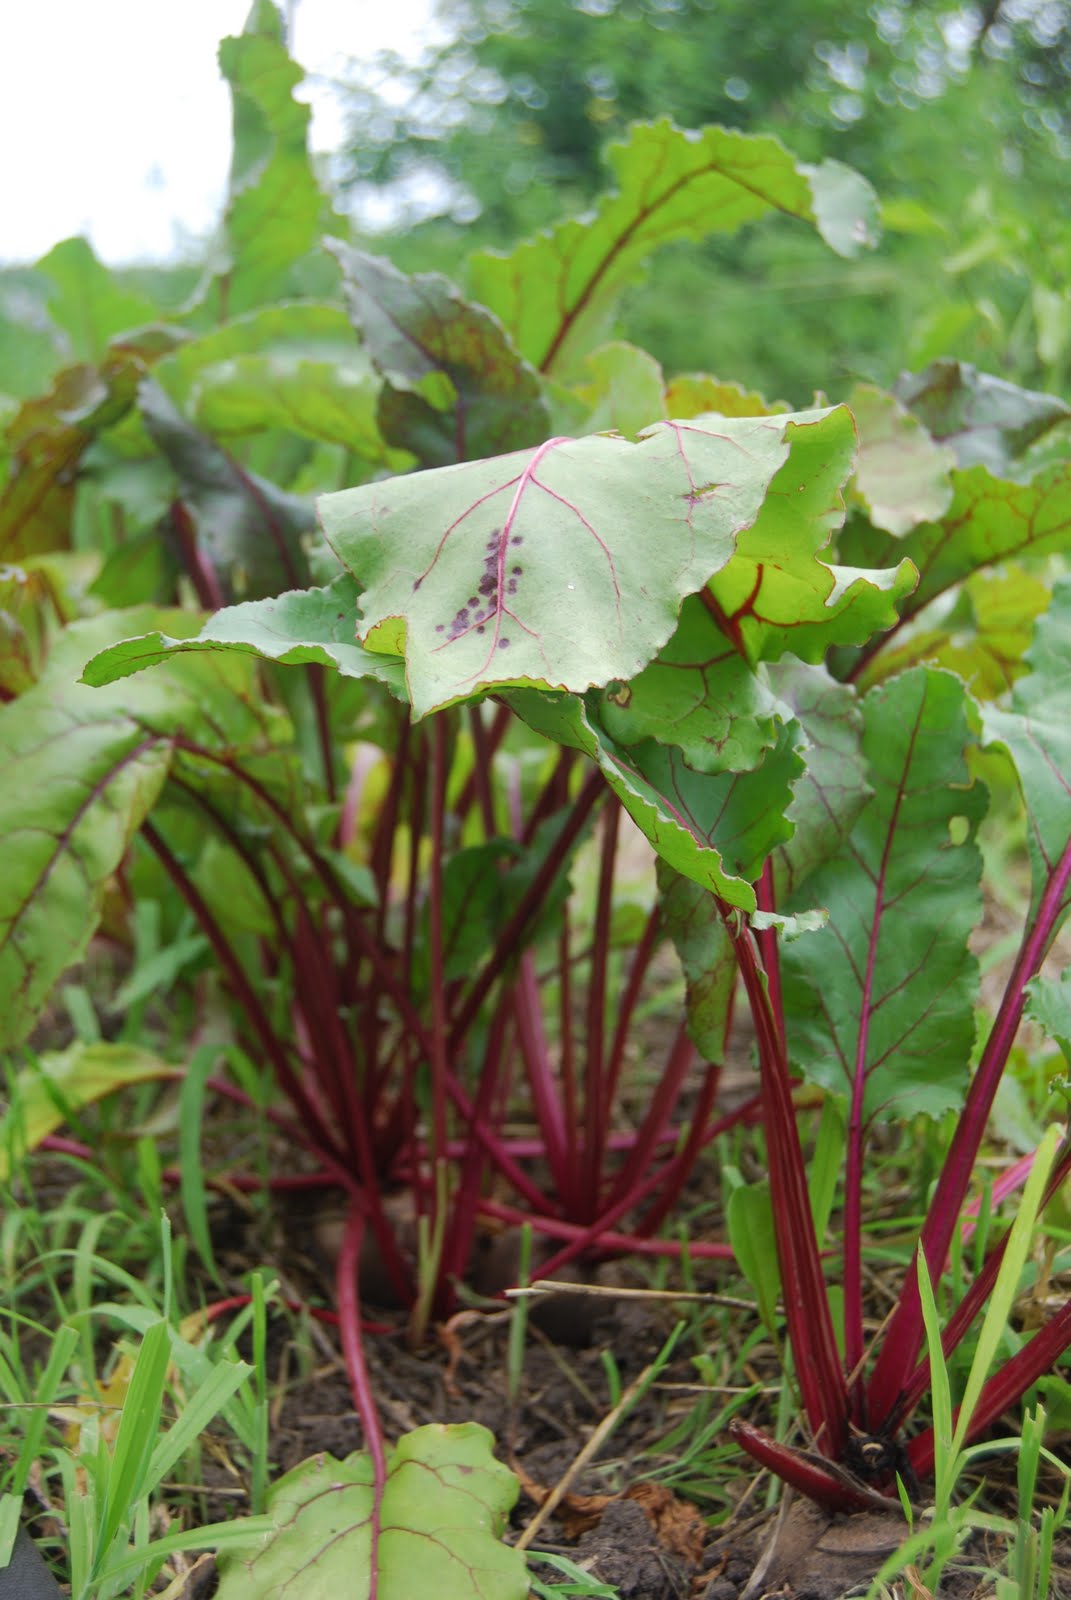
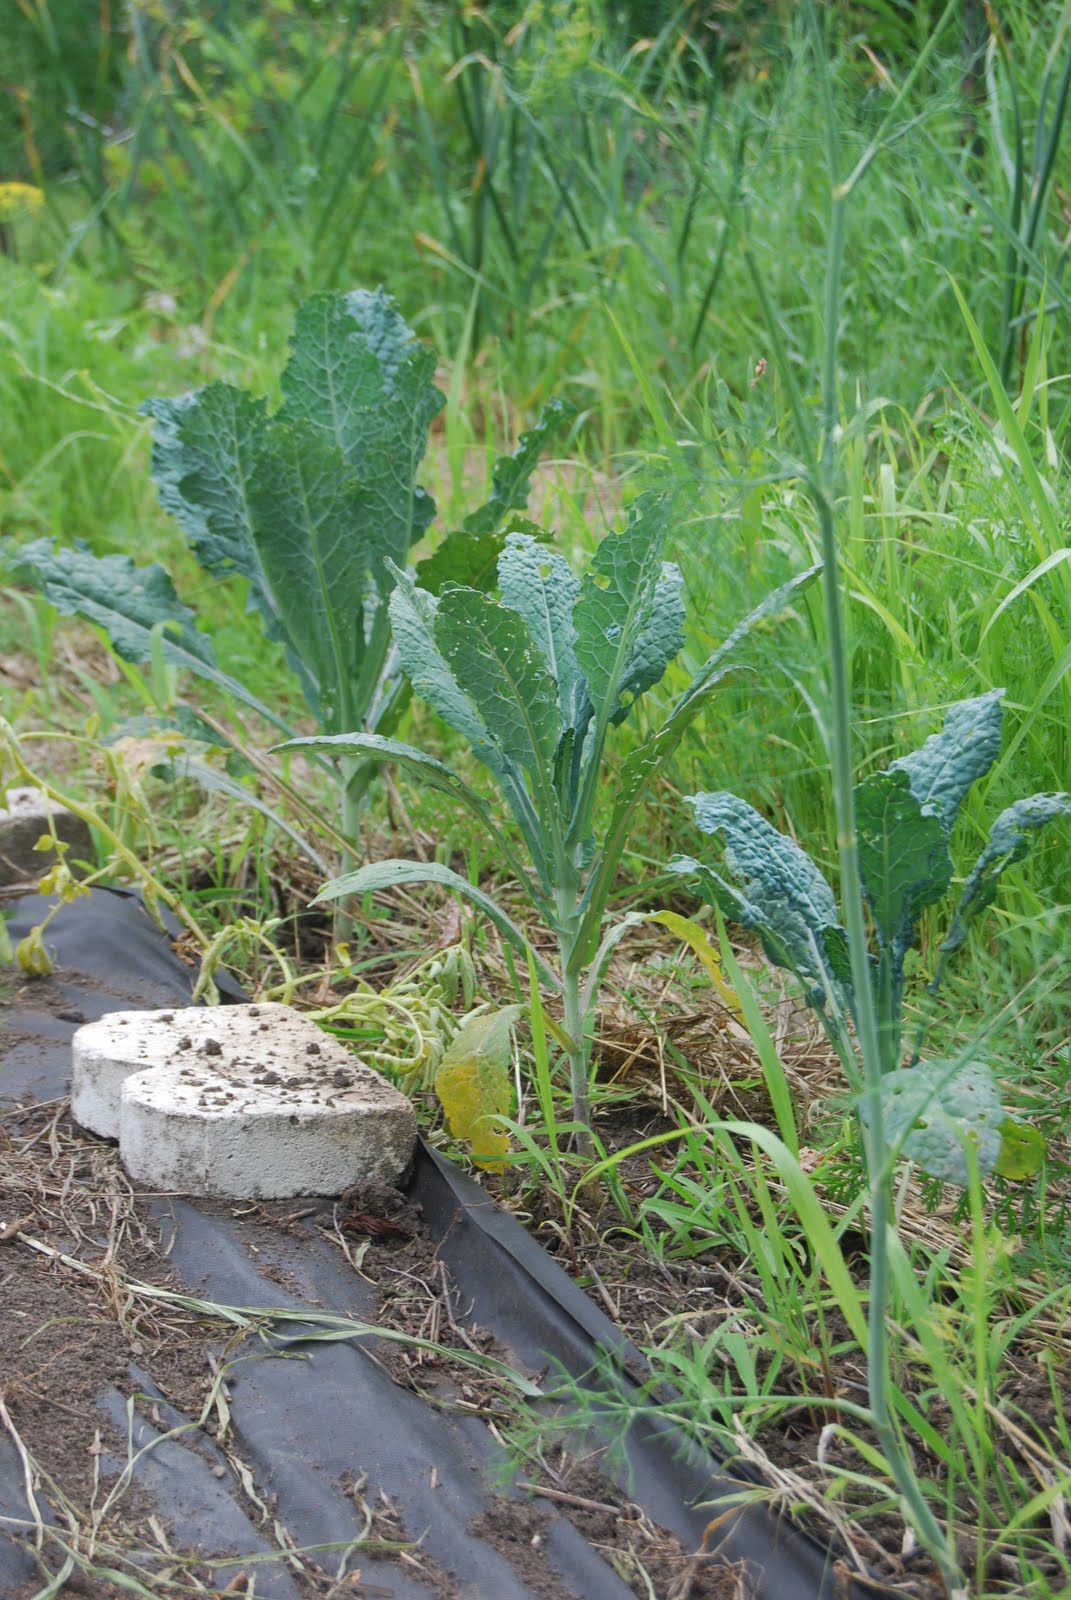
So, he came up with an excellent idea: Line the run with raised gardens, which extend two feet out from the fence, with hardware cloth lining the bottom. So, in essence, it would take a very, very determined critter with massive nails to dig a tunnel into our chicken run. The construction of the raised beds were finished quickly, and we began planting annuals and perennials inside the boxes.

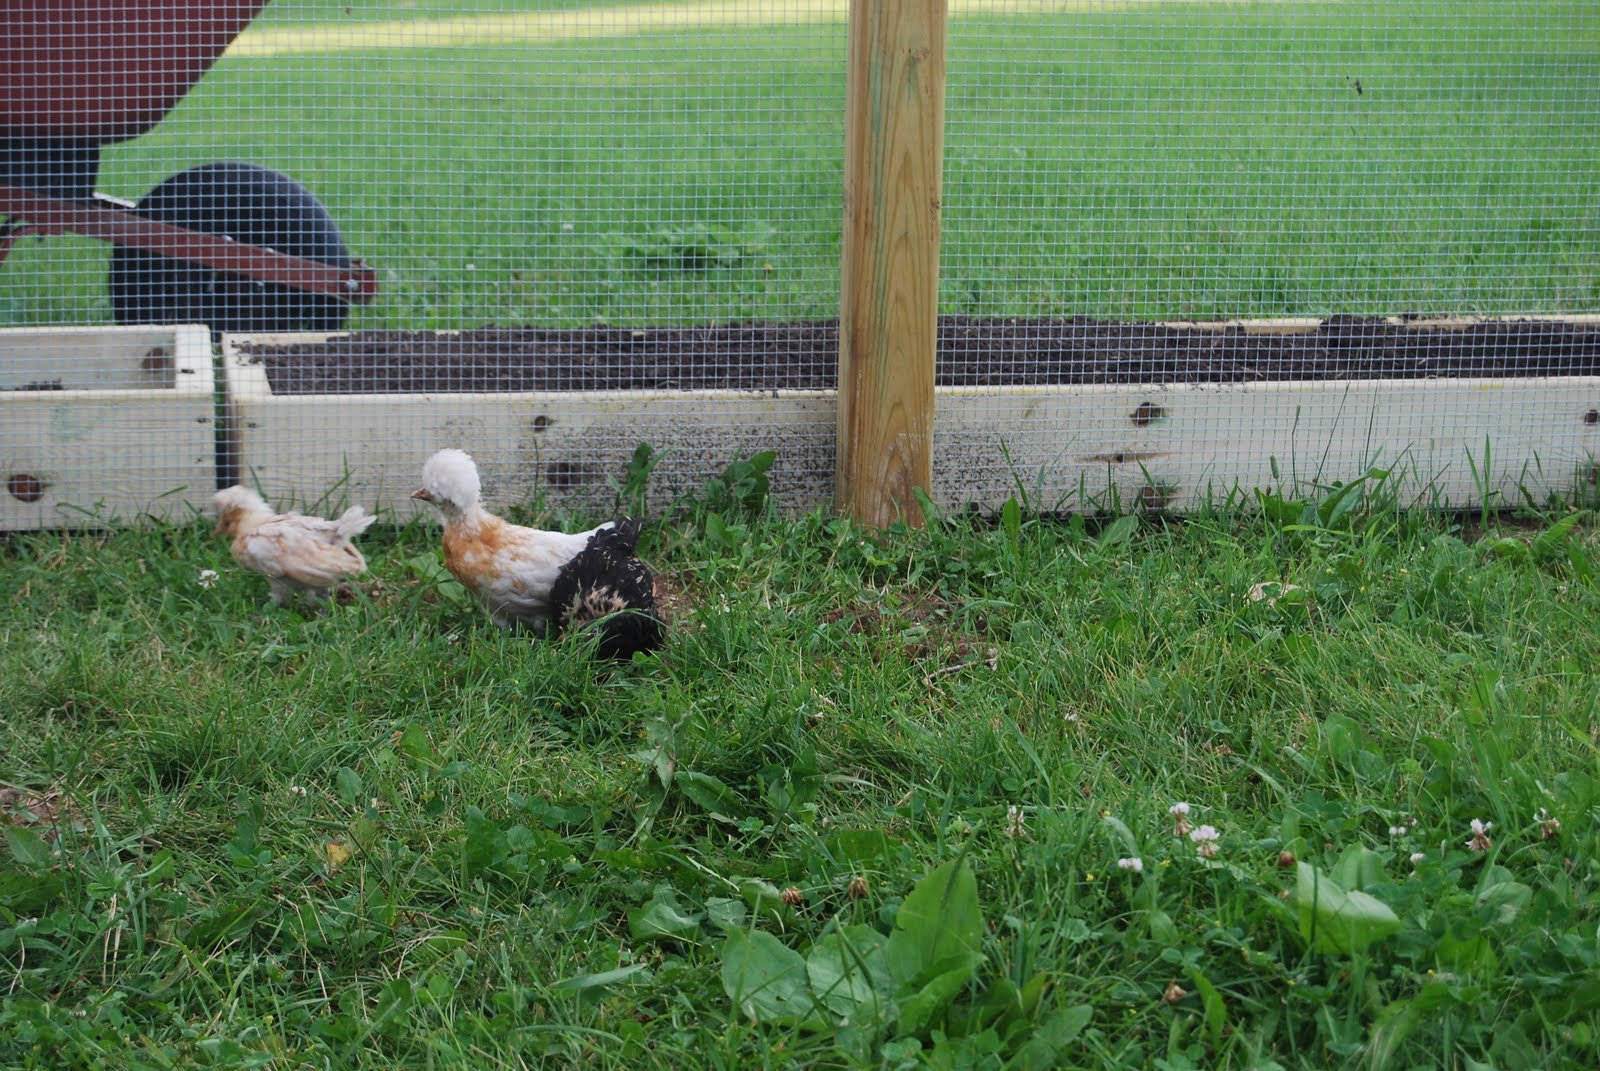
Marley and crew hanging inside the fence. Notice the in-the-making raised gardens.

We planted a Concord grape vine inside the chicken run, too. This serves two purposes: 1) chickens love grapes (and so do we!), and 2) as the grape vine grows, it will provide shade for the chickens.

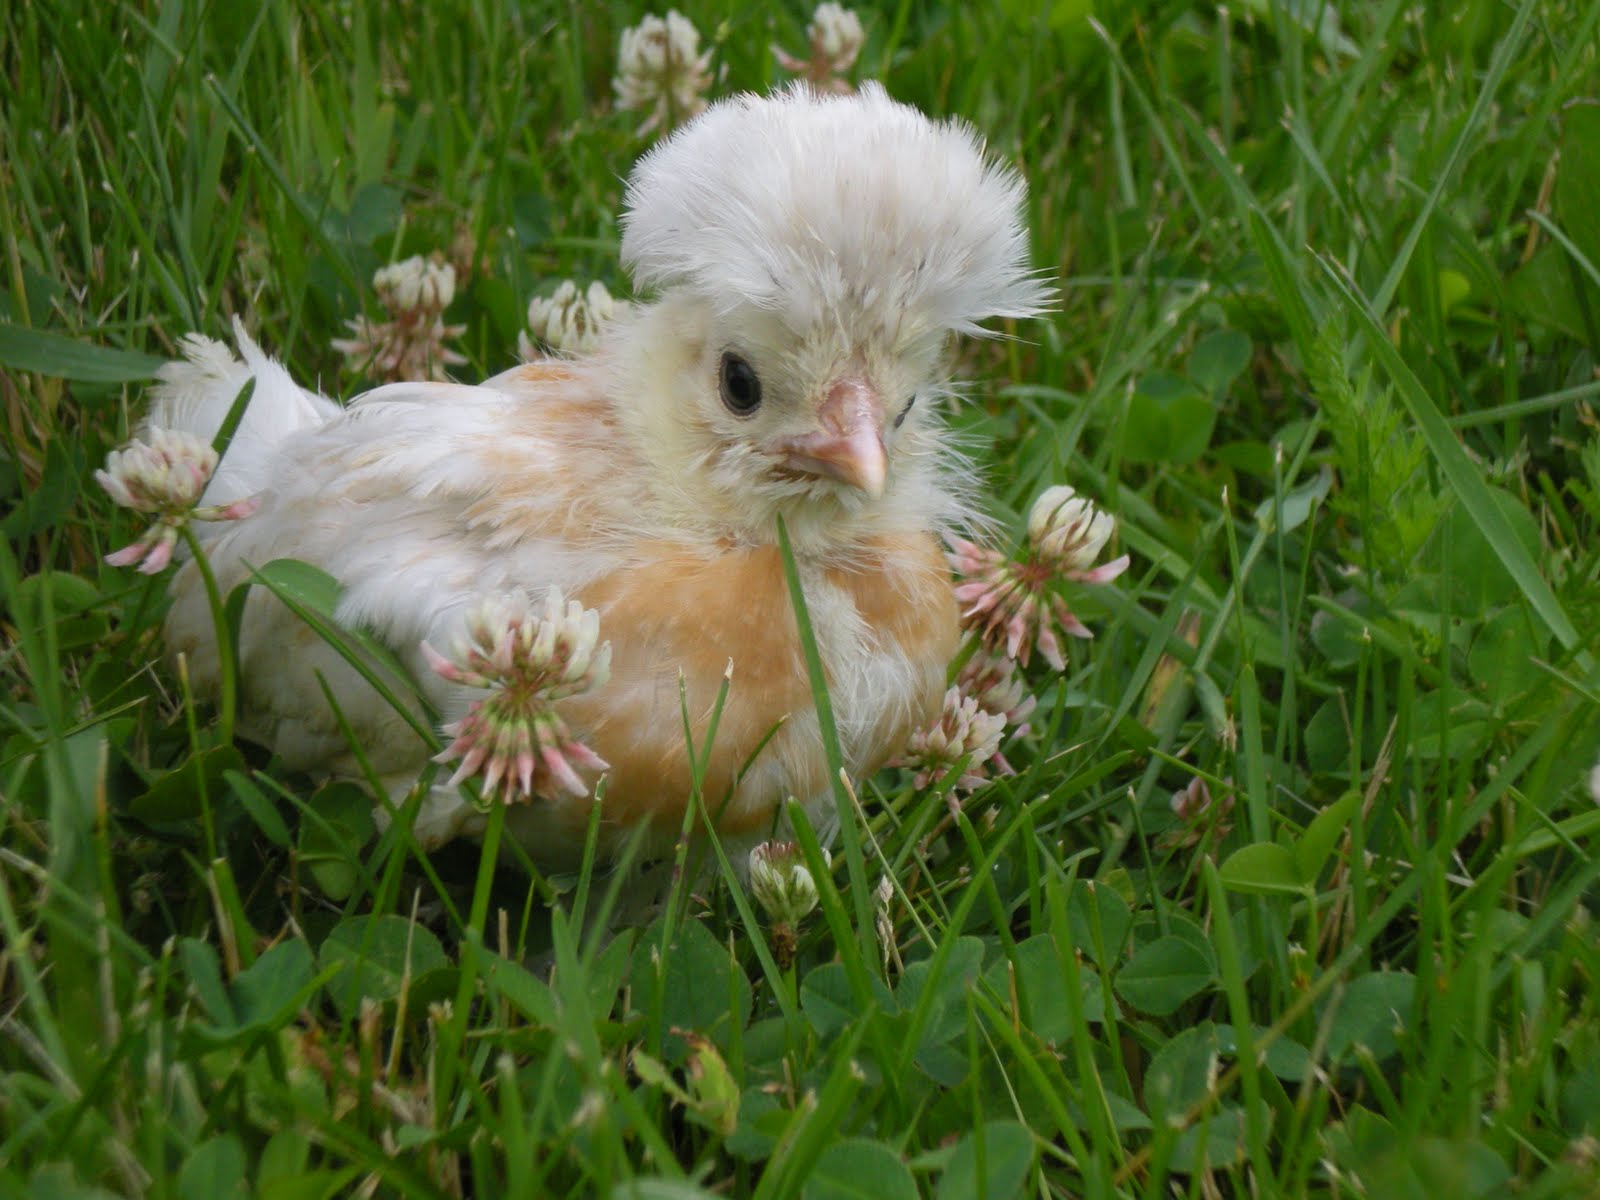
Ani and Zappa under the pea shrub tree

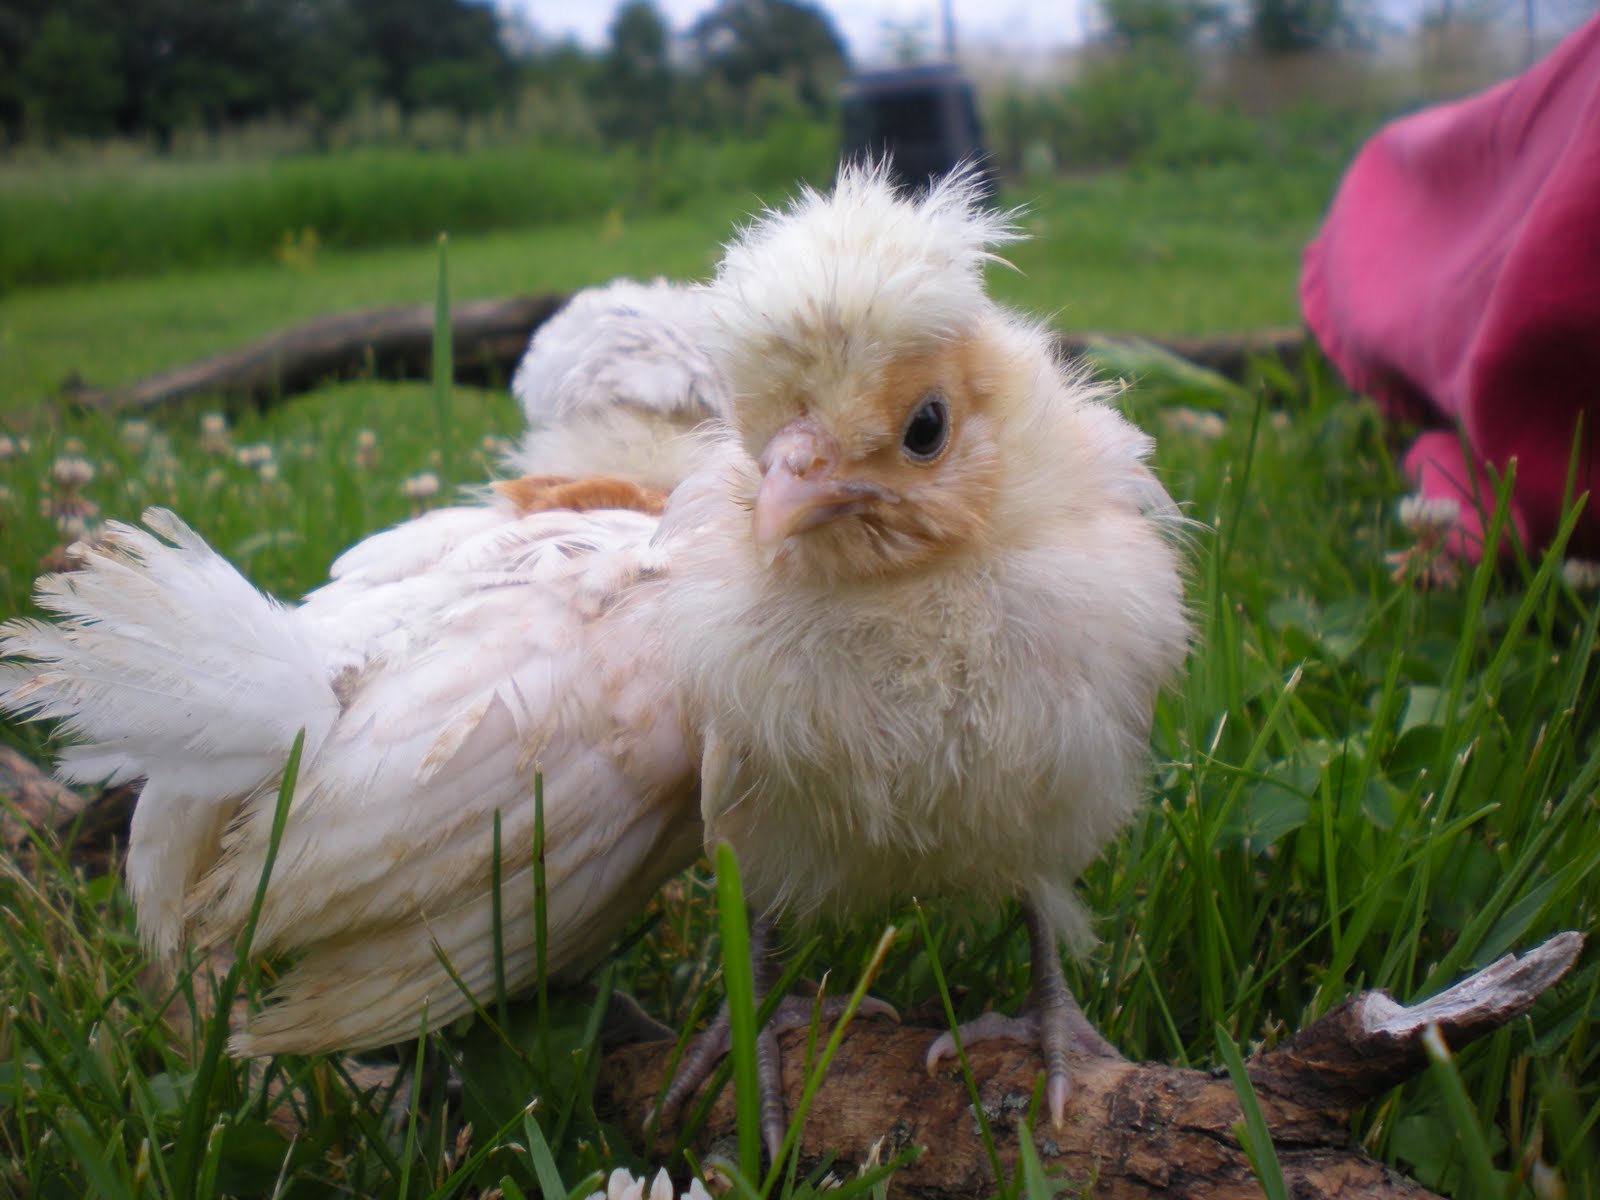
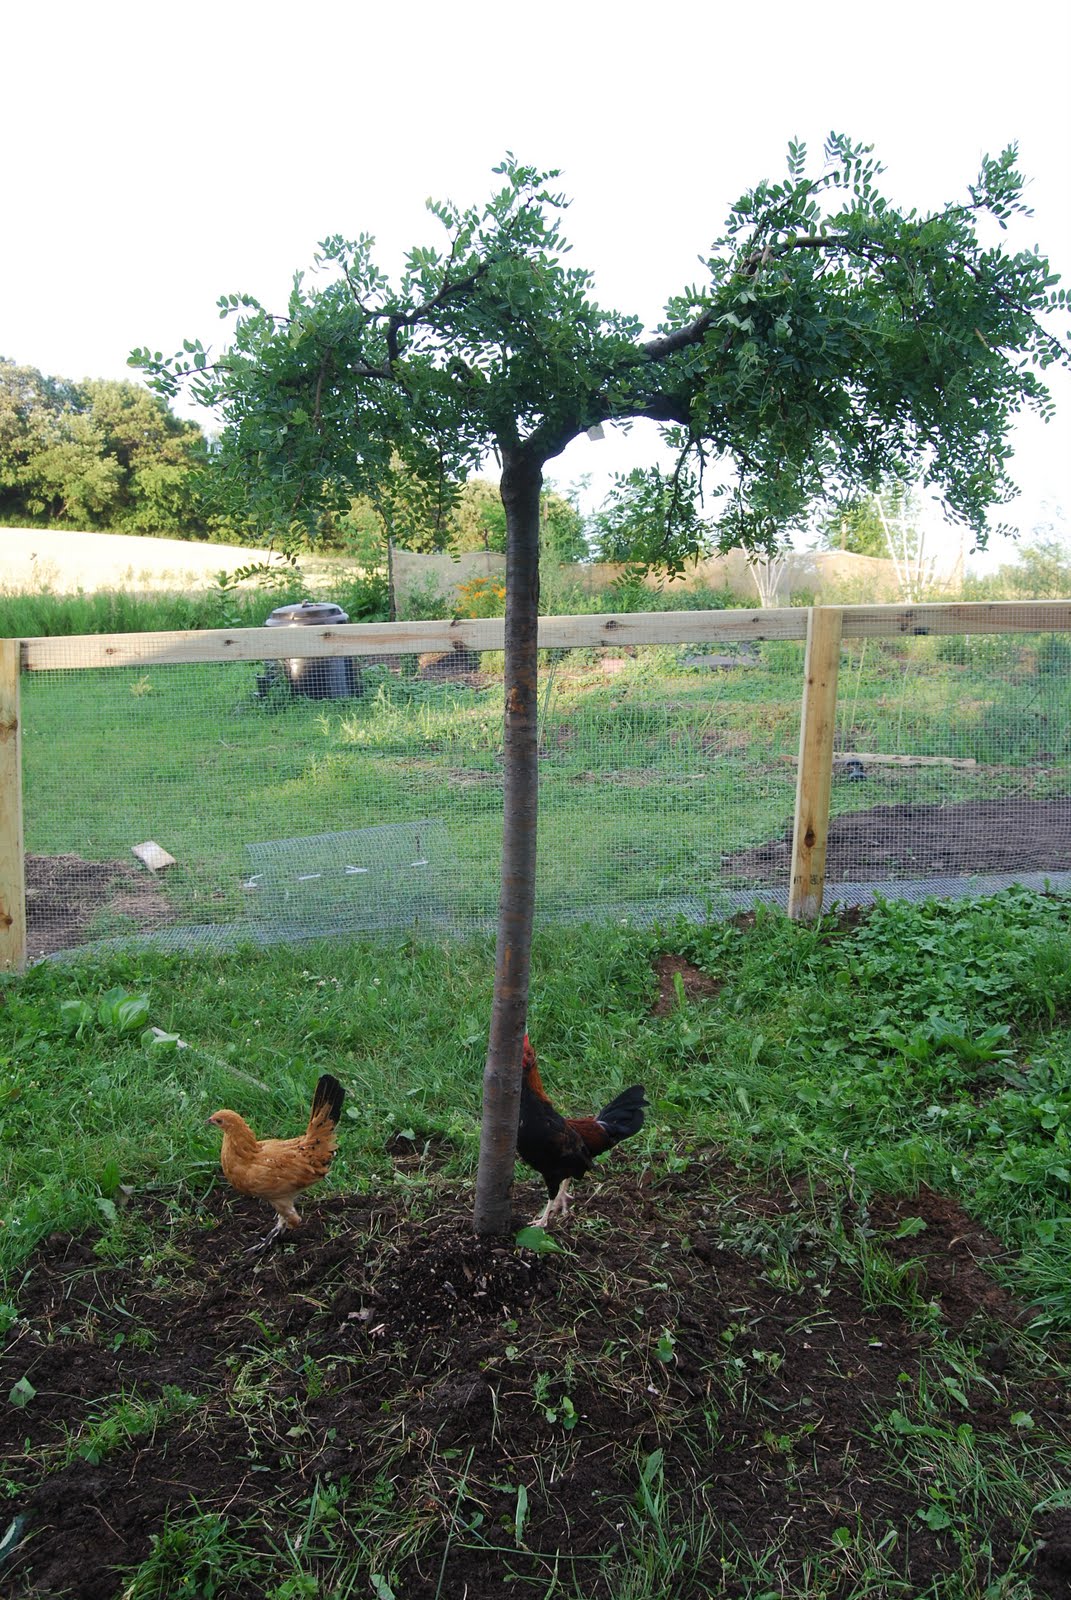
Also, planted inside the coop are a blackcurrant bush and a weeping pea shrub tree. Both will provide food for the chickens (and us, if they leave us any) and provide extra protection from the sun on hot days. Plus, the chickens love to try to fly and roost on the tree. They can’t. And not to be insensitive, but this provides hours of entertainment.

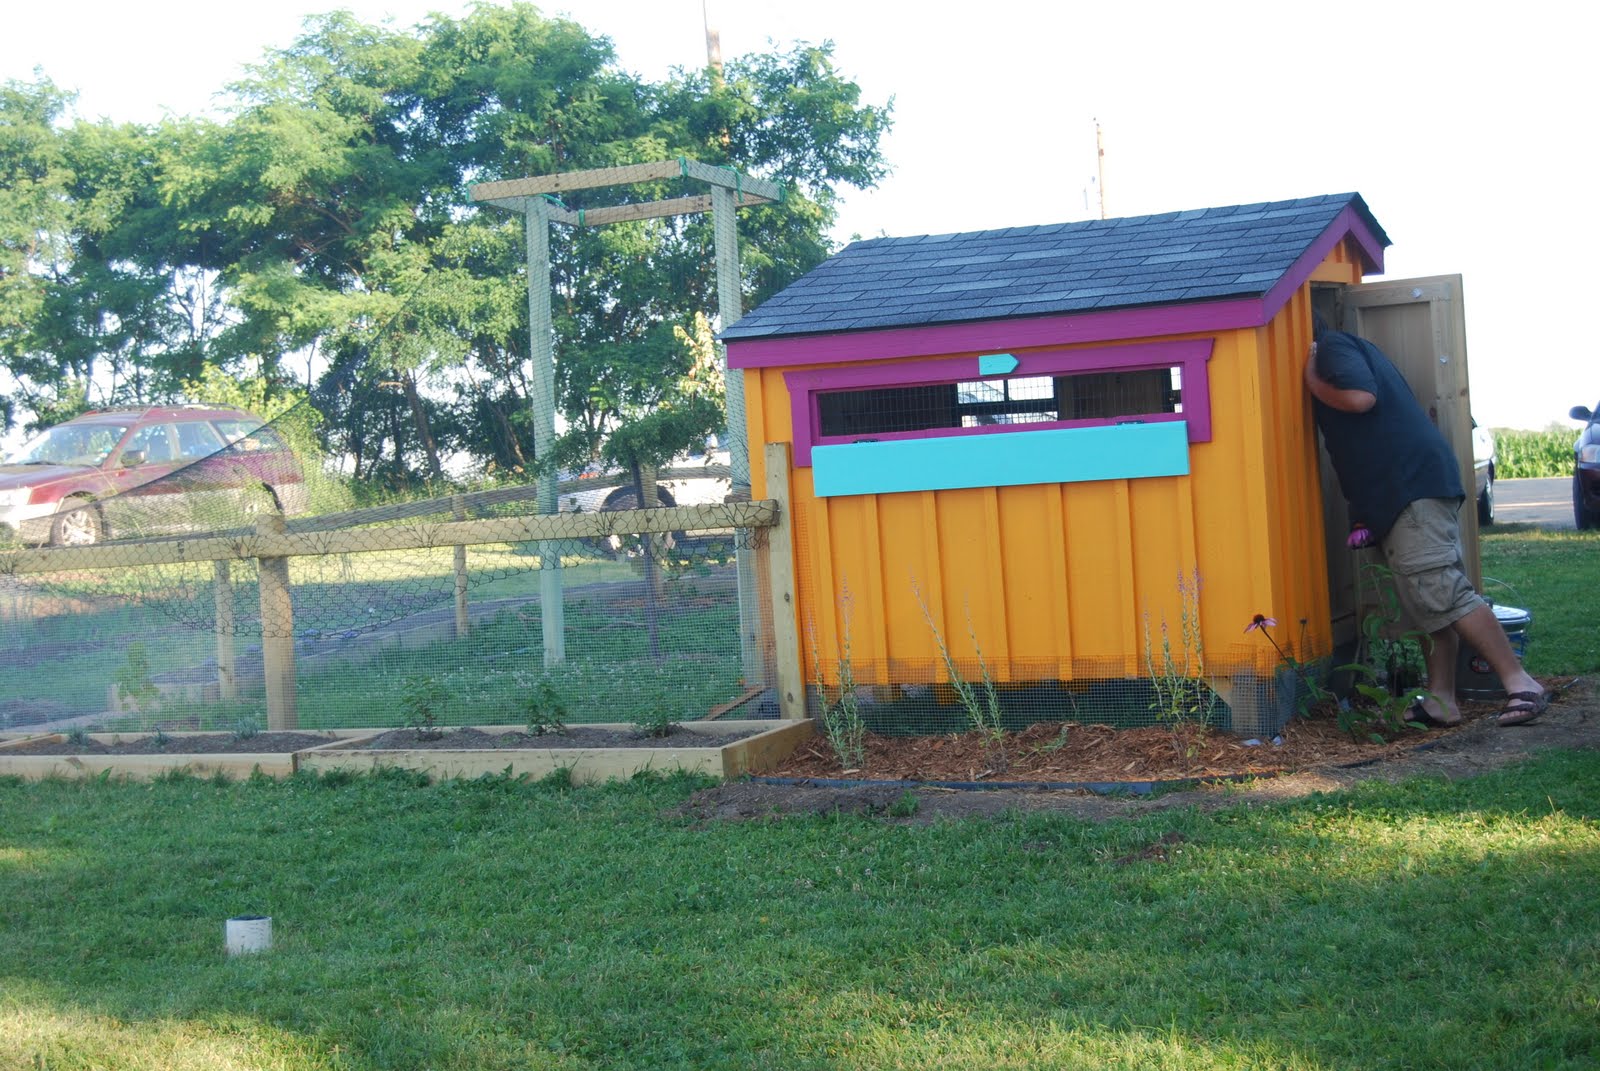
One problem remained: birds of prey. So to enclose the run, Andy put two 10-foot 4x4s into the center of the run. He built a square crown to rest on top of the 4x4s, which would hold a net to keep hawks and owls out. The net is high enough for our little bantams to fly around, and it looks cool – kind of like a circus tent.

I added my own personal flare. I painted the coop magenta and carrot orange,with a few splashes of teal. I love color. A lot. In the winter, I think I might add some pink flamingos and a Hawaiian Santa, just for irony’s sake.

The back of the coop
The front of the coop (still a bit under construction)

Since our flock has grown so unexpectedly and suddenly (which our chicken vet says is very, very common), we are planning to build onto this run in the fall. Lucky chickens!

I think Andy’s found a new niche.

A Visit from the Stork

On July 8th, at 6:07 A.M., the phone woke Andy and me up. The post office called to tell us our baby chicks had arrived. Groggy, we quickly scrambled downstairs to get a new brooder filled with litter and ready for our day-old-chicks.

When the chicks arrived, I couldn’t wait to rip open the box and see my new friends. Our kitties were interested in the chirping cardboard box. 

The waterer has a red plastic bottom, which is recommended because red is the color most easily identified by chicks. We also have a red brooder light; in this case, red is calming for the peepers. Since these chicks were one-day-old when they arrived, the brooder temperature needed to be 95 degrees. With each passing week, the temperature should be 5 degrees lower. Since it has been so hot here, we have not had to have the light on very often.  

One chattered her beak all day long. We finally realized she had never figured out how to drink. I dipped her beak in the waterer several more times, and eventually she got it!

Now the chicks are 1.5 weeks old. We have been playing with them indoors.

Next week, we will start taking them outdoors for some fresh air. We’ll also begin handing out treats like meal worms and raisins. There have been no signs of roosterdom so far; here’s hoping these are all hens!  We ordered them from My Pet Chicken this time in order to have  more assurance that we’d obtain only ladies this time. We’re keeping our fingers crossed!

Any suggestions for names?  We are continuing our theme of musician names.

Naysayers Beware: Beets = Nutritional Goodness

Earlier in the week, we pulled our garden’s first beets. Yesterday, we planted another row of them. Today, we juiced a few for a recovery drink after our 60-minute run. Beets are good to us.

Beets are one of those roots that many claim not to like. I (or rather we) challenge those naysayers to try new ways, other than the classic pickled beet, in order to consume this super food. These crimson roots contain loads of Vitamins A, B1, B2, B6, and C. They can be juiced, roasted, broiled, put into a cake, pickled, grilled, blended to be added to a vinaigrette, or shredded and eaten raw. And all methods equal pink, magenta, or crimson pee for nearly everyone. When it happens, don’t be alarmed; it’s only natural! 🙂

Our beverage today is a spin-off of the Willy Street Co-op’s Juice Bar’s Beetnik. We juiced carrots, oranges, and beets.

Beets from our garden, oranges from our fruit CSA, and carrots from our veggie CSA
 Ready to be juiced
All done…
My own version of the Beetnik! So sweet, so yummy, so nutritious!

Cold-Brewed Coffee: Ethical Heaven

Who wants to drink hot coffee in humid, sticky weather? Maybe some, but not me. On steamy days, I crave a nice big glass of iced coffee. Rather than spend $2 to $3 daily to feed my addiction, we’ve started cold brewing our own. Pour the silky liquid of deliciousness in a glass of ice; add a splash of cream; and oh-my-goodness: sipping heaven on my front porch! Try it. 🙂

How?
1. Coarsely grind coffee beans.
2. Use ratio of 1 cup coffee grounds: 4.5 cups water.

3. Combine and stir. 
4. Leave sit 12 hours or overnight at room temperature.

5. Strain using a colander lined with paper towel or a regular coffee filter.
Cold-brewed coffee has been called iced crack by some. Unless you want crazy jitters all day, be sure to fill your glass with ice to help dilute the coffee a bit. General rule of thumb is equal portions of cold-brewed coffee to water (ice in most cases).

Why choose cold-brewed coffee?

  • You get your caffeine fix in the summer without staining your clothes with sweat.
  • Cold-brewed coffee is less acidic than hot coffee, so it’s easier on your stomach.
  • It keeps for up to two weeks in the fridge.
  • It freezes well too. Lots of people freeze leftovers into ice-cube trays for more coffee goodness added to their cold coffee drinks.
We typically use Kickapoo Coffee because we are fortunate enough to have that coffee offered as a CSA through Harmony Valley Farm. It’s delicious, organic, and most importantly, fair trade. When and if we run out of our coffee for the week, our priority in purchasing is to buy fair trade. Why you might ask?

A few reasons include:
1. Smaller farmers are generally better stewards of the land.

2. Buying fair trade ensures that fair wages are being paid to people who harvest and grow your drink/food.
3. Fair trade requires sustainable agriculture methods, so generally, fair trade products are better for the environment.
Click here and here to learn more.  And look for these symbols when purchasing coffee!

Tantalizing Tastes and Smells: The First Major Harvest

Our gardens are flourishing, and last night marked the first major food preservation event of the season.

The herb garden smells tantalizing and is growing beyond expectations . Our basil plants were ready for a good cleaning, and our summer savory was beautifully out-of-control.  Chamomile was definitely gorgeous, but also in need of a good harvesting as well. I harvested basil, spearmint, chamomile, and summer savory. My hands smelled like a Sicilian countryside (at least in my imagination).  On a non-food note, our butterfly weed is an eye-catcher. Butterflies are rapidly increasing in our yard!

Chamomile 
Basil Plants
Butterfly Weed and Caterpillar

Our first three pints of pesto are in the freezer. The same basic recipe was used as last year, but this time we also added in some green carrot tops in conjunction with the basil and used walnuts in place of pine nuts.

 Pesto…pizza anyone?

Our dehydrator wasn’t working due to the humidity, so we oven-dried (yes, in this heat and stickiness!) a pint of chamomile and 2/3 pint of spearmint. Today, we’re drying several batches of summer savory.

Summer Savory waiting for the oven
Chamomile and Spearmint – dehydrated and waiting to be brewed

We also pulled our first beets. The greens were blanched and are now chilling in the freezer. We plan to make Beetniks with this crimson bundle of goodness after tomorrow’s 60-minute run.

 Finally, a raspberry-walnut vinaigrette is in the fridge waiting to dress fresh salads!  Our raspberries are producing well, though picking is such a continuous process as all raspberries are not ready at the same time. Jam is hard to do with just a few quarts, but vinaigrette is perfect for such an amount. Not much measuring was done for this process; it was a fly-by-the-seat-of-the-chef’s-pants dressing, but it turned out fabulous. So, adapt this to your liking.

Raspberry-Walnut Vinaigrette
about 3 cups of raspberries
about 1/3 to 1/2 cup of walnuts
about 1/4 cup of balsamic vinegar
about 1/4 to 1/2 cup of olive oil
about 2-3 Tbs. of lemon juice
a couple teaspoons of Dijon mustard
about a teaspoon of honey (or other sweetener)
salt and pepper to taste
small clove of garlic

Put all ingredients except for the olive oil in the food processor. Process until well-blended. Slowly drizzle in olive oil until emulsified. Viola! It’s done! Should keep in the fridge for quite some time. Always shake before using.

Newfound Chicken Knowledge

Becoming chicken people has been quite the adventure, and both of us have learned loads about backyard chicken-keeping. Because we were quite naive, much of our new knowledge probably is common sense to some folks, but to us two former city dwellers, nothing about chickens was common sense before having our own feathery peeps.

A few  morsels of new found knowledge include:

  • Chickens have sex. I honestly did not know that. I thought that somehow, some way, the roosters inserted something into the hatched egg that made a chick. Now that I know, I’m dreading the day that Zappa and Marley’s hormones kick in. I’m worried about my little hen ladies. I’m finding the idea of our cute little peepers doin’ the deed very disturbing. I hope I’m not home to witness the first few rounds. 
  • Chickens like cheese. With Carmen, the cat, being so obsessed with cheese that she can distinguish the word from “treat”, and with the chickens’ love for cheese, I wonder if any of our  CSA cheese share will be left for the humans. 
  • Chickens can start having eggs at a very young age. I’ve read that egg-laying can begin as early as 16 weeks old, though most start laying a bit later than that.
  • Chickens can fly quite well, at least our Bantams can. Zappa has flown halfway across our yard.
  • Chickens need to slowly be introduced to new flock members. Currently, we’re teaching Zappa, our first rooster, that Andy is actually the alpha male in this yard. Zappa bullies and picks on all the newer chicks, hens and roosters alike.
  • If chickens eat onions or garlic, it will spoil their eggs.
  • Most chickens roost when they sleep.
  • Hawks really don’t care if people are around. They see chickens, and they think lunch. A week ago, we had two land in our yard – we were not even 20 yards away.
  • Chickens, when played with regularly, are very affectionate. Today Zappa sat on my lap, soaking up compliments and chicken massage, for over thirty minutes.

Chickens make great pets! And hens lay eggs!! Everyone should have a backyard chicken!!

Here are some of our chicken moments:

Zappa and Ani coming out of the coop for the first time.
Ani is well…a chicken! She’s scared of everything.
Ani and Zappa = natural pesticide.
Now, they are too big to let alone and free in the garden;
they also want to eat our plants. 
Marley (previously know as Fiona)
She is a he. Figuring that out was quite the drama!
Loud and boisterous Janis.
She’s pretty sweet too.
Ella ~ she is, as Dave Matthews would say, a lovely lady.
Among our lessons this summer… it’s hard to sex a chick, and therefore, we ended up with two roosters. We thought we’d keep them both, but later learned that the ratio for roosters:hens should be 1:5. We tried finding a sanctuary for little Marley, but in the end decided to build a smaller coop and run for Marley and his ladies. We also are expecting three (previously sexed) Easter Egger day-old chicks this week! Easter Eggers are cold-hardy hens with sweet dispositions. Plus, they are exceptional layers that lay colored eggs. Perfect for our nieces and friends’ children at Easter time.
We are anxiously awaiting our new babies.

Garden Updates

Our gardens are looking beautiful, and we’re ready for our first major harvest. Tomorrow, we’ll be pulling our first round of beets, kale, and possibly garlic.

We’ve been able to harvest herbs and lots of Swiss Chard so far.

Our tomato plants are flowering and producing.

Our potato plants are beautiful. I love the flowers on top, especially the blue potato ones.

The raised gardens, which were planted much later, are doing well too.
Our beans and corn are getting along nicely.
The melon plants are giving me high hopes too! There is nothing like a fresh slice of cantaloupe or a glass of watermelon juice (and maybe vodka!).

Bonfire Revelation: We Need a Bat House

Tonight, we decided to have a campfire in our own backyard. Andy got some wood, and we raided the fridge to figure out what we’d grill.

I collected remnants of last week’s CSA box in hopes of a yummy grilled veggie salad. I found zucchini, a few orange beets, a fennel bulb, and some broccoli. I decided to spice this up and then put some leftover marinara sauce over it. Yum!

If you’ve never made a grilled veggie salad, I highly recommend it! You will need a grill basket. Grilled vegetables are super delicious because grilling gets all the yummy veggie sugars cooking, so your vegetables end up tasting delectably sweet. A good cookbook to start grilling vegetarian style is The Vegetarian Grill: 200 Recipes for Inspired Flame-Kissed Meals, although once you get started with vegetarian grilling, you’ll soon realize it’s as easy as throwing vegetables on the grill with some olive oil, and later dressing it with a sauce or topping of your choice.

The bonfire was beautiful tonight, dinner was wonderful, and the sky was clear. We even saw a few deer frolicking in the wheat field behind our house. The only annoyance were the State Bird: Mosquitoes. We have them in excess this year due to the undulating night rain storms throughout the last few weeks. Guiltily, we sprayed on our OFF. It seems we’ve been going through a bottle a week lately, and quite honestly, I feel like crap about it. We’ve tried more natural methods such as citronella to prevent getting bit, but nothing makes being out in our yard bearable quite like OFF.

Luckily, we saw a few bats flitting around as well. We’ve decided to get a bat house. I’ve read that one bat can eat up to 1000 mosquitoes an hour. What a perfect solution. Now, we just need to figure out how to get this new project started. Do any of you have a bat house? Does anyone have some advice for bat house newbies?  We’d appreciate any thoughts, suggestion, or advice that you have for us.

A Hot Summer Day, Complete with Barbacoa

This weekend, we dug a hole, put stones into it, built a fire with two vents, placed a pot of food onto the fire, covered it with dirt, started another fire, and then eventually removed the pot of food to eat it. We hosted our first barbacoa, with the help of our great friend, Gaby and her family. 

Earlier this week, Andy went to the butcher to purchase a leg of lamb making several calls to find a vendor that could give him one with the bone, from a farm that matched our ideals. I learned that lamb (as that used for food) is a bit older than the little fuzzy ones I pictured in my mind when I heard the word. In fact, our leg of lamb was fourteen pounds! This purchase toyed with my super sensitivity concerning killing and eating animals (especially cute, furry baby ones), but I consoled myself, knowing (1) how much everyone involved would enjoy and learn from this experience and (2) from the fact that we knew the origins of the meat and held respect for the lamb’s life.

Friday night,  the men dug a hole, three and a half feet deep, into our fire pit (while the women took pictures and chatted).

Then, they lined the hole with stones that would later act as insulators that would ensure even heat at the bottom of the pit.

We covered the pit with a tarp and tucked it in for the night.


Saturday afternoon: HOT and HUMID…did I mention no breeze and tons of mosquitoes? Perfect weather for day long fires, right? Even Skye, the dog was hot!

…but we carried on anyway!

Step one: start the fire to heat the stones and get the bottom of the pit hot.

As things were heating up, we dressed the food in preparation for the fire. It turns out that our leg of lamb wouldn’t fit into the pot, so Andy had to cut it in half. Knowing that he is not a butcher and lacks the cutlery to properly dissect meat (and normally doesn’t even deal with meat), you can guess how that went! He ended up using a hammer and a knife! Very barbaric.

We lined a colander with banana leaves. Then, put  a mixture of onion, potatoes, chickpeas, carrots, seasoning, garlic, bay leaves, whole grain rice, avocado leaves, and dried peppers into the colander. This was all placed into the pot. We added two cans of beer, some water, and the water which the chickpeas had soaked in the previous evening.

Then, we covered the colander with more banana leaves.

The leg of lamb went in next. Andy rubbed it with spices, salt, avocado leaves, and garlic. We also threw in extra garbanzo beans, onions, and garlic.

Next, another layer of banana went on top – essentially, the lamb was wrapped in banana leaves.

A damp cloth was needed to insulate the food. And then, fire-roasted maguey leaves were placed on top of that.

To reiterate, the layers went as follows:
1. beer/water
2. colander of veggies
3. banana leaves
4. meat
5. banana leaves
6. damp cloth
7. maguey leaves

Now, back to the fire pit!
Step two: Once the bottom of the pit had red coals, Andy added wood to create a platform onto which the pot would eventually rest. When the wood caught and sustained fire, he and Fernanda (Gaby’s daughter) put the pot onto the platform.

Step three: Andy and I filled the pit and submerged the pot with earth, leaving room for vents on both sides.Once the pot was covered with about one to two inches, Andy constructed another fire on top.

The fire blazing on top was a signal for some cerveza, hibiscus tea, and some chisme. Despite the mosquitoes and heat, we all had a great time watching the fire. Every now and then, Andy used a leaf blower to ensure that the vents were getting enough oxygen to keep the fire going underneath the pot. Billowing, heavy smoke was a sure sign that things were still brewing beneath the soil.

About four to six hours (we lost track of time) later, Ishmael (Gaby’s husband) and Andy pushed aside the coals on top to reveal the pot. The smell was amazing, even for me – the vegetarian.

Upon removal, to our surprise, we realized the fire was too hot and that we had melted a hole on the side of the pot, which released the consome (broth) onto the fire. The veggies and meat were still in-tact, unharmed, perfectly roasted.

Gaby and her crew, Andy, and I all hurried into the house in anticipation of the great food! Earlier in the day, Gaby and Fernanda had made salsa boracha (drunken salsa) – a delicious brew of roasted tomatoes, tomatillos, onions, garlic, dried chipotles, dried guajillos, and of course, the addition of a beer. Essentially, all veggies were roasted over a charcoal fire until browned. Then, we blended them all in the food processor. That sat until the barbacoa  was finished. We added the beer, and it was ready! It was fantastic (and it can be frozen for future use!).

Anyway, back to the story – Gaby led us through how to put this dinner together. She and  Fernanda heated up corn tortillas and cut limes. I poured the beer into the salsa and got the veggies ready. Andy got the meat ready – which was quite the easy task because it literally fell off the bone and was easily shredded with a fork.

The table was set and tacos were consumed! I ate veggie tacos, which consisted of a corn tortilla, the roasted veggies from the fire pit, cilantro, fresh onion, salsa boracha

One thing is for sure: the day was beyond wonderful. It was such a beautiful experience to have on a hot, summer day with good friends. We’ll be doing this again, and hopefully next time, we’ll actually get to taste the consome too!

…and, of course, thank you Baby Lamb. XOXO

Strawberry Days 2010!

Every summer, we attend Harmony Valley Farm’s (HVF) Strawberry Days. As always, this year Strawberry Days fell on Father’s Day, June 20.  HVF is right outside of Viroqua, a small Midwest city with a personality that coincides well with my and Andy’s interests. So, we usually spend a night or two in Viroqua leading up to the festivities. This year was no different. We dined at two favorite Viroqua locations on Saturday: the Driftless Cafe for lunch and Chilito Lindo for dinner.
On Sunday, we made our way out to Harmony Valley Farm. As we pulled in, we heard Richard (our farmer) over the loudspeaker introducing the field workers. Simultaneously, people listened to the introductions and went through the potluck line. It is always a delight to contribute to and partake in the potlucks at our CSA parties. Like-minded people bring all sorts of local, organic, and in-season food. Plus, there are always vegetarian options. At this year’s party, there was a magnificent veggie “meatloaf” for which I am desperately seeking the recipe.
After brunching, members and guests loaded onto three wagons to see our farm’s progress this year. We stopped in the zucchini fields first.
Next were the pea fields. The kids were really excited for this stop! We drove around the tomato fields and pepper fields. We were happy to see that our home garden’s vegetables were at about the same height as HVF’s. That’s always a good sign!

Finally, we made it to the strawberry fields.
Understandably, because of the early spring, strawberries were not as plentiful for picking as they were last year.
So, while we didn’t pick enough for Strawberry-Ginger Jam, we did scrounge up four pounds, which we juiced once we got home. We used part of the juice for a tasty Strawberry Vinaigrette (recipe courtesy of Harmony Valley Farm). Excellent over a leafy green salad!

Strawberry Vinaigrette

1/2 cup of olive oil
1 Tbs of balsamic vinegar
1/2 cup strawberries (we’ve done this..which makes for a thicker, creamier dressing. Today, we’re using strawberry juice because that’s what we have!)
1 Tbs minced onion

Mix all ingredients together in a blender until smooth. Refrigerate.

_________________________
We will probably use the rest of the juice for Strawberry-Ade! In Andy’s words, “Wow! This tastes like Strawberry Kool-aid!” He’s right ~ the cool part of that statement/thought is that while it tastes like a childhood favorite, Strawberry-Ade contains absolutely zero artificial sweeteners and all of the ingredients we used are traceable.

 
Strawberry-Ade
2 cups of strawberry juice
6 cups of water
1/2 cup of sugar or other sweetener
Juice strawberries using a juicer. Or, if you don’t have a juicer, blend strawberries in a food processor and then strain out the seeds using a colander or cheese cloth. Add sugar. Stir to dissolve. Add water. Serve cold.