Viva Mexico with Applesauce? . . . and Locavores Like Local Apples

On Tuesday evening, Andy and I ventured to the Door Creek Orchard in Cottage Grove. What a lovely place! Sheep, a beautiful apple orchard, and a quaint country store. We will be heading back! 
The purpose of our after-school detour was twofold. On Wednesday, my colleague, Carol Samuel, and I were hosting our first LOCAVORE meeting at school. We basically wanted to bribe students to come with food, so I bought a bag of freshly-picked Gala apples. On Thursday, my students and I were having a little fiesta in celebration of La Independenica de Mexico. My classes are very multi-cultural this year, so we decided that the celebration should include cultural food. What’s more American than homemade apple pie? Freshly-made applesauce!

Wednesday’s first club meeting went well. Though we only had a few students, they were ENTHUSIASTIC students with very innovative and exciting ideas, including holding an after-school workshop to teach other students how to make their own compost bins. We  have a PR plan for the rest of the month to recruit more members. If any of you have ever started a new club, please send suggestions my way!

Wednesday evening, I came home and made applesauce for Thursday’s Mexican fiesta. I had bought a 20 pound bag of McIntosh apples for this, but I added a few other kinds of apples that were tucked away in my fridge.

I don’t peel my apples for sauce. Why get rid of important fiber and other nutrients?

Ingredients:
apples
water
sugar to taste
cinnamon

Instructions:
1. Core apples and cut into wedges.
2. Put into a large pot on medium-low heat.
3. Add a bit of water to keep the apples moist.
4. Add cinnamon and sugar to taste.
5. Cook until apples break down to your desired consistency.

For a delectable treat, serve a dish warm with a splash of heavy whipping cream or half and half.

Or refrigerate and serve cold. Of course, freeze the extras!

…and if you have chickens or have neighbors who have chickens, the cores are an especially appreciated chicken treat. Our flock clucked and cooed in excitement.

Final Canning Weekend of the Season?

This weekend, Andy was sick…and we had 25 pounds of Romas and 10 pounds of tomatillos to can. He mustered through parts of the process, but my role was much bigger than normally expected on a CANNING WEEKEND.

We canned 7.5 quarts of diced tomatoes, using the same process we’ve used for years.

And, we made 10 pints of canned salsa verde. This year we’ve frozen quite a haul of various salsas, but this is the first time in our lives that we’ve canned salsa. We’re wondering what the difference between the frozen salsa and the canned salsa will be. All of the our canned and frozen salsas are blended for the sake of consistency. I don’t like slimy cilantro, for example. What do all of you think? Have you had better results with canning or with freezing salsa? Obviously canning is more work and often takes more of the nutrients out of the food than freezing does, so we’re wondering: what’s the benefit? Please comment!

We used a recipe from the National Center for Home Food Preservation. Here it is (copied and pasted):

Tomatillo Green Salsa

  • 5 cups chopped tomatillos
  • 1-½ cups seeded, chopped long green chiles
  • ½ cup seeded, finely chopped jalapeño peppers
  • 4 cups chopped onions
  • 1 cup bottled lemon or lime juice
  • 6 cloves garlic, finely chopped
  • 1 tablespoon ground cumin (optional)
  • 3 tablespoons dried oregano leaves (optional)
  • 1 tablespoon salt
  • 1 teaspoon black pepper

Read more about ingredients. Yield: About 5 pints
Please read Using Boiling Water Canners before beginning. If this is your first time canning, it is recommended that you read Principles of Home Canning.
Procedure:
Caution: Wear plastic or rubber gloves and do not touch your face while handling or cutting hot peppers. If you do not wear gloves, wash hands thoroughly with soap and water before touching your face or eyes.
Preparing Tomatillos: Remove the dry outer husks from tomatillos; wash thoroughly. They do not need to be peeled or seeded.
Preparing Peppers: The skin of long green chiles may be tough and can be removed by heating the peppers. Usually when peppers are finely chopped, they do not need to be skinned. If you choose to peel chiles, slit each pepper along the side to allow steam to escape. Peel using one of these two methods:

  • Oven or broiler method to blister skins – Place chiles in a hot oven (400°F) or broiler for 6 to 8 minutes until skins blister.
  • Range-top method to blister skins – Cover hot burner (either gas or electric) with heavy wire mesh. Place peppers on burner for several minutes until skins blister.
  • To peel, after blistering skins, place peppers in a pan and cover with a damp cloth. (This will make peeling the peppers easier.) Cool several minutes; slip off skins. Discard seeds and chop.

The jalapeño peppers do not need to be peeled, but seeds are often removed.
Hot Pack: Combine all ingredients in a large saucepan and stir frequently over high heat until mixture begins to boil, then reduce heat and simmer for 2O minutes, stirring occasionally. Ladle hot into clean, hot pint jars, leaving ½-inch headspace. Remove air bubbles and adjust headspace if needed. Wipe rims of jars with a dampened, clean paper towel; apply two-piece metal canning lids. Process in a boiling water canner according to the recommendations in Table 1.

Table 1. Recommended process time for Tomatillo Green Salsa in a boiling-water canner.
  Process Time at Altitudes of
Style of Pack Jar Size 0 – 1,000 ft 1,001 – 6,000 ft Above 6,000 ft
Hot Pints 15 min 20 25

Note: You may use green tomatoes in this recipe instead of tomatillos.
IMPORTANT:
The only other change you can safely make in this salsa recipe is to change the amount of spices and herbs. Do not alter the proportions of vegetables to acid and tomatoes because it might make the salsa unsafe. Do not substitute vinegar for the lemon juice.

Nutrition Information (Estimated values using Nutritionist Pro™ software)
Per 2 Tbsp: Calories 10, Total Fat 0 g, Sodium 89 mg, Fiber 0 g, Protein 0 g. 
Daily Values: Vitamin A 1%, Vitamin C 17%, Calcium 1%, Iron 1%.
Percent Daily Values based on Dietary Reference Intakes.
 ——-
We’ll see what the future holds, but I’m wondering if this is the last canning weekend of the year!  The pantry is looking good, and the freezer is loaded with goodies. There is always a sense of bitter-sweetness at the end of the season. On one hand, being done frees up some time, but I believe solidly that there is nothing quite like listening to This American Life or some good tunes, drinking a cup of tea (and later wine), and steaming up the kitchen with cooking. Until next year though… enjoy the harvest!

Chickens and Chickpeas

All of our chickens are in the coop! Despite not hearing back from the State Lab regarding Marley’s illness, we decided (after checking with our vet) to put all of the chicks together in the coop and run. We’re crossing our fingers that Marek’s has not visited the Poquette residence.

Tonight, we enjoyed all of their company for a few hours. We let them frolic outside of their run while we grilled some veggies for a new kicked-up-a-notch version of one of my favorites, Tex-Mex Chickpea Salad.

…and so, here is our official flock (drum roll please!)…

The oldest two first. Both are Bantams.

Zappa: King of the Roost
Sweet, sweet Ani (she doesn’t fit her namesake very well!).

Next, the middle ones: the Polish hens…who have managed to sneak their way to momentary favorite status (at least for the writer of this blog). They’re time inside the house from July to the start of September lent itself to many moments of bonding and cuddling. The first night they finally slept outside, I felt like I was experiencing empty nest syndrome.

Sultry Ella…she really loves perching.
Janis … she does fit her namesake.

And finally, the “babies” ~ though they’re much bigger already than all of the other birds. They still look less mature, but their size is massive in comparison. They are Ameraucanas, otherwise known as Easter Eggers because of the color and size of their eggs. These ladies will eventually be much larger than their flock mates.

Spinderella…she is ALWAYS flying onto everything. It’s very endearing.
Salt…on a mission.
Pepa never poses…this is like my 100th try at a picture of her. She’s very elusive.

Now for the chickpea recipe (I love word coincidences!). We usually make this inside, but last  night we decided to grill all of the veggies. The results: delicious!!! However, if you don’t feel like grilling or it’s not the right season, the inside version is nearly as good. We usually make a huge batch so that we can take leftovers for lunch all week.

Tex-Mex Chickpea Salad (grilled)
Ingredients (all are approximates and could be adapted to your liking):
4 cups dried chickpeas (soaked and prepared)
3 tomatoes
1 chipotle and adobe sauce
3 jalapenos
1 large onion
3 large cloves of garlic
2 bell peppers
juice of 2 limes
2 Tbs. olive oil
cilantro
sour cream (optional)

Instructions:
1. Prepare beans or use canned chickpeas.
2. Cube the bell pepper and onion. Peel and half garlic cloves.
3. Halve limes.
4. Prepare hot fire on the grill. 
5. Grill onion, garlic, and peppers in a grill basket. Put large tomatoes and halved limes directly on grill. 
6. Cook until charred and soft.
7. Dice tomatoes, juice limes, and dice chipotle.
8. Combine all ingredients.Salt and pepper to taste.
9. Top with sour cream, if desired.

Honestly so good! …and so nutritious! Great source of protein for a Meat Free Day!

Pizza and a Good Book

We had to let this cook down for hours and hours. 

For years, we’ve been searching to find a thick, flavorful pizza sauce to make and to can. Lo’ and behold if my favorite author didn’t include the very recipe in her book, Animal, Vegetable, Miracle. Throughout the book, Barbara Kingsolver’s family writes personal narratives about food, and so this pizza sauce recipe actually comes from Camille, her oldest daughter. She shared the family’s secret recipe in a chapter entitled, Living In a Red State ~ both to imply the political leanings of Kentucky at the time and the fact that they harvested nearly a ton of tomatoes the summer about which they wrote the book.

Anyway, our tomato crop has been hit or miss this year, so we ended up purchasing two 25 lbs boxes from our CSA farm, Harmony Valley. Combined with our own tomato crops, we have put quite a lot of work in . . . and we have quite a lot of work ahead of us.

On Sunday evening, we prepared the sauce, using some of our tomatoes and one of the boxes. The house smelled great, our cats acted as if they were about to die from heat stroke (see photo of Tucker to the right), and we ended up with 5 pints and 9 half-pints of pizza sauce. Between those and our freezer pesto, I think Andy’s pizza addiction should be covered throughout the winter and spring.                        

Here’s the amazing recipe, Family Secret Tomato Sauce, from the book, Animal, Vegetable, Miracle.

Our assembly line. L to R: boiling for 2-3 seconds, ice bath, and then skinning/de-seeding.


Look at all of those onions!

Wow! Stuffed Peppers=Amazing!

Dinner tonight was, in one word, amazing. Andy stopped at the co-op on the way home tonight to get Smart Ground Original, a meat substitute. While I fully embrace the vegetarian lifestyle and philosophy, another alternative is to buy local and as-humanely-as-possible-reared-and-slaughtered meat. It’s hard for me to put the words “humane” and “slaughtered” in the same sentence, but I realize that there are benefits to a non-veg, local carnivorous meal: supporting local farmers, less gas mileage for the product, and more local food, in general.So…my point is that this meal can be veg or non-veg…and both can be ethical in their own ways.

Here’s the ingredients and instructions for this truly delectable dinner. Try it! It’s so yummy!

Ingredients: (Spanish rice)
2 TBS olive oil
1 1/2 long grain rice
1 quart canned tomato halves with juice
vegetable broth (enough that when combined with tomato juice equals 3 cups)
1 medium onion, chopped
1 large garlic clove, minced
1 jalapeno pepper, diced
Mexican seasoning (cumin, chili powder, achiote, anything that feels/tastes right)

Ingredients: (soy/beef crumbles)
1 LB soy crumbles or ground beef
1 small onion diced
1 Jalapeno pepper
Mexican seasoning (cumin, chili powder, achiote, anything that feels/tastes right)
water (3-4 TBS)

Cheese

To make rice:
Heat oil in a deep sauce pan. Add onion, garlic, pepper, and rice. Stir and cook until onions are translucent and rice is a little bit browned.  Add seasoning, tomatoes and all liquids.  Bring to a boil, and then reduce to a simmer.  Once at a simmer, reduce heat to low and cover.  Cook approximately 30 minutes or until majority of liquid is absorbed.

To make soy/beef:
Heat oil in shallow sauce pan.  Add onion and pepper; cook until pepper is almost translucent.  Add soy/beef and cook until browned (soy: approx 3-5 minutes). Add seasoning and water.  Cook until water is absorbed.
Add soy/beef to the rice and mix until combined.

To make stuffed peppers:
Preheat oven to 400 degrees.  Cut tops off of peppers and take seeds out.  Drizzle the inside of the peppers with olive oil and salt.  Stuff peppers with rice and soy mixture.  Arrange stuffed peppers in a shallow baking dish.  Cook in over for 10 minutes.  After 10 minutes, remove from oven and add cheese to the tops of all the peppers.  Return peppers to oven and cook for an additional 10 minutes or until cheese is browned or to your personal liking.

YUM! YUMMY! OUT OF THIS WORLD! SPLENDID! HOLY COW!

Dilly Beans

Carmen’s opinion of canning in 90+ degree weather. Hehe.

For the last several years, we’ve bought a 10 pound box of beans from Harmony Valley Farm. This year we canned 6 quart jars of dilly beans and froze the rest of the beans for fall and winter casseroles and soups.

Dilly beans are great accessories to a Bloody Mary and fabulous snacks for any time you’re craving something salty.

Ingredients:
4 pounds of green beans
8-16 heads of fresh dill
8 cloves of garlic
1/2 cup canning salt
4 cups white vinegar
4 cups water
hot pepper flakes — optional (we used approx. 6 dried peppers’ worth)

Materials:
6 quart jars or 12 pint jars
canner
jar grabber
tongs
large pot
funnel

The process is as follows:

1. Snap the ends off of the beans. (This is a fun step. My parents usually come over, and we gossip over wine while bean-snapping like crazy people. Now the chickens run around, scavenging for bean butts.)
 
2. Put beans into a sink full of water to get them clean. 

3. Sterilize quart jars and lids by placing them in boiling water for 1-2 minutes. Or if your dish washer has a sterilize cycle, use that.

4. Prepare the brine by combining salt, vinegar, dill, water, and red pepper flakes. Bring to a boil.

5. Put the garlic, dill, and hot peppers (optional) into the steralized jars.

6. Tightly pack the beans into the jars, leaving 1/2-inch head space.

7. Pour brine over the beans, again leaving the 1/2-inch head space on the jar.

8. Put the lids on the jars.


9. Put the jars into the canner and process for five minutes – though depending on your altitude, times can vary.

What to do with all of those tomatoes? Can ’em!

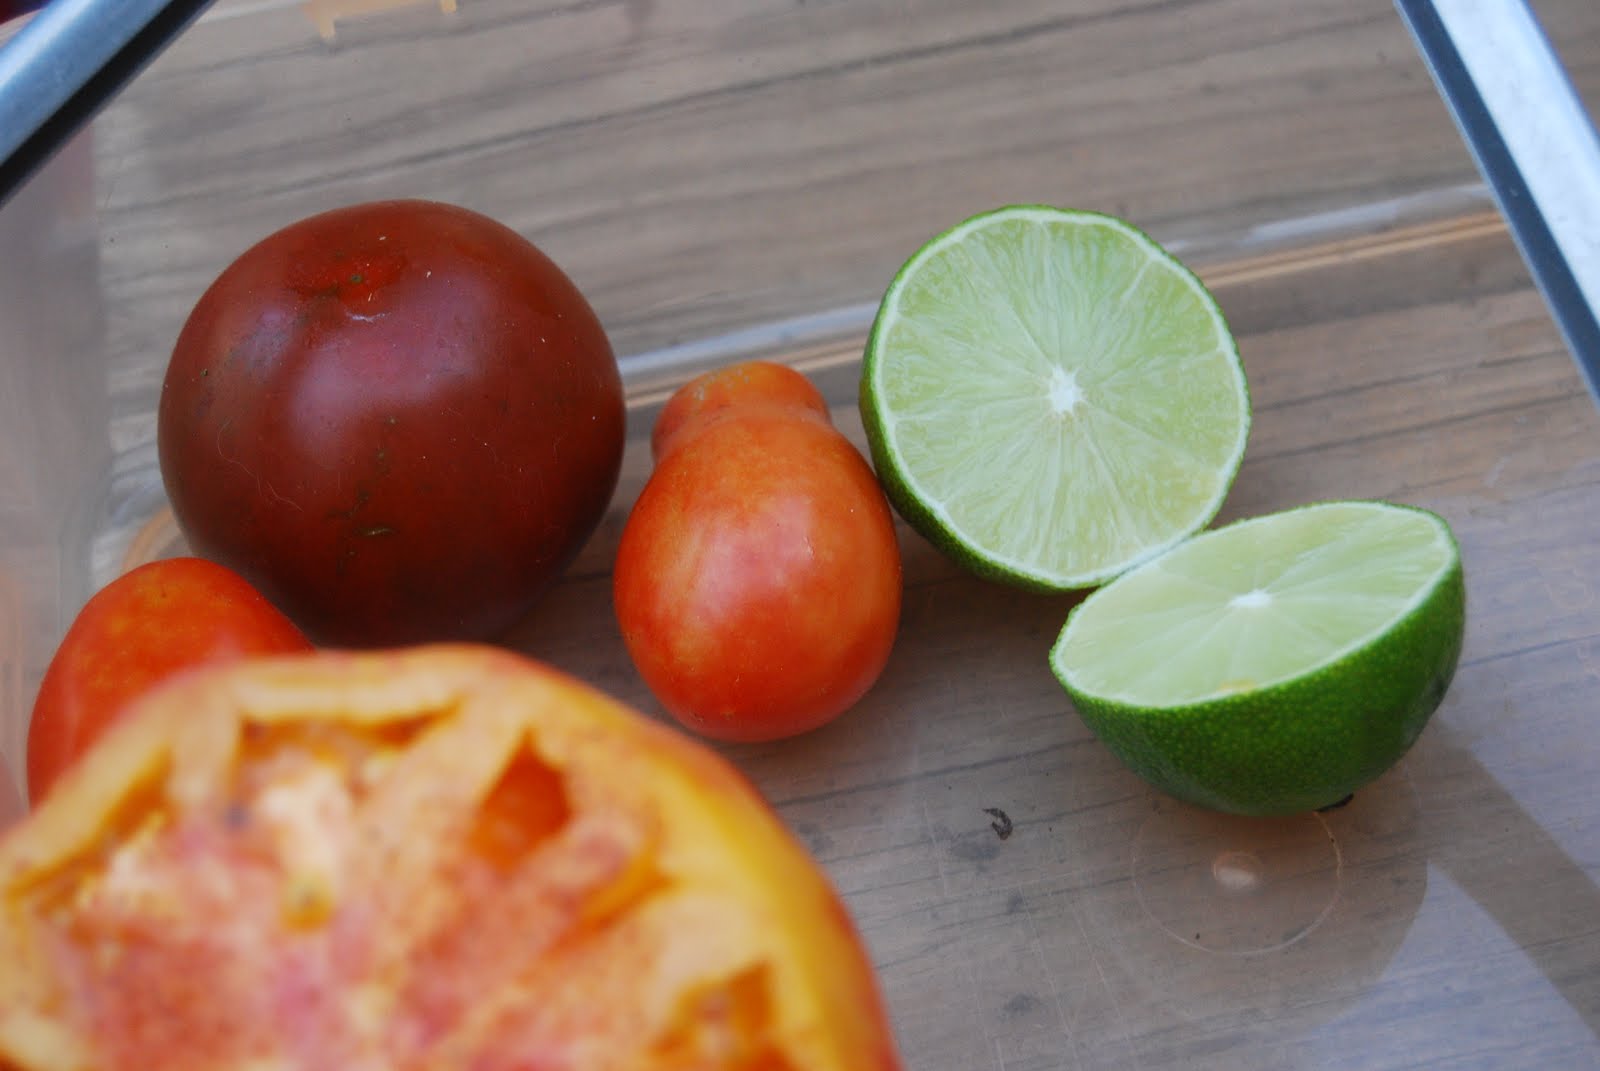
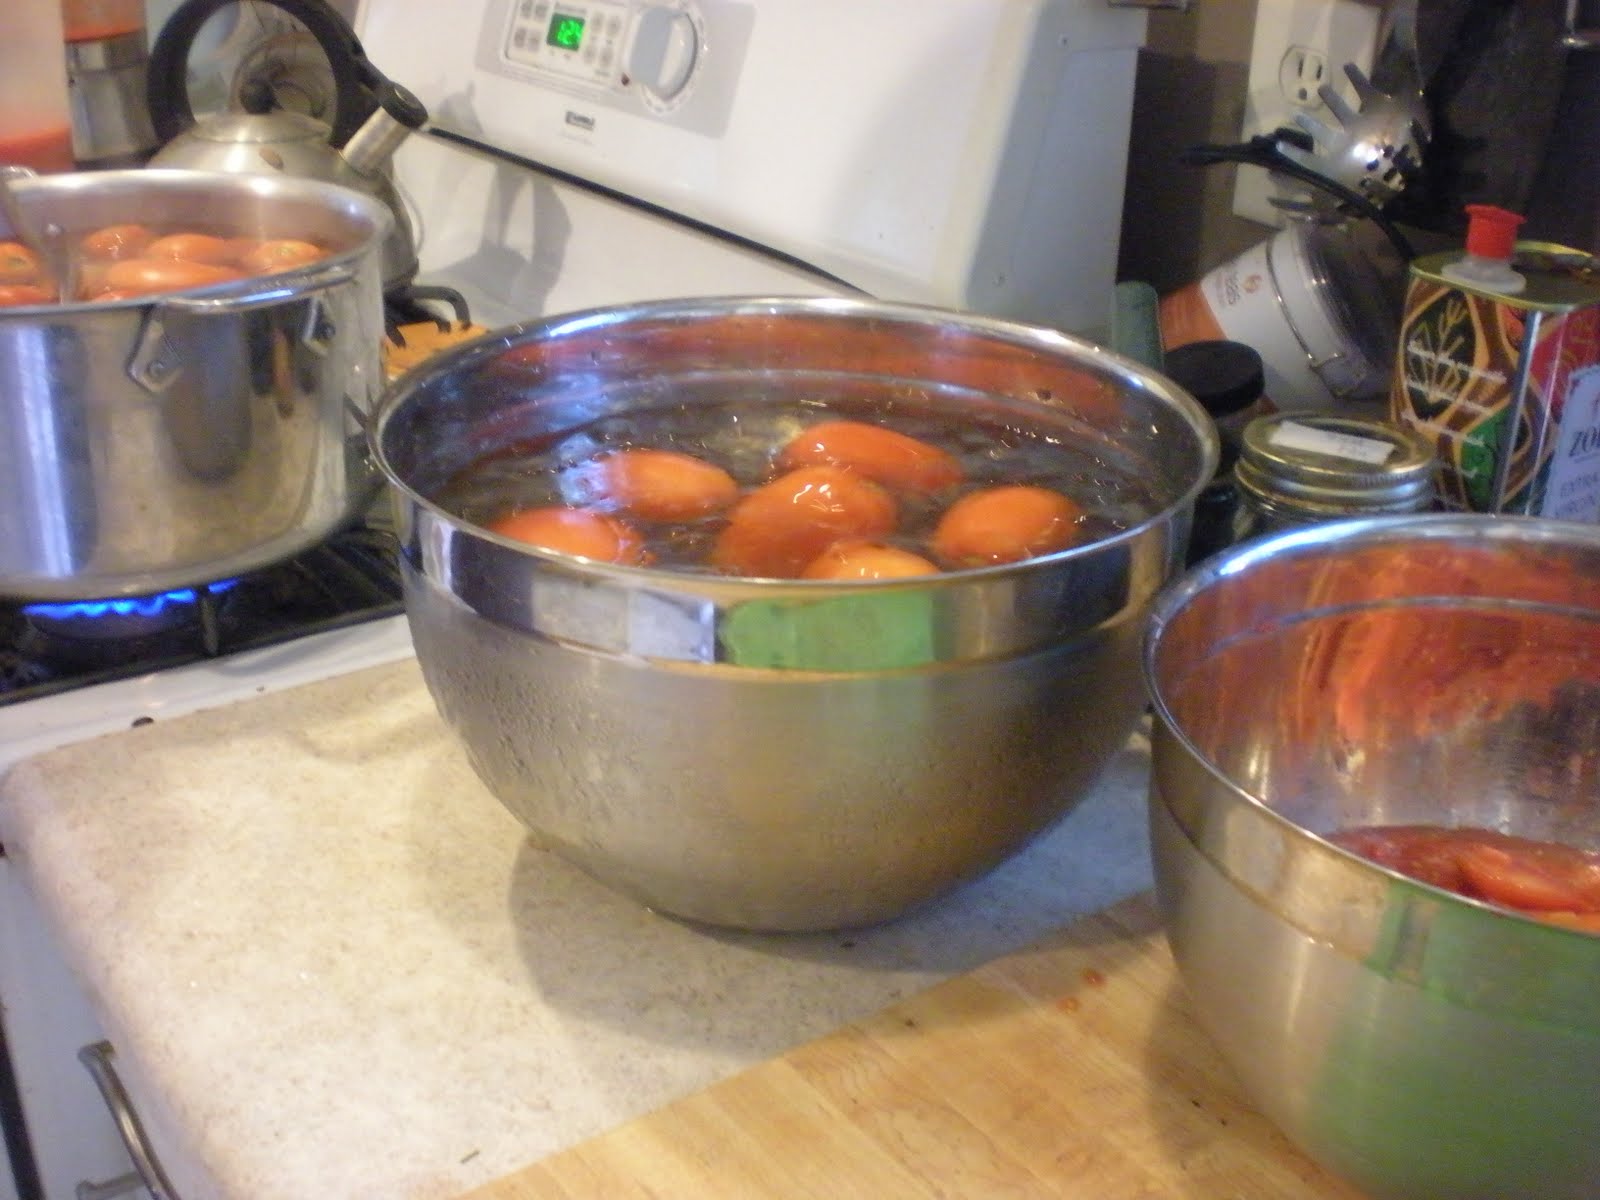
Tomatoes chilling in an ice bath.

Canning can be a looming task to food preservation/gardening newbies. This blog entry is to reassure those of you nervous ladies and gents out there that it really is quite a simple process that’s well worth the effort.

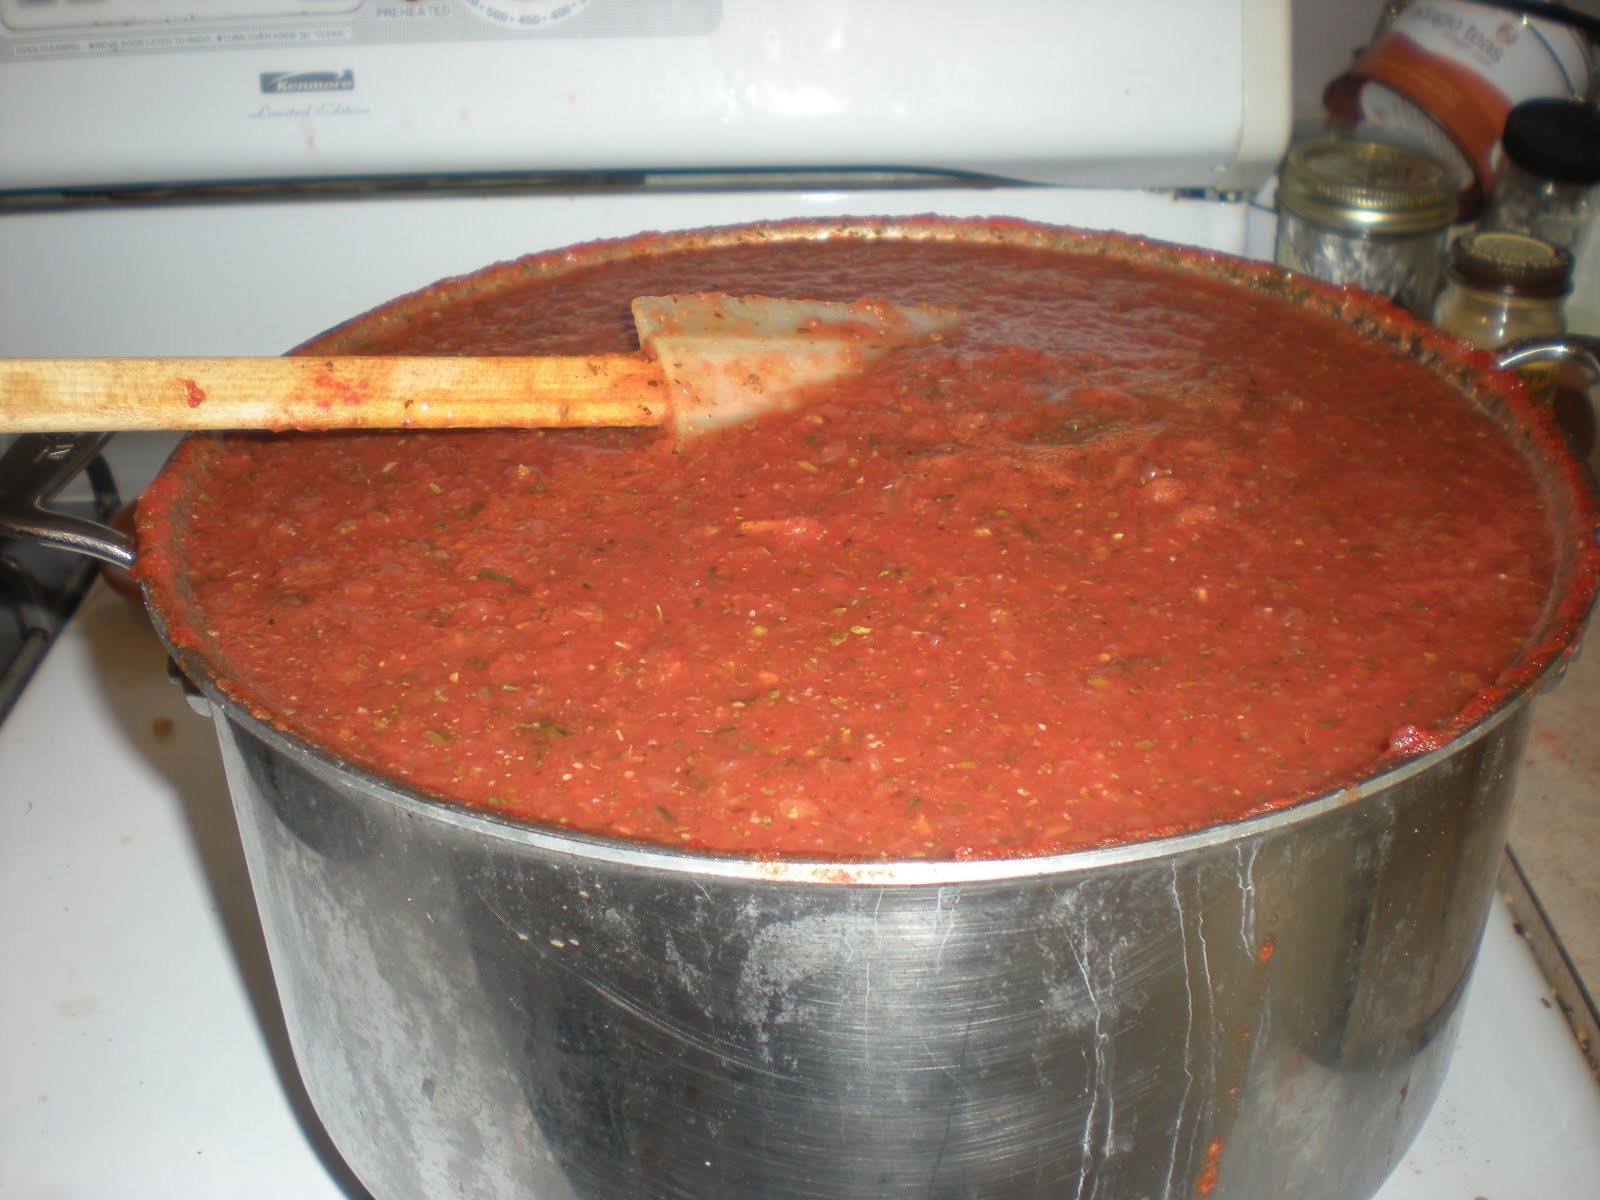
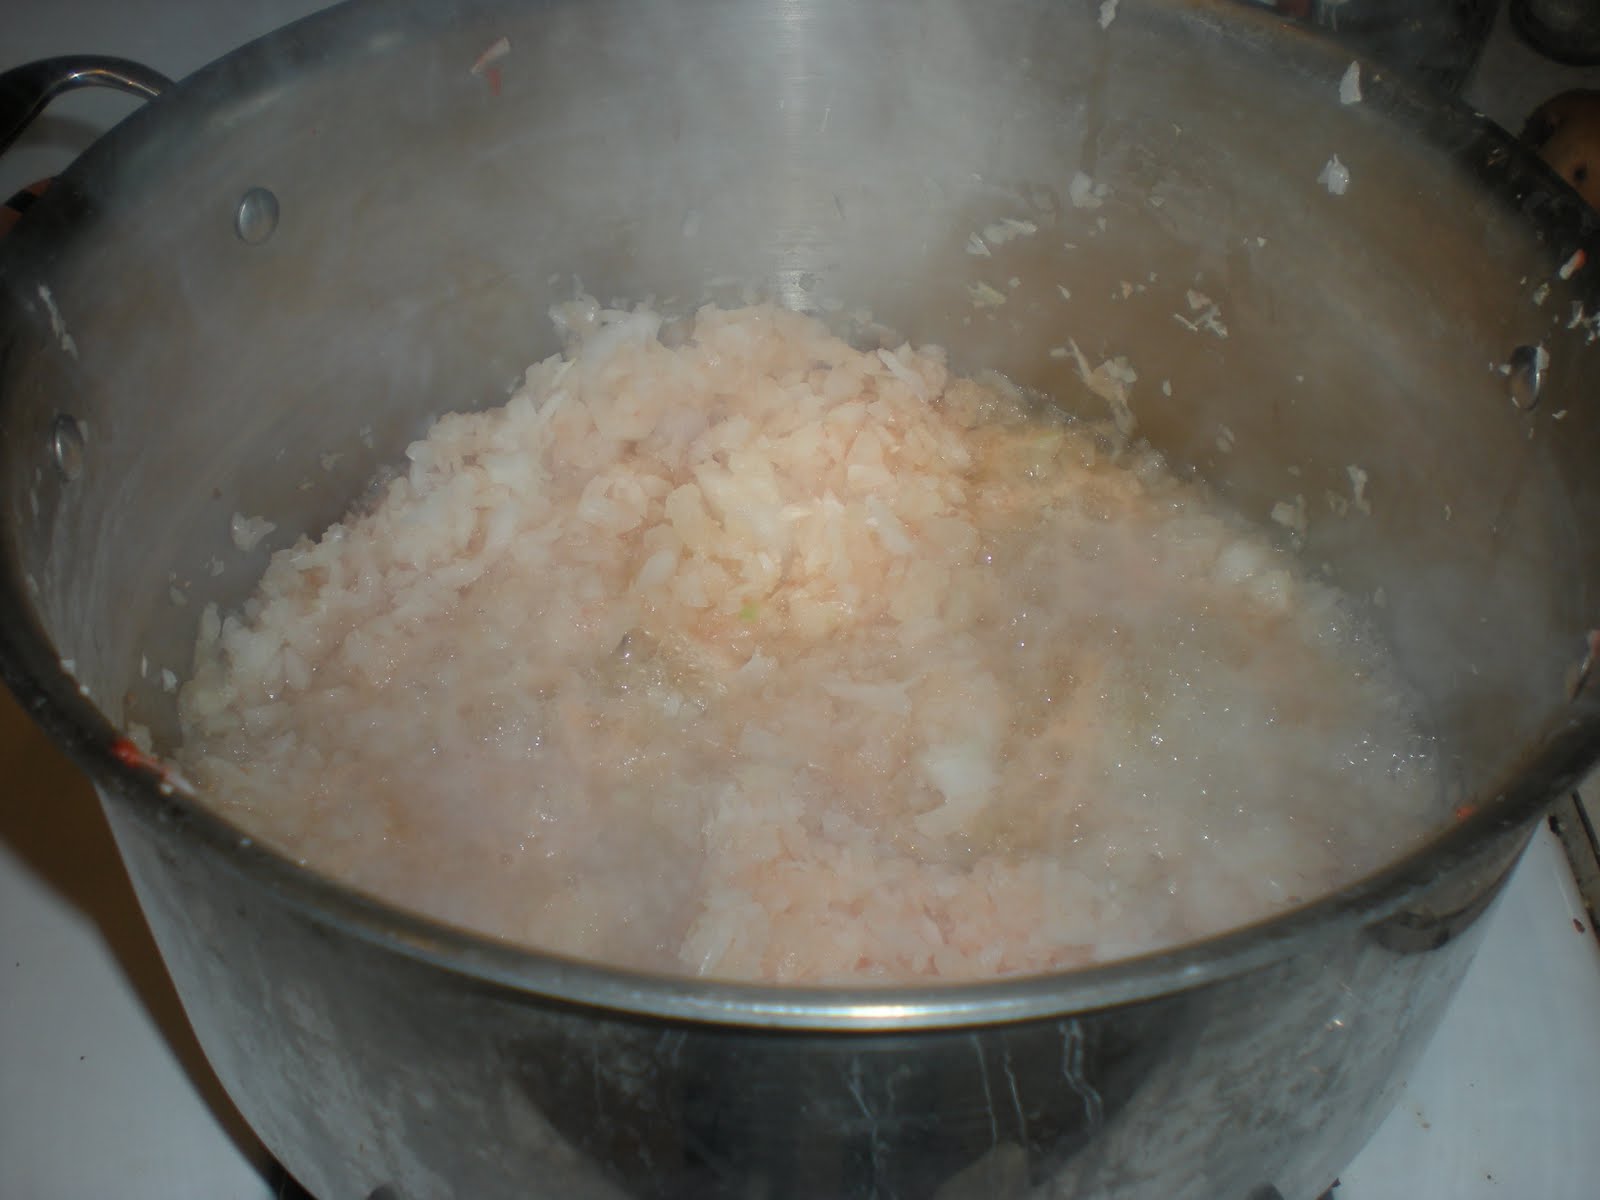
The first food that we ever canned was a batch of diced tomatoes. So versatile, we used them in winter spaghetti dishes, as pizza toppings, and in soups. Since year one, they’ve been a staple item in our pantry.

Ingredients:
Tomatoes
Lemon Juice
Salt (optional)
Sugar (optional)

Instructions:

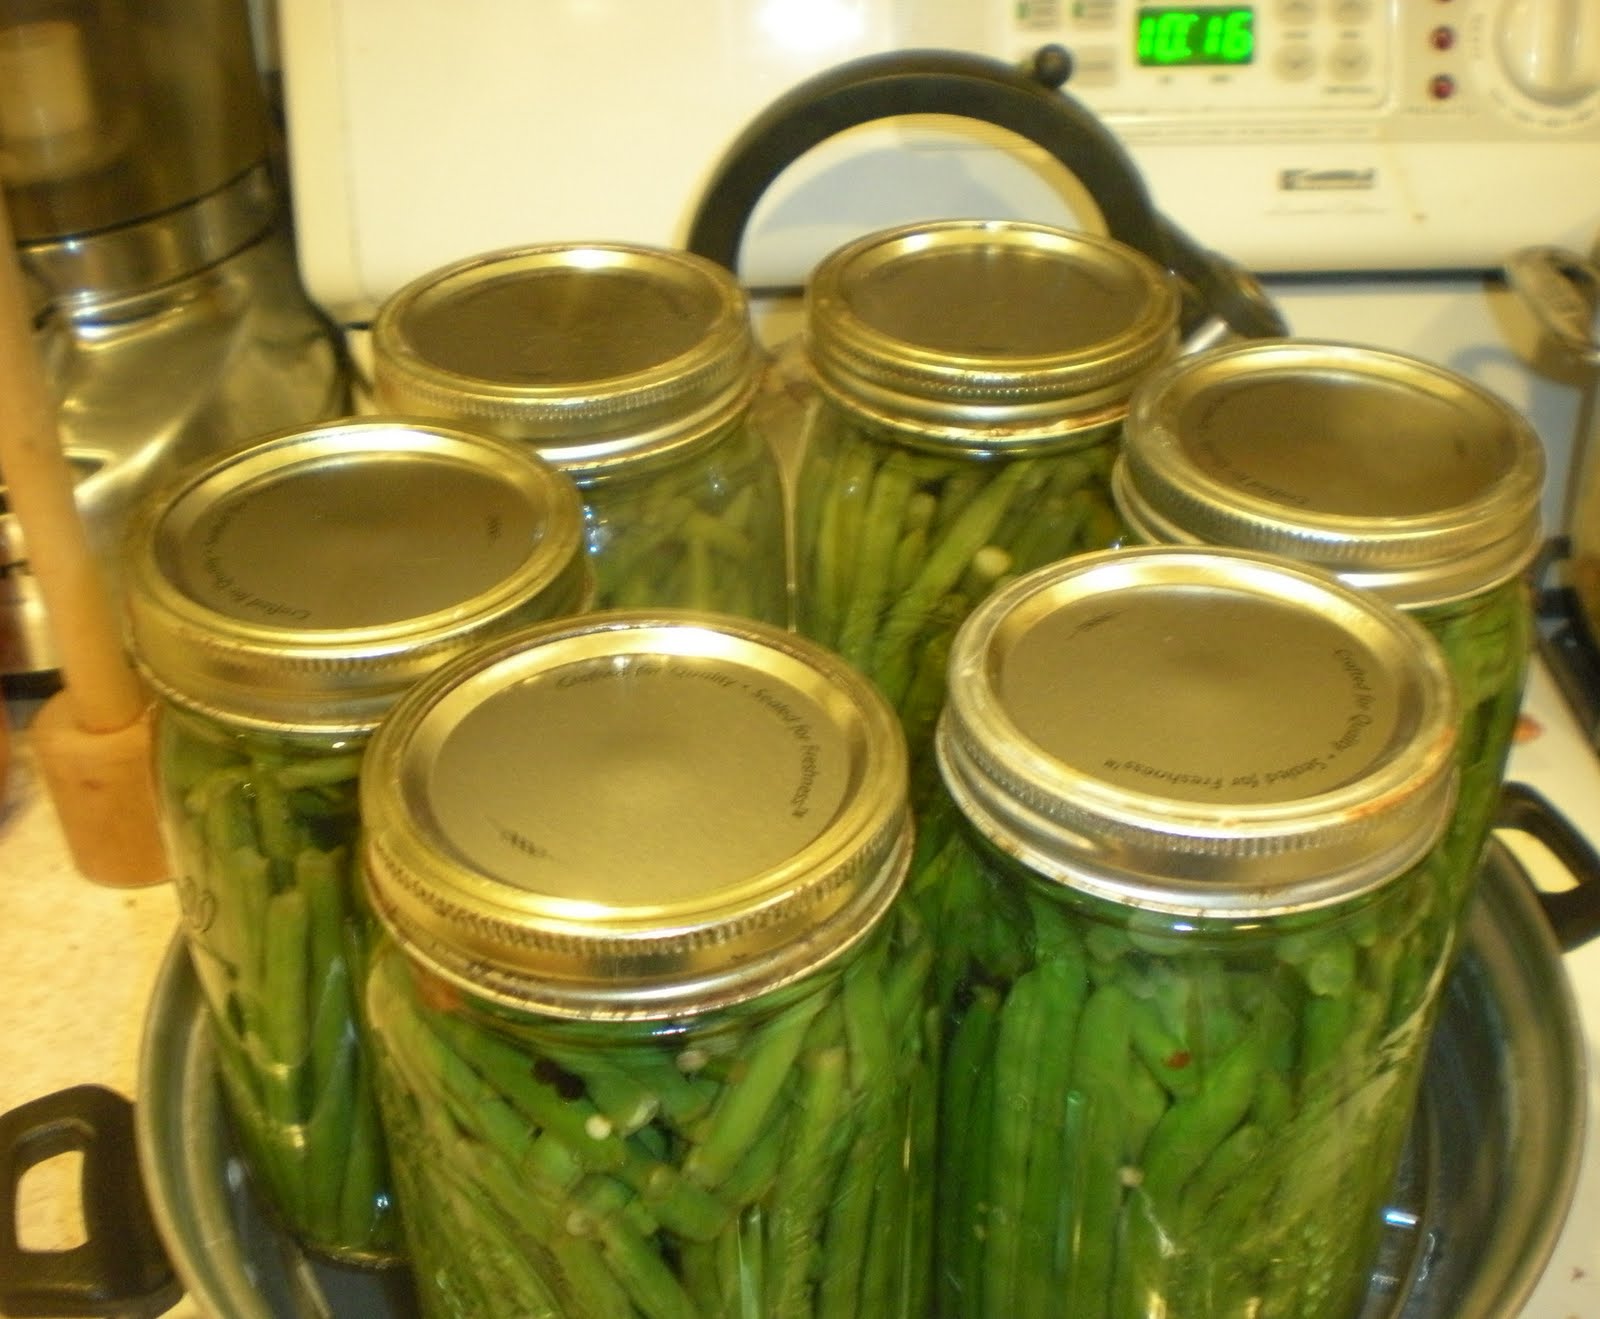
1. Sterilize quart jars and lids by placing them in boiling water for 1-2 minutes. Or if your dish washer has a sterilize cycle, use that.

2. Prepare tomatoes for processing. Cut an X onto the bottom of the fruit. This will help make peeling super easy.

3. Prepare an ice bath. We usually fill our sink with cold water and ice, but a large pot or bowl works too. 

4. Boil water on the stove. Put the fruit into the boiling water for a few seconds (and no longer than a minute) to loosen the skin. When you see the skin split and loosen, remove the tomatoes.

5. Immediately after removing from the boiling water, put the fruit into the ice bath.

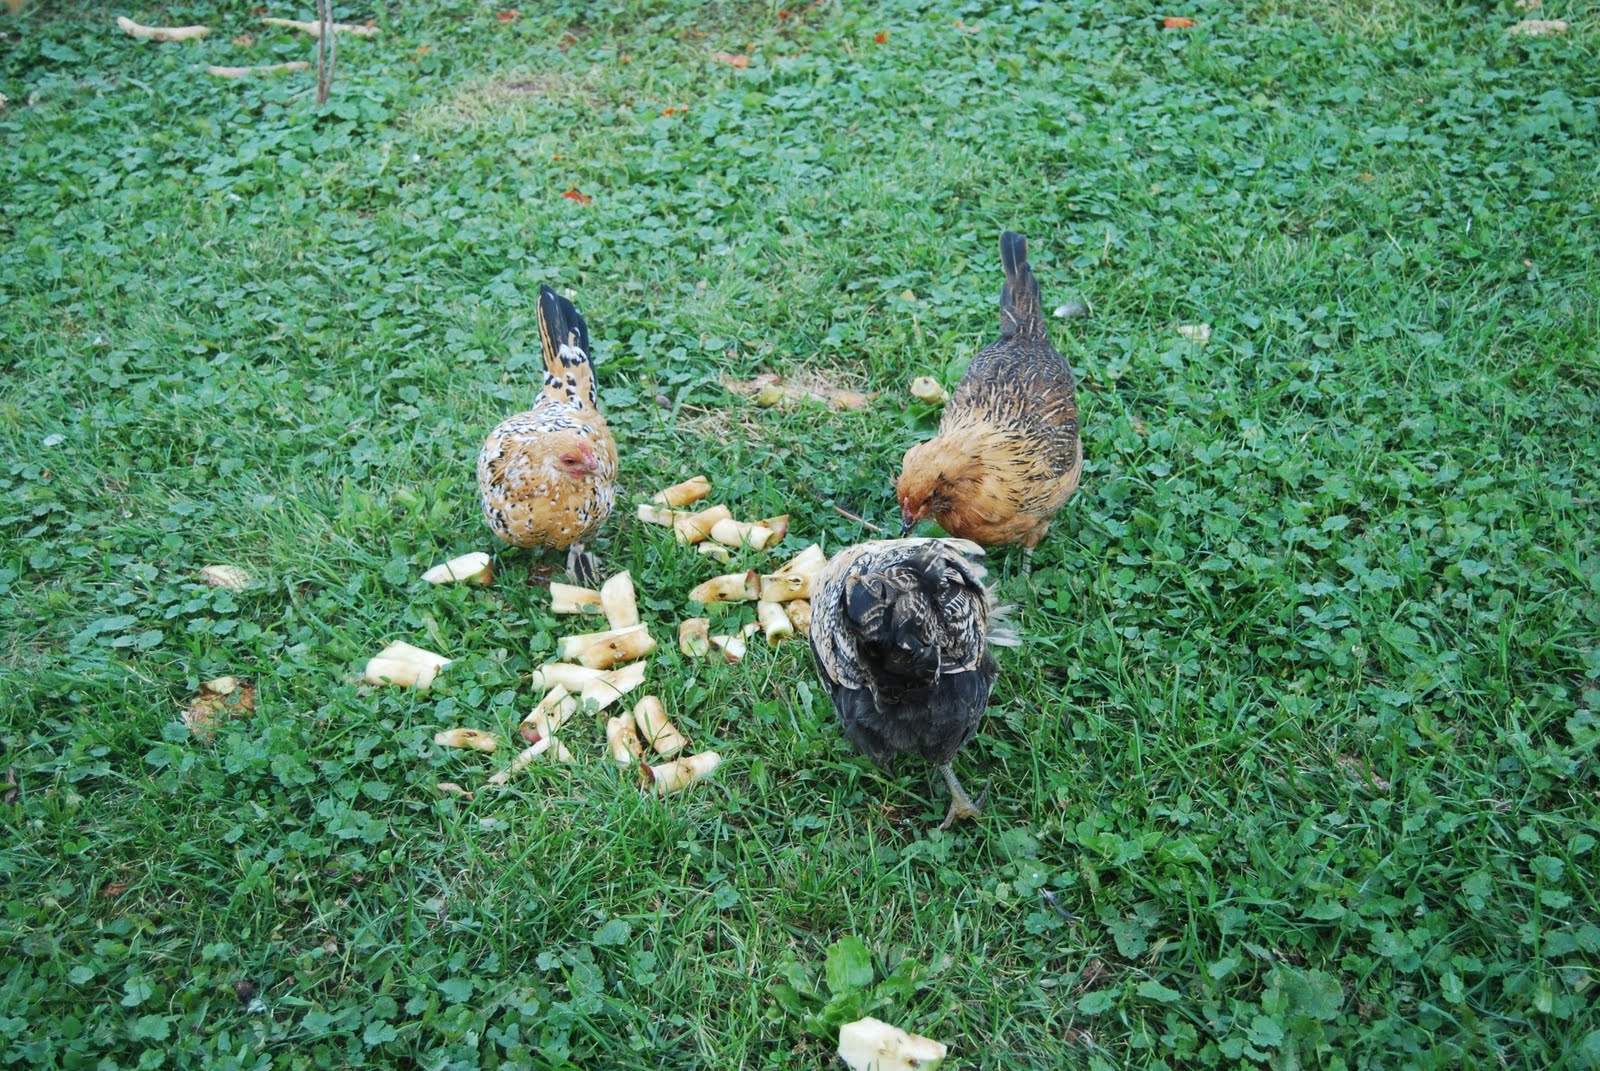
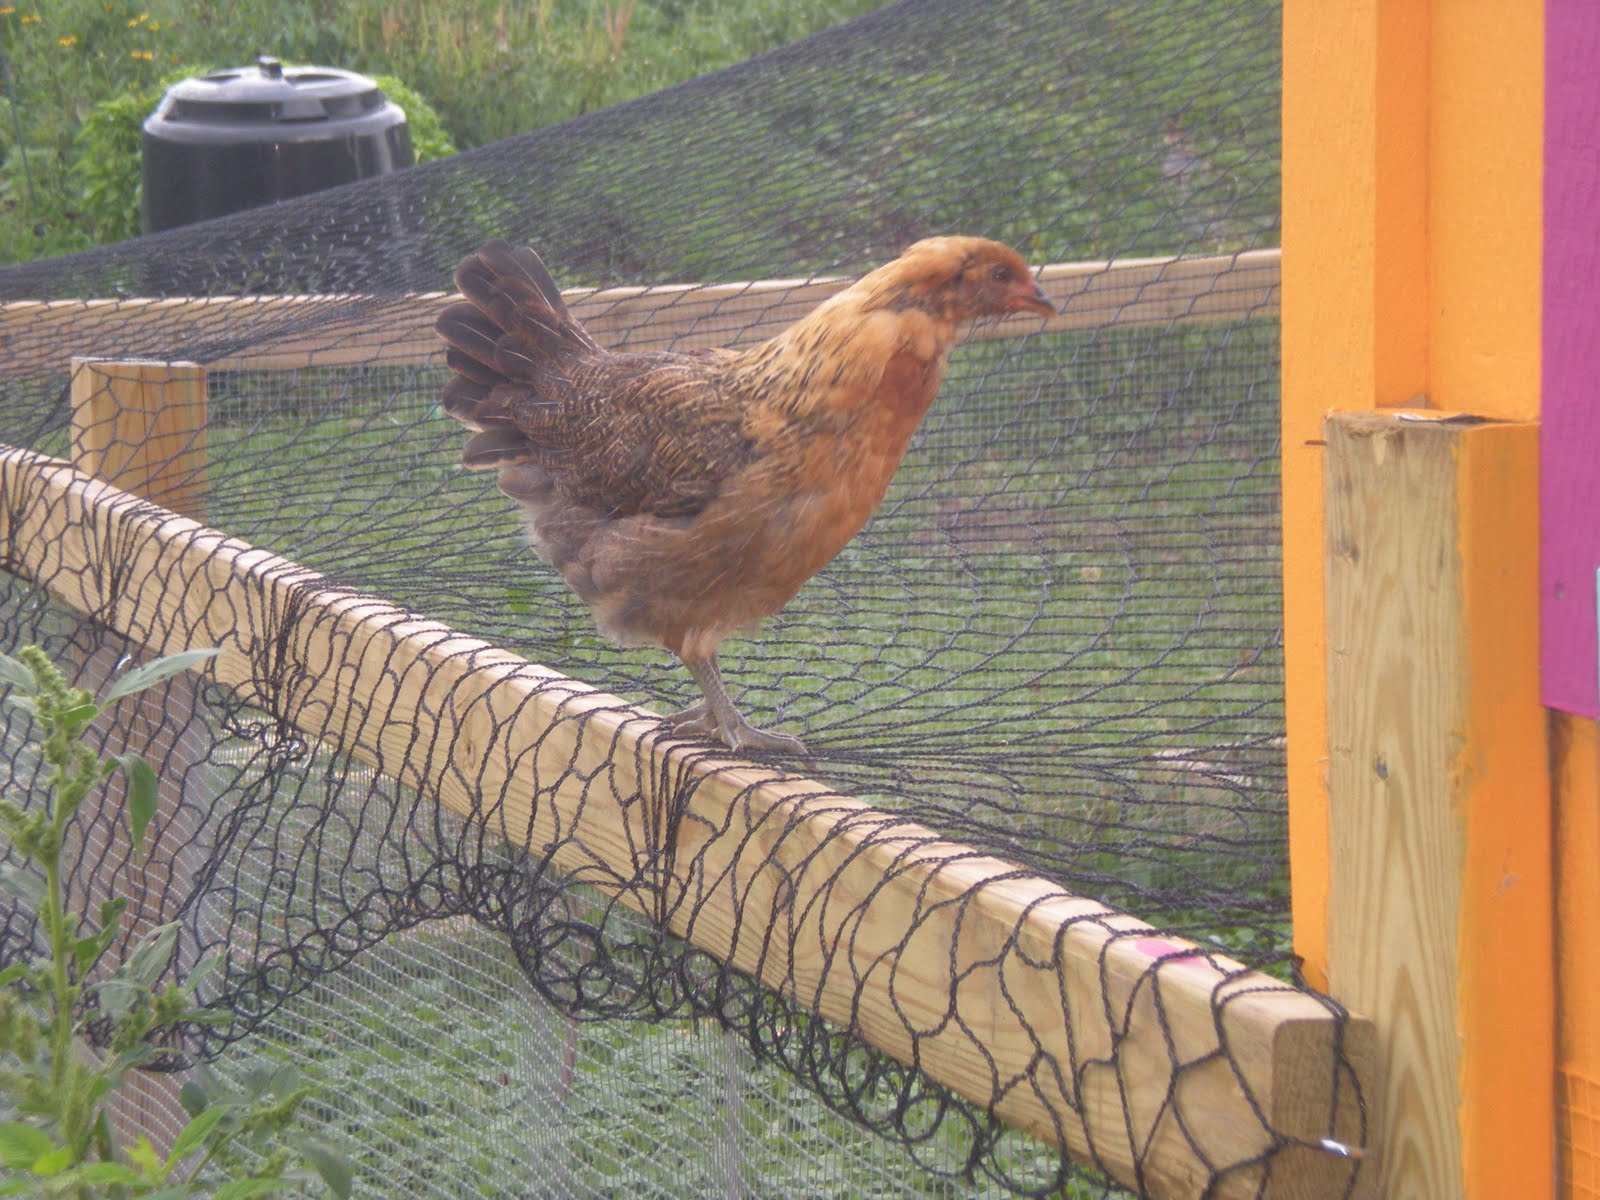
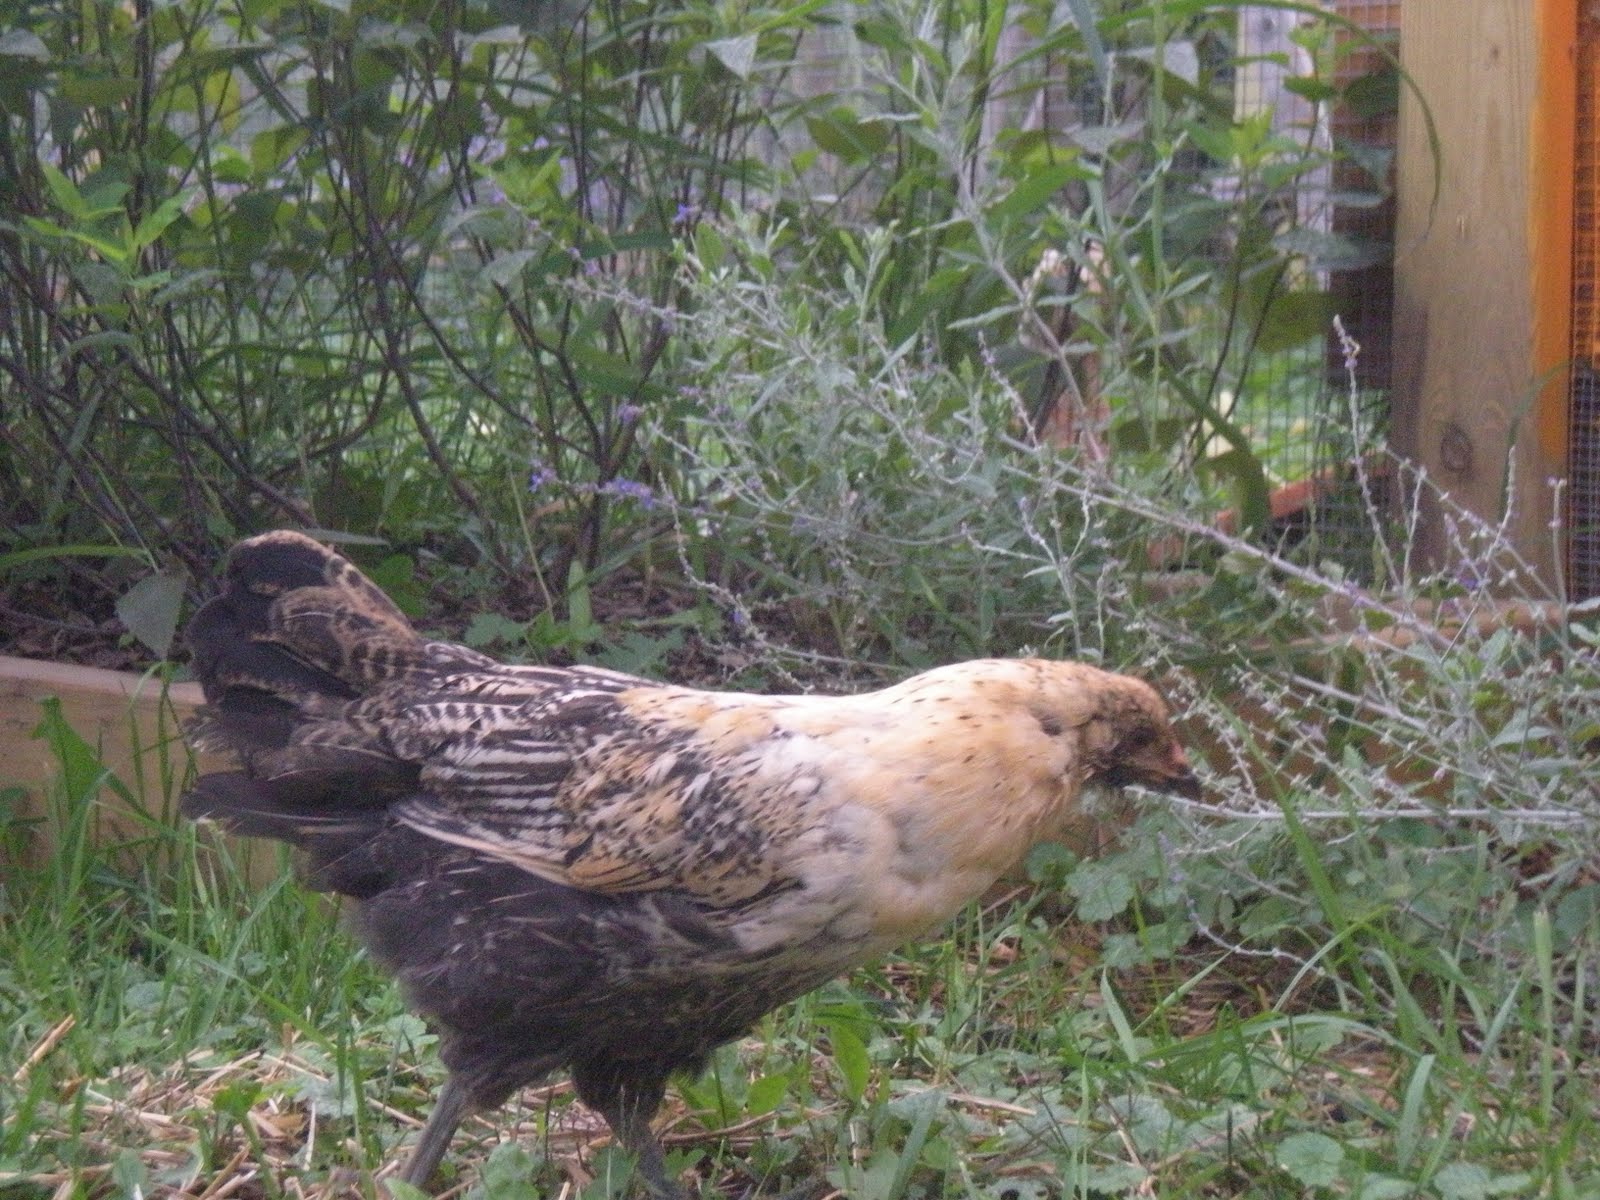
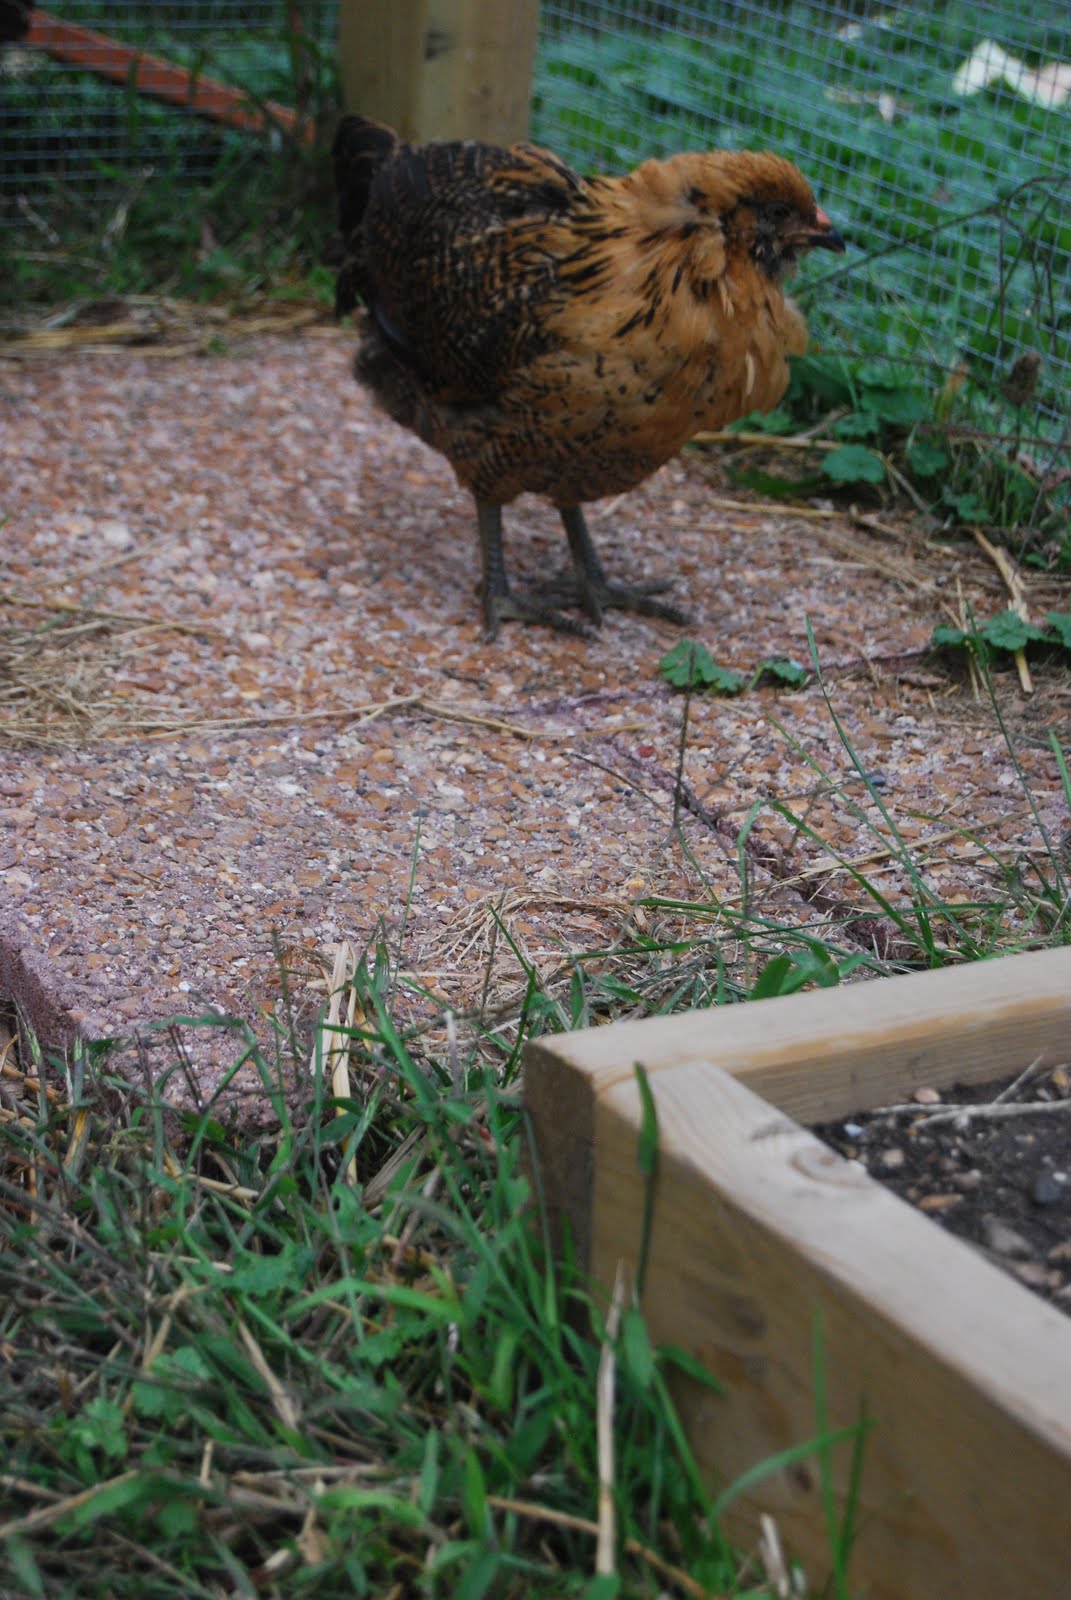
6. Take the fruit out of the ice bath. The skin should slip right off  (I like to save the skins for the freezer to make broth later and/or to give the warm tomato skins to my chickens.)

7.If desired, remove the guts from the center. Simply cut the tomato lengthwise, and with your fingers or a spoon, remove the seeds and pulp from the center.

8. Dice the fruit to desired size.

9. To ensure non-spoilage, add 2 Tbs. of lemon juice to each quart jar. Sometimes, we add sugar to make sure that the tomatoes don’t have a lemony flavor. If desired, add a pinch of salt here.

10.Pack the jars with the fruit, leaving 1/2-inch head space at the top of the jars. Be sure that the jar lids are dry to ensure a tight, secure seal.

11. Process using a water bath or a steam canner.

 If doing pints, process for 40 minutes. If doing quarts, process for 45 minutes. Specific times are below (taken from: source):

Recommended process time for Crushed Tomatoes in a boiling-water canner.
Process Time at Altitudes of
Style of Pack Jar Size 0 – 1,000 ft 1,001 – 3,000 ft 3,001 – 6,000 ft Above 6,000 ft
Hot Pints 35 min 40 45 50
Quarts 45 50 55 60

For you novice canners, a word of caution: canning is touchy. You have to follow a recipe exactly to avoid potential spoilage. Read the directions for your specific canner, and cross-check other sources for processing times to ensure a good, healthy, safe, product. We like: www.pickyourown.org.

With that said, please do can! It’s a wonderful way to preserve farm-fresh produce for the fall, winter, and early spring months. Nature has seasons. Here, in Wisconsin, we’re not meant to go to the store in December and find red, ripe tomatoes. It’s not possible to grow them anywhere around here at that time. Duh, right?

One way to embrace the seasons (and avoid blindly trekking food across the country or world via excess petroleum, while dishing out money to Dole fruits or some other big name) is by eating fresh, yummy tomatoes in the summer, and then embracing in the delight and beauty of your Ball jar filled with prepared tomatoes in the winter. It’s amazing how great both can taste when you give yourself time to miss them. Plus, you’d be amazed as to how beautiful a pantry full of a variety of canned food looks.
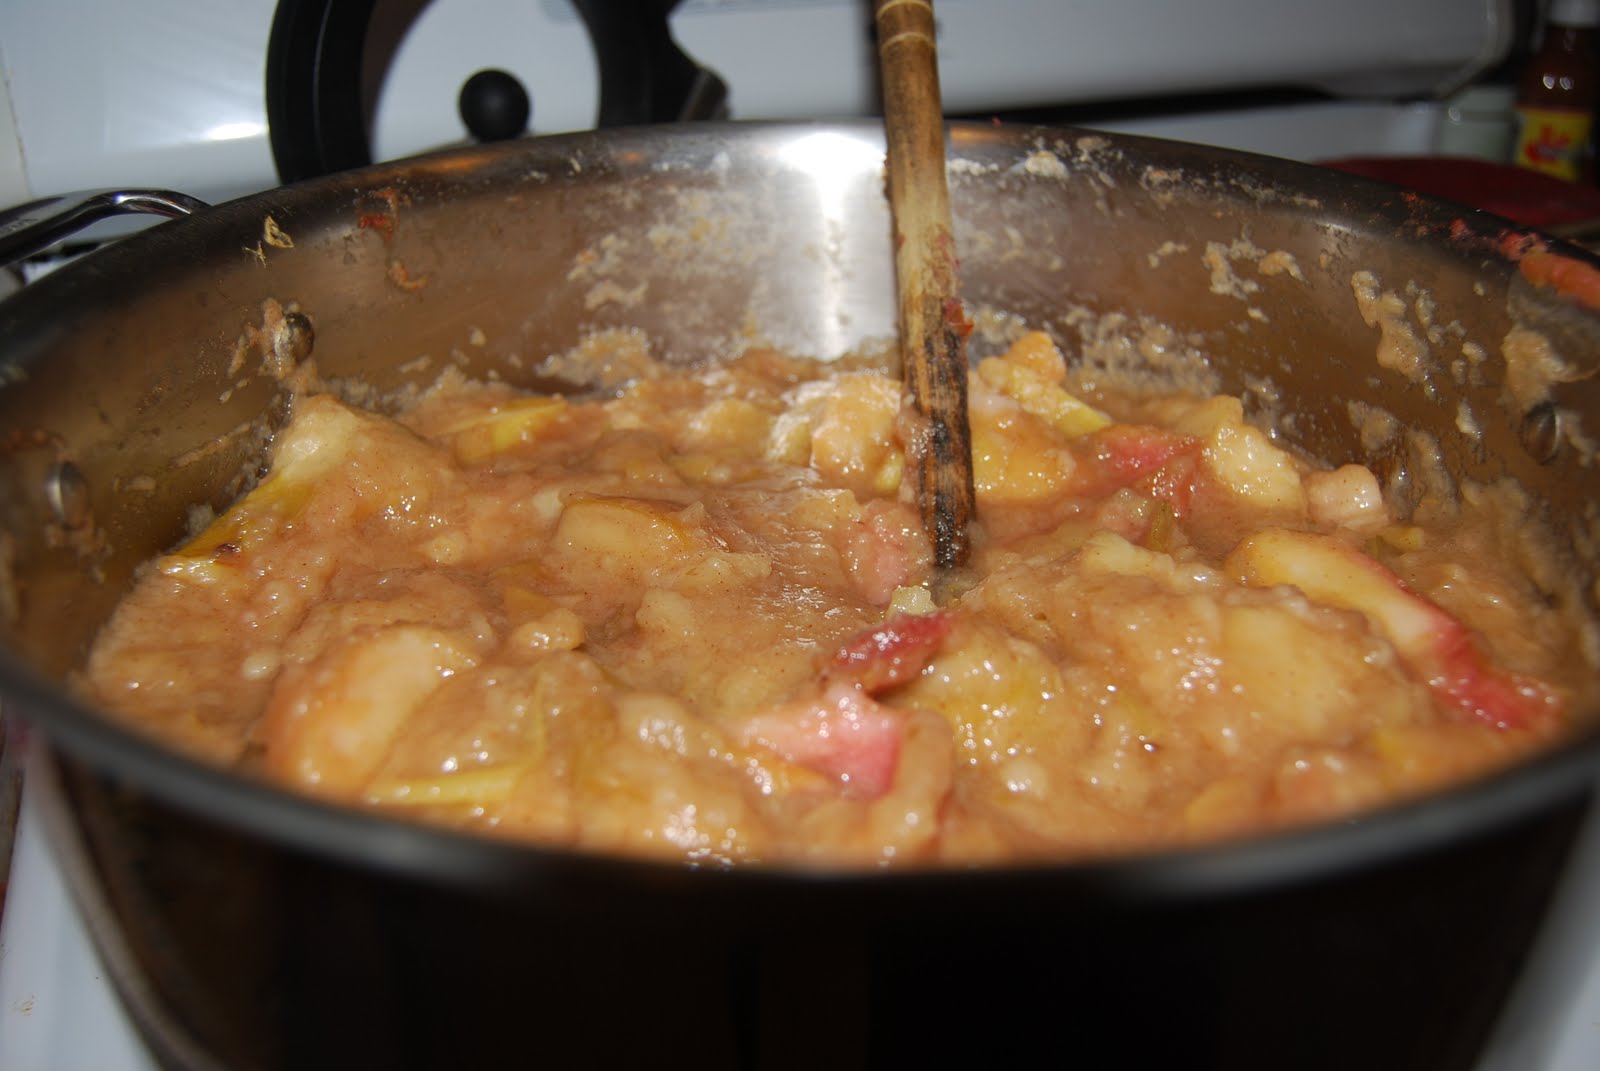
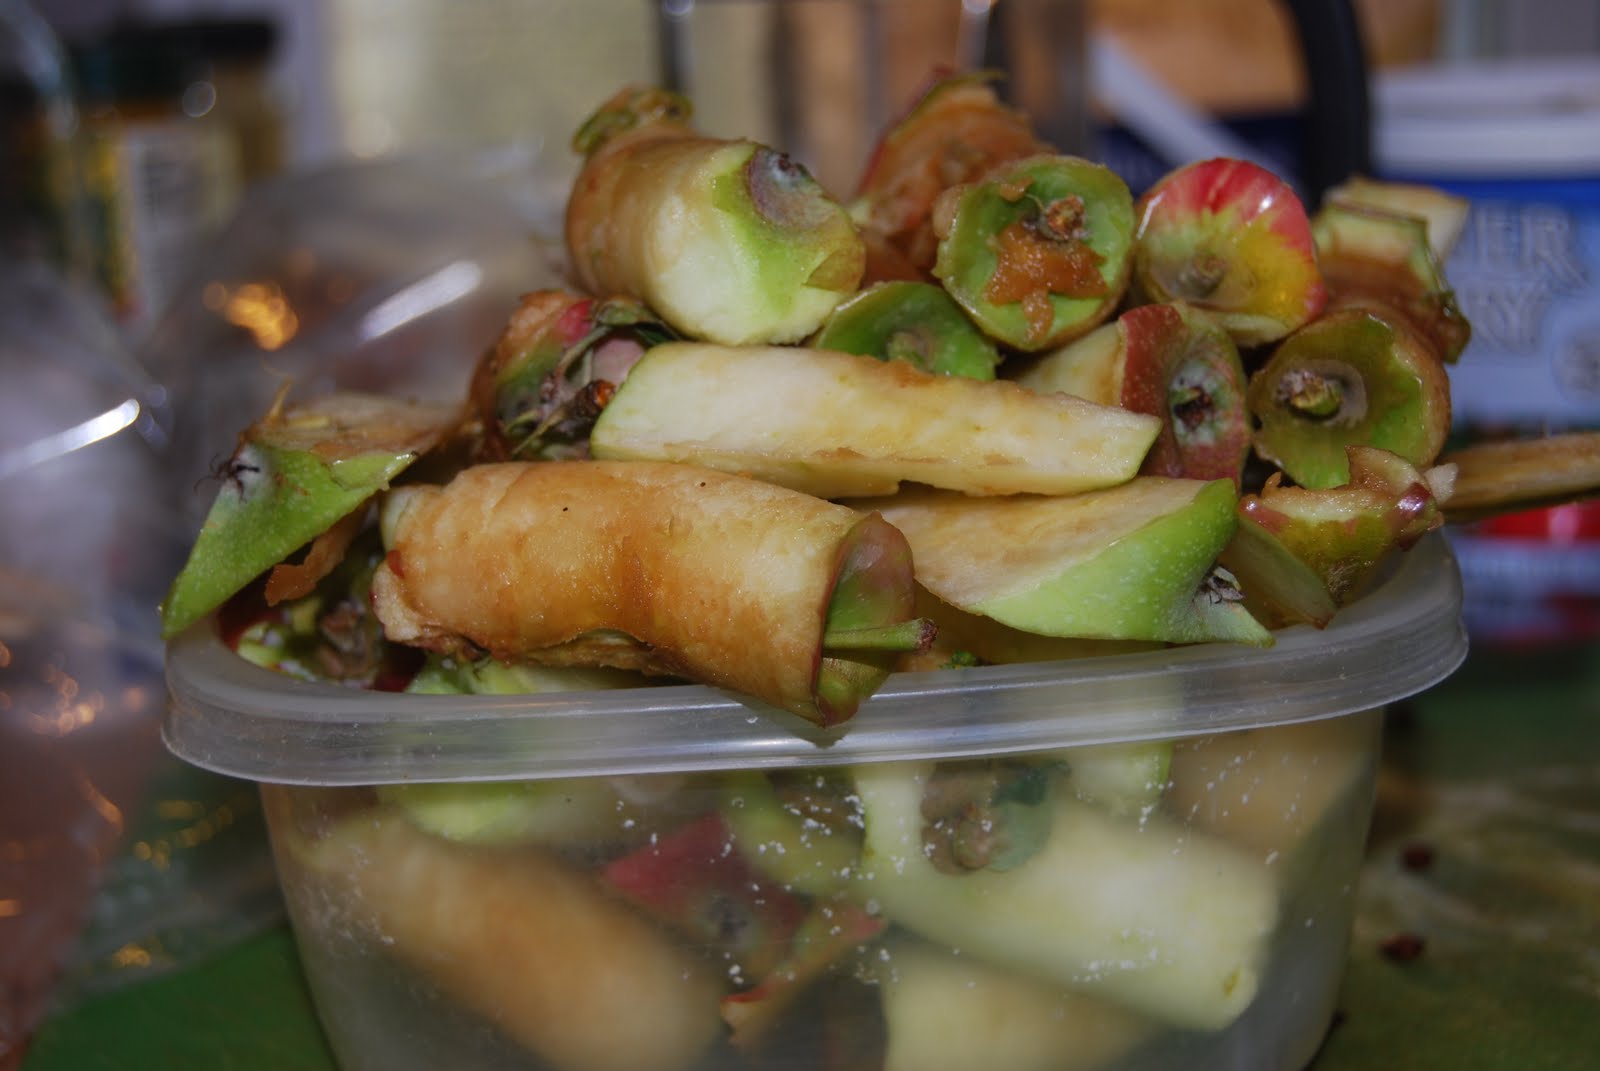
The Dump Garden


My creature empathy extends itself to plant empathy. I can’t help it. We plant little seeds in trays, take care of them, nurture them, feed them, love them, put our hopes into them, and then, when it’s time to plant them into the ground outside, inevitably, Andy says, “We don’t have room for ALL of them.”

This is how our Dump  Garden originated. Getting its name both from ritualistically receiving my extra mismatch of seedlings and because the land used was actually a dump of sorts when we first moved in, the Dump Garden is thriving and bountiful.

We’ve come up with a balance of extras, permanents, and new curiosities over the years. Last year, we planted quite a few perennial herbs and flowers into the garden, including: chamomile, summer savory, oregano, Brown-Eyed Susans and Butterfly Weed. Those are all still thriving.

Ground Cherries in front; Sunberries in back

We tried Aunt Molly’s Ground Cherries last year and were  happy with the results, so we planted those again. This year, Sunberries were a new adventure, and the jury is still out as to whether or not they’ll be planted again next year.


This summer, the “dumped” seedlings included two cherry tomato plants, some extra bean seedlings, and a mound of cucumber pickles. Additionally, we planted the herb pack we got as part of our CSA, which included: basil, parsley, and sage. My parents also gave us the basil plant that their CSA gave them (can you say PESTO?).  

Basil (among other things)

I went crazy buying herbs at the Farmer’s Market one day ~ pineapple mint, peppermint, and more oregano ended up getting added to the edges the Dump Garden.

For now, all the plants are doing well, enjoying bee and butterfly company, living happy little plant lives in the fresh summer air.

Cucumbers, beans, and Brown-eyed Susans                
L to R: Sage, Chamomile (after  harvest), Parsley in front, and Spearmint        


Curious Fruits: Sunberries and Ground Cherries

We are always on a quest to grow new fruit. Since we live in a climate with such a short growing season, fruit growing feels challenging. This  year, we planted ground cherries for the second time, and sunberries for the first.

What are these, you may ask?

Probably the more popular of the two is the ground cherry (shown on the right). I remember eating these as a child at Grandpa Lapp’s house, though I didn’t recall this fruit until reading parts of This Organic Life. In this book, Joan Dye Gussow writes of the papery skin that encloses the fruit, making it perfect for longer storage. The papery-skin thing brought me back to my childhood, scrounging through close-to-the-ground bushes for citrusy treats. Ground cherries are very easy to grow – the plants take off, and the fruits are always in abundance. When the fruit is ripe, the husk becomes golden and drops to the ground (perhaps that is why they are called ground cherries?!). We have several rouge plants growing in what we affectionately call our “dump garden”  – the space where we grow extra vegetable plants, fruits and vegetable plants which we just want to try out, and some perennial herbs.

As for using ground cherries, we mostly eat them fresh (the chickens like them too!). But we also have substituted them for other fruits like cherries or berries in recipes. I’ve heard ground cherry pie is super yummy, but have yet to make it. Hopefully, I’ll find time this summer.

So now, what are sunberries? They are left in the above photo. Leafing through the Seed Savers catalog is one of my favorite winter activities, and I’ve always been curious to order sunberry seeds. Seed Savers writes, “Sunberry’s fruits are blue, slightly sweet and slightly larger than a pea. Said by its admirers to rival and even surpass blueberries. Truly historic variety.” 


We planted one seed this year. It took off! We put the plant in the dump garden, where it has grown exponentially. I picked a significant amount yesterday, and there were plenty more berries to ripen left on the vine. 


We decided to make Sunberry-Ade with the first harvest. It was sweet and slightly tart. The fruits didn’t juice exceptionally well though, so I don’t predict we’ll use our next gathering in the same way. I’m thinking we may dry some for our winter oatmeal. Or perhaps we’ll make a “blueberry” pie.


So, have any of you made any stellar recipes with either of the above fruits?


What other unique and exciting fruits have you tried growing? Please share!

Ground cherry plants spilling their fruit everywhere.

Good-bye Marley

Today started off quite sad: we had to put down our little Marley. Over the past two weeks, we’ve watched Marley go from a feisty cockerel to an emaciated, depressed, and withdrawn little chick.

The third week in July, we noticed that Marley was limping on one leg. We did some online research and read about Marek’s Disease, but after consulting with our vet, it seemed Marley just had an injury. Dr. Karin Kanton put a sling on Marley, and we kept him inside, treating him to red currants, raisins, cheese, and the occasional episode of Weeds with his Human Parents and Feline Siblings on the couch. At times, he’d seem to be getting better, but then other days, it looked worse. It’s hard to read a chicken!

Unfortunately, a few days ago, we noticed his chicken sister, Janis, began limping as well. We called Dr. Karin, and she confirmed what we feared: we probably had a case of Marek’s at our house after all. So, in hopes of getting the potential disease off the premises as quickly as possible, we cleaned out the coops and brooders and mowed the chicken run.

Right now, our biggest concern is that the disease has or will spread to all of our chickens, including the house favorites: Ani and Zappa. If you’re a fan of chickens or animals in general, cross your fingers, send us good vibes, pray to your version of God, whatever … we are not ready to lose more pets.

Today, our vet came to take Marley. He is going to be the sacrificial chicken to determine if we definitely do have a case of Marek’s here.

With this experience, we’ve learned quite a bit:
1. The Polish chickens that seem to have the disease are the only chickens we’ve gotten from a breeder. I don’t believe for one second that she intentionally gave us sick chicks, but this experience does point out that we need to research where we’re getting our animals better.
2. Marek’s Disease is a form of herpes and is contagious. It can easily wipe out a flock of chickens, though only if they’ve all had contact.
3. If you live in the Madison area, you should contact Dr. Karin Kanton for your chicken needs (or other pets). She does house calls, and she is amazingly compassionate (both for the pets and the humans involved). She’s really helped us and is continuing to do so. 
3. Losing a chicken is like losing any other pet (if you view them that way). We’re very sad.

Marley was a boisterous little chick. He started off as “Fiona” until we heard him crow a few times. Before he got sick, he was impossible to catch. I remember once I literally ran round and round the same tree for nearly ten minutes trying to get my hands around the little bugger.

He loved cheese and would proudly nab the first piece thrown into the run or into his brooder. He’d then loudly prance around with it in his mouth, taunting his hens. I guess he wasn’t a very good sharer.

His hair was nappy, and he would shake and bob his messy hairdo. That made me laugh.

His hen sisters, Janis and Ella, miss him greatly. They’re still peeping, wondering where he is. I hope those two make it, though it’s not looking good for Janis. We have crossed fingers .